As summer rolls in, I find myself craving light, fresh meals that are easy to prepare yet satisfying. Picture a sunny Saturday afternoon. The grill is sizzling with delicious veggies and meats, and there’s laughter all around.
Now, what would make this feast even better? It’s got to be cheesy, comforting, and full of flavor—enter my take on giada lasagna rolls. Paired with a fresh side salad or garlic bread, these rolls steal the show every time. Trust me, your friends and family will thank you!

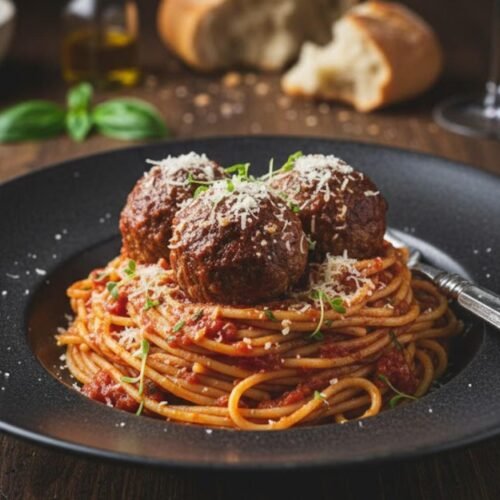
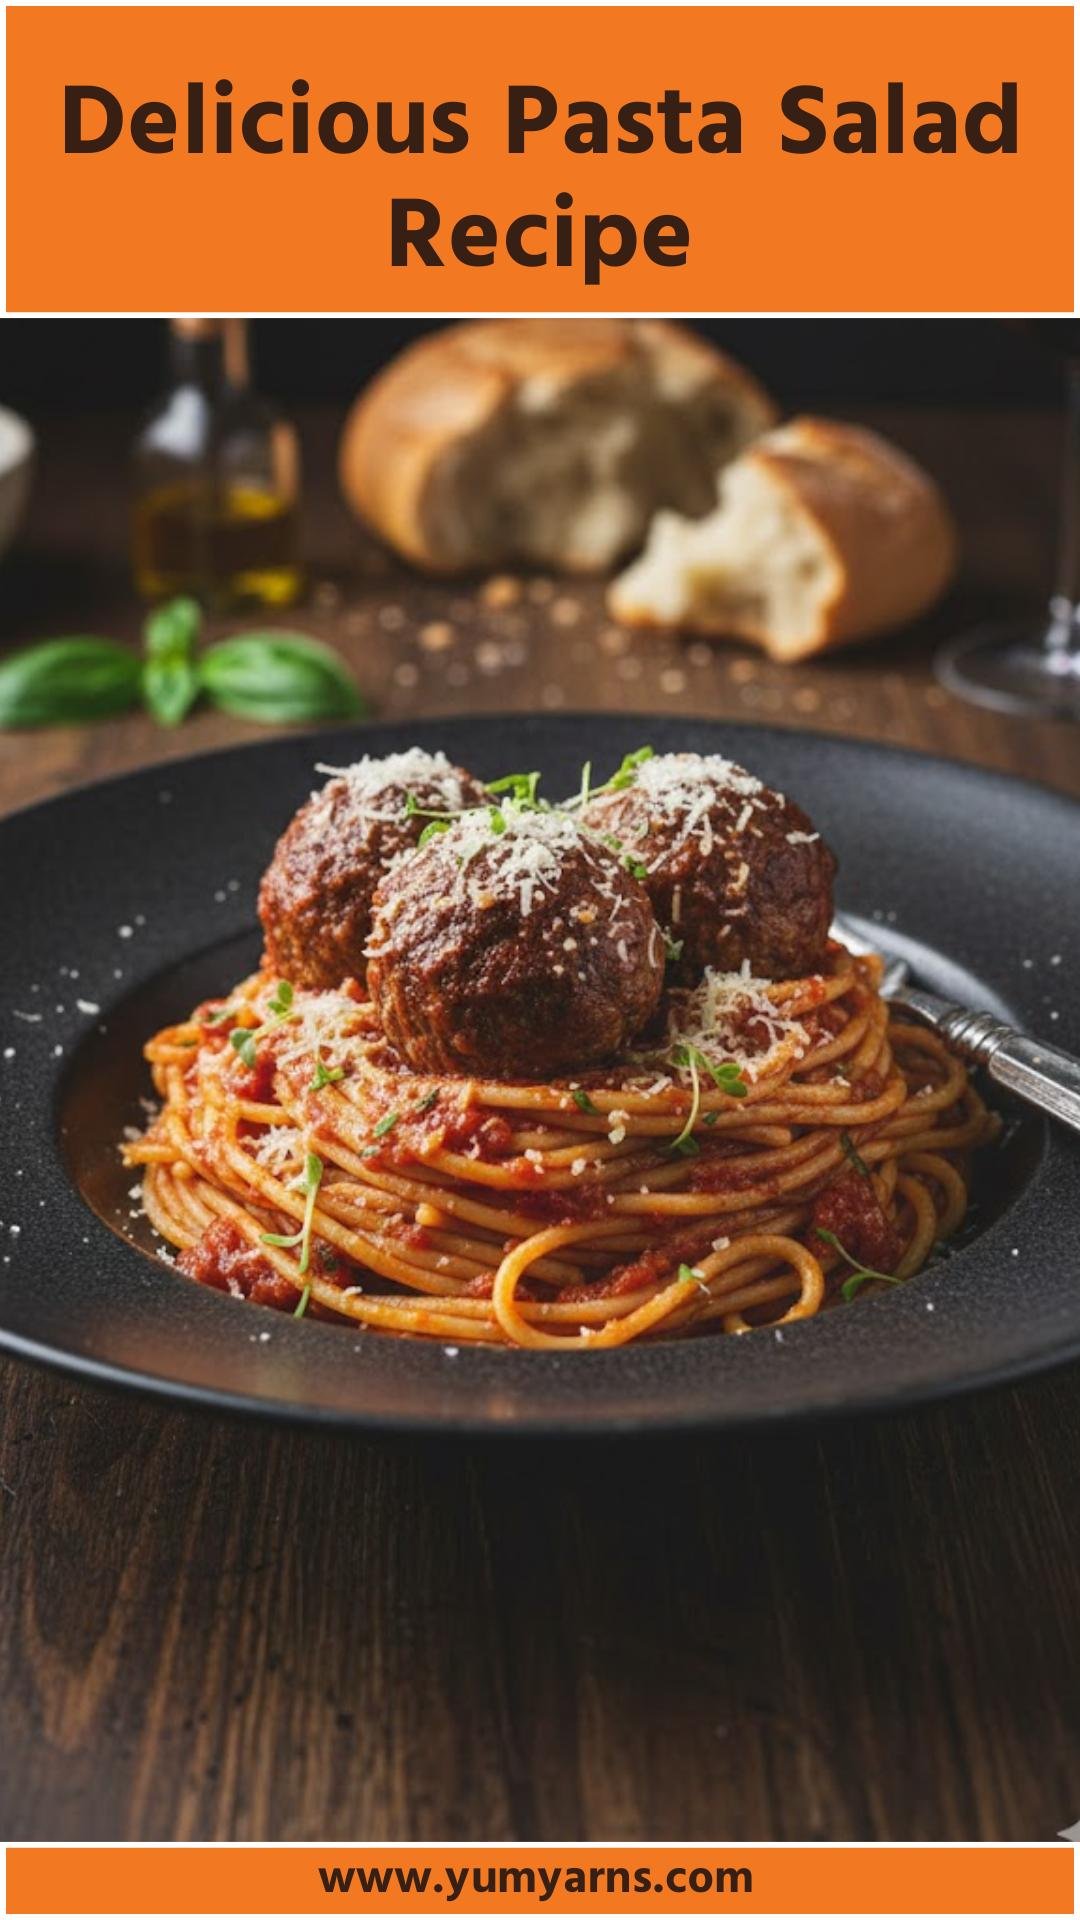
Lasagna is a classic dish that warms the heart and satisfies the soul. But rolling all those layers into individual servings? That’s a genius twist! Giada de Laurentiis’ lasagna rolls offer a delightful alternative to traditional lasagna, bringing all the beloved flavors in a fun, easy-to-serve form.
The combination of ricotta, spinach, and the crunch of prosciutto comes together in each roll, all baked to bubbly perfection. It’s comfort food at its finest, with a sophisticated touch.
You Might Like These Recipes!
Frozen Potato Casserole Recipe
What are Giada Lasagna Rolls?
Giada’s lasagna rolls are essentially sheets of pasta filled with a dreamy mixture of ricotta cheese, spinach, and savory prosciutto, rolled up like lovely little bundles of joy. They are then nestled in a creamy béchamel sauce and topped with marinara and gooey mozzarella. Instead of traditional layered lasagna, these rolls turn a beloved dish into a more approachable format. It’s perfect for gatherings, family dinners, or just to satisfy that craving for something cheesy!
Why This Recipe Works?
This recipe shines for several reasons. First, the combination of ricotta and spinach adds creaminess and freshness, while the prosciutto delivers that meaty note without overwhelming the dish. The béchamel sauce adds richness, blending perfectly with the marinara on top. By using uncooked lasagna noodles, the pasta cooks to perfection in the oven, soaking up all the delicious flavors, saving you time without sacrificing taste.
Ingredients You’ll Need To Make Giada Lasagna Rolls

Here’s what you’ll need to gather for those delicious lasagna rolls:
For the Sauce:
– 2 tablespoons unsalted butter
– 4 teaspoons all-purpose flour
– 1 1/4 cups whole milk
– 1/4 teaspoon salt
– 1/8 teaspoon ground black pepper
– Pinch of nutmeg
For the Filling:
– 1 (15-ounce) container whole milk ricotta cheese
– 1 (10-ounce) package frozen chopped spinach, thawed and drained thoroughly
– 1 cup plus 2 tablespoons grated Parmesan cheese
– 3 ounces thinly sliced prosciutto, chopped (I love using a little extra for more flavor!)
– 1 large egg, beaten
– 3/4 teaspoon salt (more for seasoning water)
– 1/2 teaspoon freshly ground black pepper
– 1 to 2 tablespoons olive oil
– 12 uncooked lasagna noodles
– 2 cups marinara sauce
– 1 cup shredded mozzarella cheese (approximately 4 ounces)
– Optional: 1 teaspoon Italian seasoning for added flavor
Ingredients From : foodnetwork.com
How to Make Giada Lasagna Rolls?
Ready to dive into the world of delightful lasagna rolls? Let’s roll up our sleeves and get started. Follow along with these easy steps, and soon you’ll have a dish that impresses everyone at the table!
Step-by-Step Directions
Step 1: Preparing the Béchamel Sauce

To start, melt the butter in a medium saucepan over medium-low heat. Once the butter is bubbling nicely, whisk in the flour. Continue to cook this mixture for about three minutes until it becomes slightly golden. Now, slowly add in the whole milk, whisking vigorously to avoid lumps. Increase the heat to medium-high. Keep whisking until the mixture comes to a simmer and it thickens into a smooth sauce, just 3 minutes will do. After that, season the béchamel with the salt, black pepper, and a pinch of nutmeg. Set aside and watch it transform into creamy goodness.
Step 2: Preheat the Oven

While your sauce is cooling slightly, preheat your oven to 450°F. This is the perfect temperature for achieving a golden finish on the cheese later.
Step 3: Combine the Filling Ingredients

In a medium mixing bowl, whisk together the ricotta, drained spinach, 1 cup of the Parmesan, chopped prosciutto, the beaten egg, salt, and freshly ground black pepper. This filling should be creamy, and the flavors will meld beautifully.
Step 4: Cook the Noodles

Bring a large pot of salted water to a boil and add a sprinkling of olive oil—this helps keep the noodles from sticking together. Boil the lasagna noodles, cooking them until they’re just tender but still have a firm bite. Drain the noodles and spread them out in a single layer on a baking sheet to cool.
Step 5: Assembling the Dish

Grease a 13-by-9-by-2-inch glass baking dish with a little butter. Pour your homemade béchamel sauce into the bottom of the dish, spreading it evenly. Now, take four lasagna noodles and lay them flat on a clean surface. Spoon about three tablespoons of the ricotta mixture onto each noodle and spread it out evenly. Then, starting at one end, roll each noodle tightly, like you would a jelly roll. Place each roll seam-side down in the prepared dish—make sure they don’t touch. Repeat this process with the remaining noodles and filling.
Step 6: Adding the Marinara Sauce

Once all rolls are in the dish, spoon the marinara sauce evenly over them. Don’t forget to sprinkle the shredded mozzarella on top, along with the remaining Parmesan. It’s going to be so gooey and delicious once baked!
Step 7: Baking
Cover the dish tightly with aluminum foil and pop it in the preheated oven. Bake for about 20 minutes, allowing everything to heat through and the sauce to bubble. After that, uncover the dish and bake for an additional 15 minutes, or until the cheese on top is beautifully golden brown. Let the lasagna rolls sit for about 10 minutes before serving. This not only helps prevent burns but also allows the flavors to settle in.
Step 8: Serve
While the dish is resting, heat the extra marinara sauce in a small saucepan until hot. Serve alongside your giada lasagna rolls for those who want a little extra sauce drizzled on top.
Tips
– Prep Ahead: You can prepare the filling and roll the noodles a day in advance. Just store them separately in the fridge.
– Extra Flavor: Don’t be shy—experiment with herbs such as basil or oregano in the ricotta mixture for a fresh flavor boost.
– Noodle Cooking Time: Cook noodles just until al dente so they can absorb some of the sauce while baking.
– Serving Size: These rolls are filling! You can also cut the recipe in half if you’re not feeding a crowd.
– Cheese Variety: Feel free to mix it up with cheeses; fontina or even goat cheese could add a unique twist.
How to Store the Leftovers?
Leftovers can be stored in an airtight container in the fridge for up to three days. If you want to freeze them, wrap the individual rolls tightly in plastic wrap and place them in a freezer-safe bag. They can be frozen for up to three months. Just remember to allow them to thaw in the fridge before reheating.
What are Some Recommended Side Dishes for Giada Lasagna Rolls?
1. Garlic Bread: A classic pairing with lasagna, the crispy, buttery goodness of garlic bread complements the creamy rolls beautifully.
2. Caesar Salad: The crisp romaine, creamy dressing, and crunchy croutons make for a refreshing contrast to the richness of the rolls.
3. Roasted Vegetables: Seasoned and roasted vegetables add a burst of flavor and nutrients to the meal.
4. Caprese Salad: Fresh mozzarella, tomatoes, and basil drizzled with balsamic glaze create a light, refreshing side.
5. Steamed Asparagus: Simple and healthy, steamed asparagus with a squeeze of lemon balances the richness of the lasagna rolls.
If the Items Are Not Available in Your Pantry, What Are Some Substitute Options for the Ingredients?
1. Ricotta Cheese: Cottage cheese can be blended until smooth as a lighter alternative with a similar texture.
2. Prosciutto: Bacon or cooked ham can be substituted for a different meaty flavor.
3. Marinara Sauce: If you’re in a crunch, store-bought pasta sauce can step in whenever time is precious.
4. Mozzarella Cheese: Provolone cheese or icoverted havarti can easily be swapped for a different melt-in-your-mouth experience.
5. Parmesan Cheese: Pecorino Romano or even nutritional yeast for a vegan option provide great flavor enhancers.

Giada Lasagna Rolls
Equipment
- Medium saucepan
- Baking dish
- Large pot
- Mixing bowl
- Whisk
- Baking sheet
Ingredients
- Here’s what you’ll need to gather for those delicious lasagna rolls:
For the Sauce:
- – 2 tablespoons unsalted butter
- – 4 teaspoons all-purpose flour
- – 1 1/4 cups whole milk
- – 1/4 teaspoon salt
- – 1/8 teaspoon ground black pepper
- – Pinch of nutmeg
For the Filling:
- – 1 15-ounce container whole milk ricotta cheese
- – 1 10-ounce package frozen chopped spinach, thawed and drained thoroughly
- – 1 cup plus 2 tablespoons grated Parmesan cheese
- – 3 ounces thinly sliced prosciutto chopped (I love using a little extra for more flavor!)
- – 1 large egg beaten
- – 3/4 teaspoon salt more for seasoning water
- – 1/2 teaspoon freshly ground black pepper
- – 1 to 2 tablespoons olive oil
- – 12 uncooked lasagna noodles
- – 2 cups marinara sauce
- – 1 cup shredded mozzarella cheese approximately 4 ounces
- – Optional: 1 teaspoon Italian seasoning for added flavor
Instructions
Step 1: Preparing the Béchamel Sauce
- To start, melt the butter in a medium saucepan over medium-low heat. Once the butter is bubbling nicely, whisk in the flour. Continue to cook this mixture for about three minutes until it becomes slightly golden. Now, slowly add in the whole milk, whisking vigorously to avoid lumps. Increase the heat to medium-high. Keep whisking until the mixture comes to a simmer and it thickens into a smooth sauce, just 3 minutes will do. After that, season the béchamel with the salt, black pepper, and a pinch of nutmeg. Set aside and watch it transform into creamy goodness.
Step 2: Preheat the Oven
- While your sauce is cooling slightly, preheat your oven to 450°F. This is the perfect temperature for achieving a golden finish on the cheese later.
Step 3: Combine the Filling Ingredients
- In a medium mixing bowl, whisk together the ricotta, drained spinach, 1 cup of the Parmesan, chopped prosciutto, the beaten egg, salt, and freshly ground black pepper. This filling should be creamy, and the flavors will meld beautifully.
Step 4: Cook the Noodles
- Bring a large pot of salted water to a boil and add a sprinkling of olive oil—this helps keep the noodles from sticking together. Boil the lasagna noodles, cooking them until they’re just tender but still have a firm bite. Drain the noodles and spread them out in a single layer on a baking sheet to cool.
Step 5: Assembling the Dish
- Grease a 13-by-9-by-2-inch glass baking dish with a little butter. Pour your homemade béchamel sauce into the bottom of the dish, spreading it evenly. Now, take four lasagna noodles and lay them flat on a clean surface. Spoon about three tablespoons of the ricotta mixture onto each noodle and spread it out evenly. Then, starting at one end, roll each noodle tightly, like you would a jelly roll. Place each roll seam-side down in the prepared dish—make sure they don’t touch. Repeat this process with the remaining noodles and filling.
Step 6: Adding the Marinara Sauce
- Once all rolls are in the dish, spoon the marinara sauce evenly over them. Don’t forget to sprinkle the shredded mozzarella on top, along with the remaining Parmesan. It’s going to be so gooey and delicious once baked!
Step 7: Baking
- Cover the dish tightly with aluminum foil and pop it in the preheated oven. Bake for about 20 minutes, allowing everything to heat through and the sauce to bubble. After that, uncover the dish and bake for an additional 15 minutes, or until the cheese on top is beautifully golden brown. Let the lasagna rolls sit for about 10 minutes before serving. This not only helps prevent burns but also allows the flavors to settle in.
Step 8: Serve
- While the dish is resting, heat the extra marinara sauce in a small saucepan until hot. Serve alongside your giada lasagna rolls for those who want a little extra sauce drizzled on top.
Notes
Nutrition
FAQs
1. Can I prepare these lasagna rolls in advance?
Absolutely! Prepare the filling and roll the noodles ahead of time. Just keep them separated in the fridge until you’re ready to bake.
2. What if I don’t have frozen spinach?
Fresh spinach can be easily substituted; just wilt it in a pan with a bit of olive oil, then chop and drain.
3. Can I use gluten-free noodles?
Yes, gluten-free lasagna noodles work great here! Just follow the package instructions for cooking.
4. How do I know when the rolls are done?
The cheese on top should be golden and bubbly, indicating that everything inside has heated thoroughly.
5. Can I add meat to the filling?
Certainly! Ground beef or turkey works well if you want to make the dish heartier. Just cook it first and mix it in with the ricotta, spinach, and prosciutto.
Conclusion
So there you have it—a delightful twist on a classic dish that brings comfort and joy to any table. Giada’s lasagna rolls are perfect for gatherings, family dinners, or even just a cozy night in. With every cheesy, flavorful bite, you’ll be reminded of why lasagna is a beloved dish—and now, rolled up in an approachable form!
Whether you keep it traditional or make your own adjustments, I guarantee this recipe will be a staple in your cooking repertoire. Enjoy, and happy cooking!


")


")