I have a soft spot for gatherings where laughter dances around the air and delicious food is at the heart of it all. You know those moments when friends and family come together over good wine and savory bites? It’s one of life’s simple pleasures.
One of my all-time favorite go-tos for these gatherings is my goat cheese appetizer bites. They pair wonderfully with a crisp white wine or even a bubbly Prosecco. Trust me, this dish is a conversation starter!

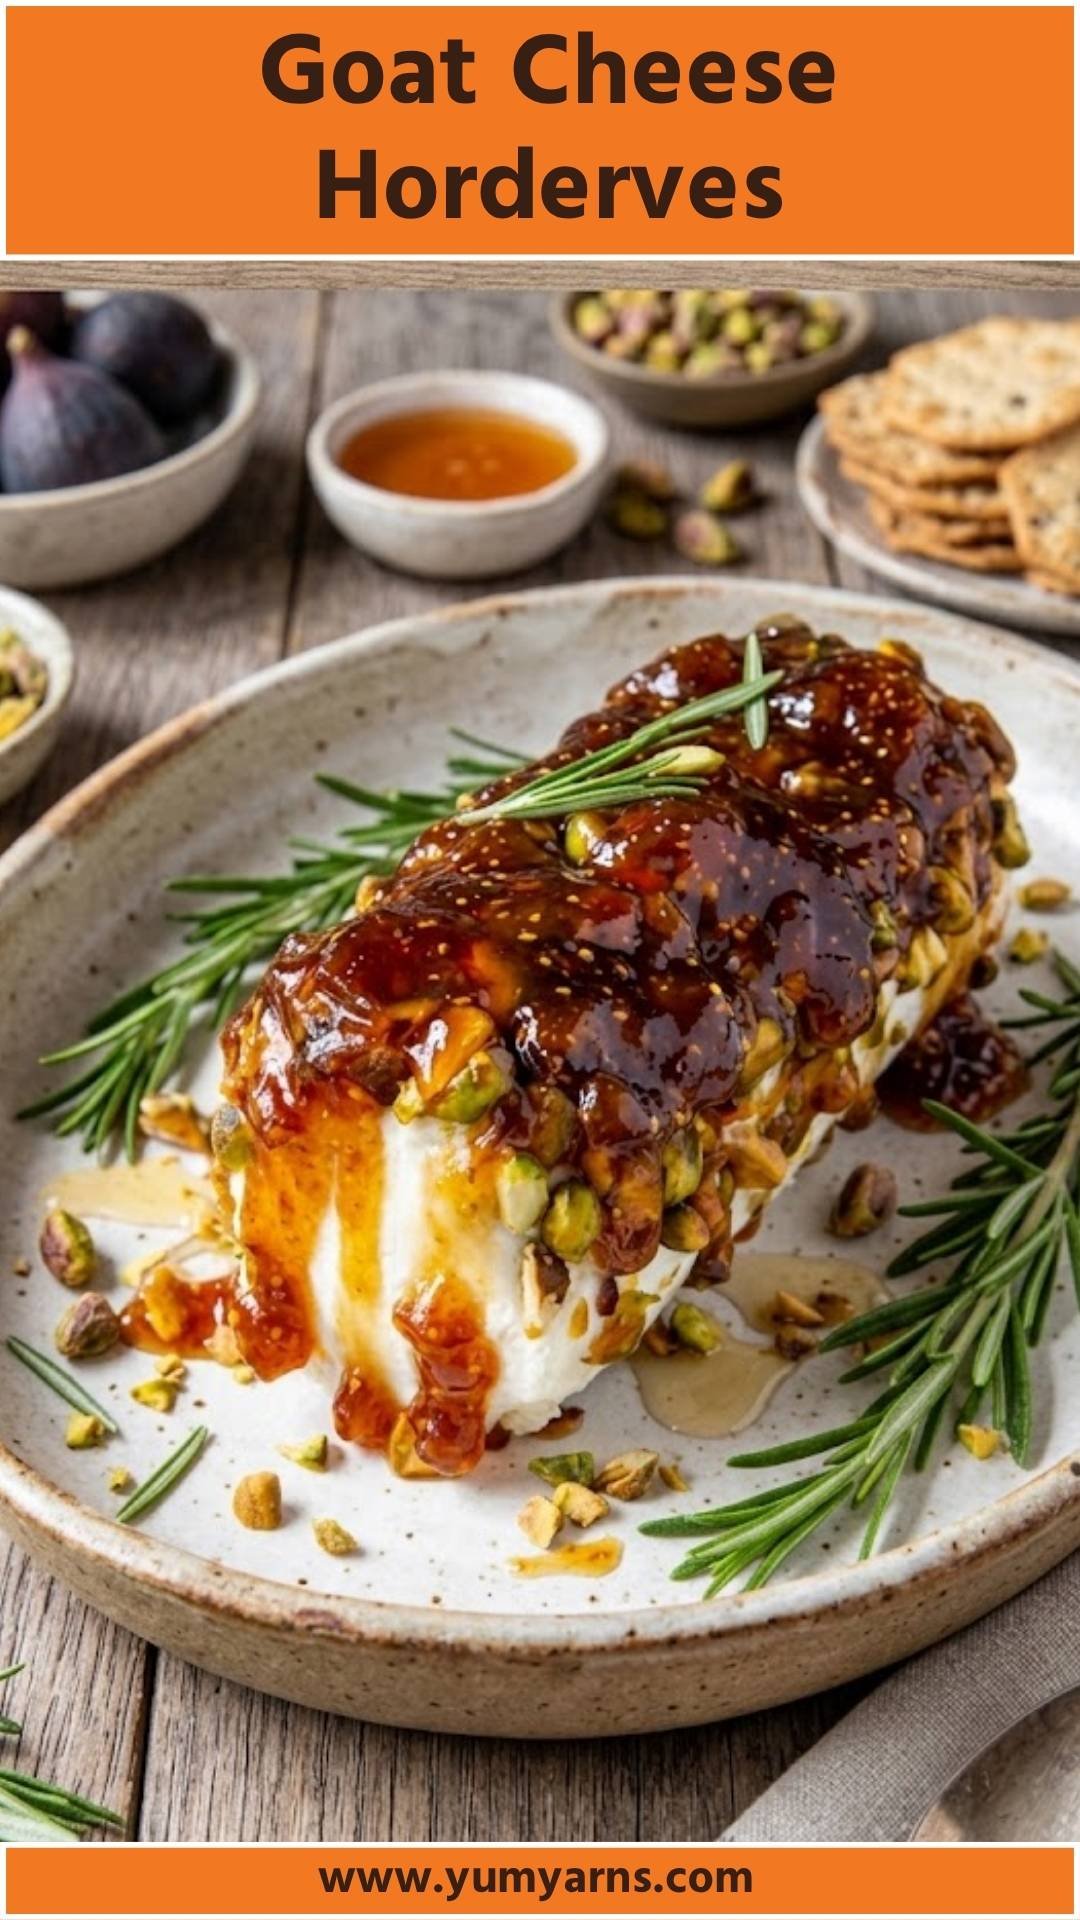
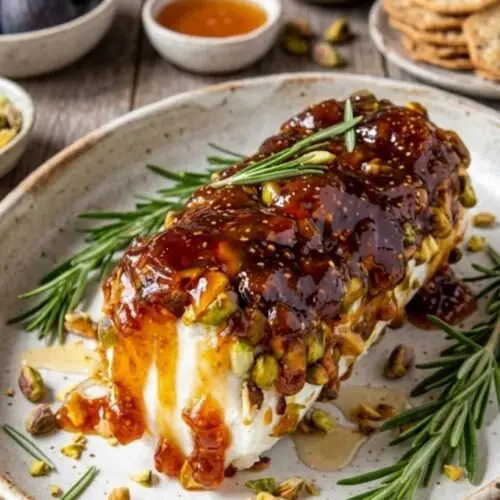
Goat cheese appetizer bites are like little clouds of flavor perched on crispy bread. This recipe balances creamy goat cheese and a hint of sweetness, all while getting a satisfying crunch from toasted pecans. It’s an easy, tasty way to kick off any meal or serve as a light snack.
Plus, they only take minutes to prepare, making them a frequent feature on my appetizer table.
You Might Like These Recipes!
What is Goat Cheese Appetizer Bites?
These delightful bites consist of toasted baguette slices smothered in a creamy mixture of goat cheese and honey, topped with crunchy pecans and fresh thyme. They are light yet flavorful and cater to various palates, making them a great addition to any spread.
Why You’ll Love These Goat Cheese Appetizer Bites
The charm of goat cheese appetizer bites lies in their simplicity and flavor. They are creamy, sweet, and packed with textures that keep everyone reaching for just one more. Plus, they’re also easy to make ahead of time, reducing the stress of last-minute cooking when guests arrive. What’s not to love?
The Ingredients

Here’s what you’ll need to create these tasty bites:
– 1 (18-inch) French baguette, sliced into 3/4-inch pieces
– 2 (4 oz.) goat cheese logs, at room temperature
– 2 tablespoons honey, plus extra for drizzling
– 1/4 cup coarsely chopped toasted pecans
– 1/2 teaspoon fresh thyme leaves
– A pinch of sea salt and freshly cracked black pepper (to taste)
– Zest of 1 lemon (adds a fresh twist!)
– 1 tablespoon balsamic glaze (for a burst of tanginess)
Ingredients From : kimscravings.com
How to Make Goat Cheese Appetizer Bites
Creating these appetizer bites is a breeze. Let’s break it down into clear steps so you can wow your guests without breaking a sweat!
Step-by-Step Directions
Step 1: Preheat the Oven

Start by preheating your oven to 350°F (175°C). This step ensures your bread gets crispy and golden while roasting.
Step 2: Prepare the Baguette

Next, lay the sliced baguette pieces flat on a baking sheet. Make sure to give them a little space; they’ll need it to toast properly!
Step 3: Toast the Bread

Pop the baking sheet into the preheated oven. Bake those beauties for about 10 to 12 minutes, or until they turn a light golden brown. You want them crispy but not burnt, so keep an eye on them!
Step 4: Mix the Goat Cheese and Honey

While your bread is toasting, take a mixing bowl and blend the goat cheese with the honey. You can use a fork to mix it together until it achieves a relatively smooth consistency. Don’t sweat it if it’s slightly crumbly; that’s part of the charm!
Step 5: Assemble the Bites

Take your toasted bread out of the oven while it’s still warm. Generously spread the goat cheese-honey mixture on each slice. The warmth will help it melt slightly, which is just fabulous.
Step 6: Add the Toppings

Sprinkle the chopped pecans, fresh thyme leaves, and a pinch of sea salt and freshly cracked black pepper on top. This is where the real magic happens, as these flavors meld together!
Step 7: Drizzle and Serve
Just before serving, don’t forget to drizzle a little extra honey on top and, if you like, add a touch of balsamic glaze. It’s like the icing on the cake—er, bread!
Tips & Tricks
– Use day-old baguette: Stale bread makes for great toasting and will hold up better.
– Experiment with flavors: Swap pecans for walnuts or almonds for a different crunch.
– Make it ahead: Prepare the goat cheese mixture a day before and store it in the fridge. Just toast the bread when you’re ready to serve!
– Add fruit: Consider topping these bites with a slice of apple or pear for an added layer of flavor.
– Adjust the sweetness: If you prefer a less sweet bite, reduce the honey to one tablespoon.
Can I Store Goat Cheese Appetizer Bites?
These bites are best enjoyed fresh. However, you can store any leftover toasted slices separately from the goat cheese mixture. Keep the toasted bread in an airtight container at room temperature for up to two days. The cheese mixture can be stored in the fridge for up to five days, so you can always whip up fresh bites when the craving strikes!
What Can I Serve with Goat Cheese Appetizer Bites?
– Crisp White Wine: Nothing pairs better than a chilled Sauvignon Blanc.
– Charcuterie Board: Add meats, cheeses, and fruits to elevate the experience.
– Roasted Vegetables: Serve alongside a platter of seasonal veggies for a pop of color!
– Dips: Offer pesto or hummus to complement the bites as an extra treat.
– Salads: A light arugula salad with a lemon vinaigrette rounds out the meal beautifully.
What Other Substitutes Can I Use in Goat Cheese Appetizer Bites?
– Cream Cheese: For a milder flavor, swap goat cheese with cream cheese.
– Mixed Nuts: Use a mix of your favorite nuts instead of pecans for variety.
– Dried Fruit: Try adding some chopped dried cranberries or apricots for sweetness.
– Different Herbs: Use fresh basil or chives instead of thyme for a unique taste.
– Baguette Alternatives: Use pita chips or crostini for a different texture.

Goat Cheese Appetizer Bites
Equipment
- mixing bow
- Knife
- Spoon
Ingredients
- Here’s what you’ll need to create these tasty bites:
- – 1 18-inch French baguette, sliced into 3/4-inch pieces
- – 2 4 oz. goat cheese logs, at room temperature
- – 2 tablespoons honey plus extra for drizzling
- – 1/4 cup coarsely chopped toasted pecans
- – 1/2 teaspoon fresh thyme leaves
- – A pinch of sea salt and freshly cracked black pepper to taste
- – Zest of 1 lemon adds a fresh twist!
- – 1 tablespoon balsamic glaze for a burst of tanginess
Instructions
Step 1: Preheat the Oven
- Start by preheating your oven to 350°F (175°C). This step ensures your bread gets crispy and golden while roasting.
Step 2: Prepare the Baguette
- Next, lay the sliced baguette pieces flat on a baking sheet. Make sure to give them a little space; they’ll need it to toast properly!
Step 3: Toast the Bread
- Pop the baking sheet into the preheated oven. Bake those beauties for about 10 to 12 minutes, or until they turn a light golden brown. You want them crispy but not burnt, so keep an eye on them!
Step 4: Mix the Goat Cheese and Honey
- While your bread is toasting, take a mixing bowl and blend the goat cheese with the honey. You can use a fork to mix it together until it achieves a relatively smooth consistency. Don’t sweat it if it’s slightly crumbly; that’s part of the charm!
Step 5: Assemble the Bites
- Take your toasted bread out of the oven while it’s still warm. Generously spread the goat cheese-honey mixture on each slice. The warmth will help it melt slightly, which is just fabulous.
Step 6: Add the Toppings
- Sprinkle the chopped pecans, fresh thyme leaves, and a pinch of sea salt and freshly cracked black pepper on top. This is where the real magic happens, as these flavors meld together!
Step 7: Drizzle and Serve
- Just before serving, don’t forget to drizzle a little extra honey on top and, if you like, add a touch of balsamic glaze. It’s like the icing on the cake—er, bread!
Notes
Nutrition
FAQs
1. Can I use flavored goat cheese?
Absolutely! Flavored goat cheeses like herbed or roasted garlic can add incredible depth to your bites.
2. How do I make these bites gluten-free?
Simply use a gluten-free baguette or an alternative like rice cakes to cater to gluten-free diets.
3. Can I freeze the goat cheese mixture?
It’s advisable to not freeze the mixture, as the texture may change when thawing. It’s best enjoyed fresh!
4. What’s the best way to serve these bites?
Serve them warm or at room temperature; they taste delightful in either state.
5. Can I skip the honey?
You can reduce or omit the honey if you prefer a savory bite. Consider adding a splash of lemon juice for brightness instead.
Conclusion
Goat cheese appetizer bites are more than just finger food; they embody the spirit of joyous gatherings. Whether you’re hosting game night or simply enjoying a cozy evening at home, these bites will surely impress. Their delightful blend of flavors and ease of preparation makes them a must-have.
Share them with friends, and watch them vanish! Enjoy the moment, savor the flavor, and happy cooking!