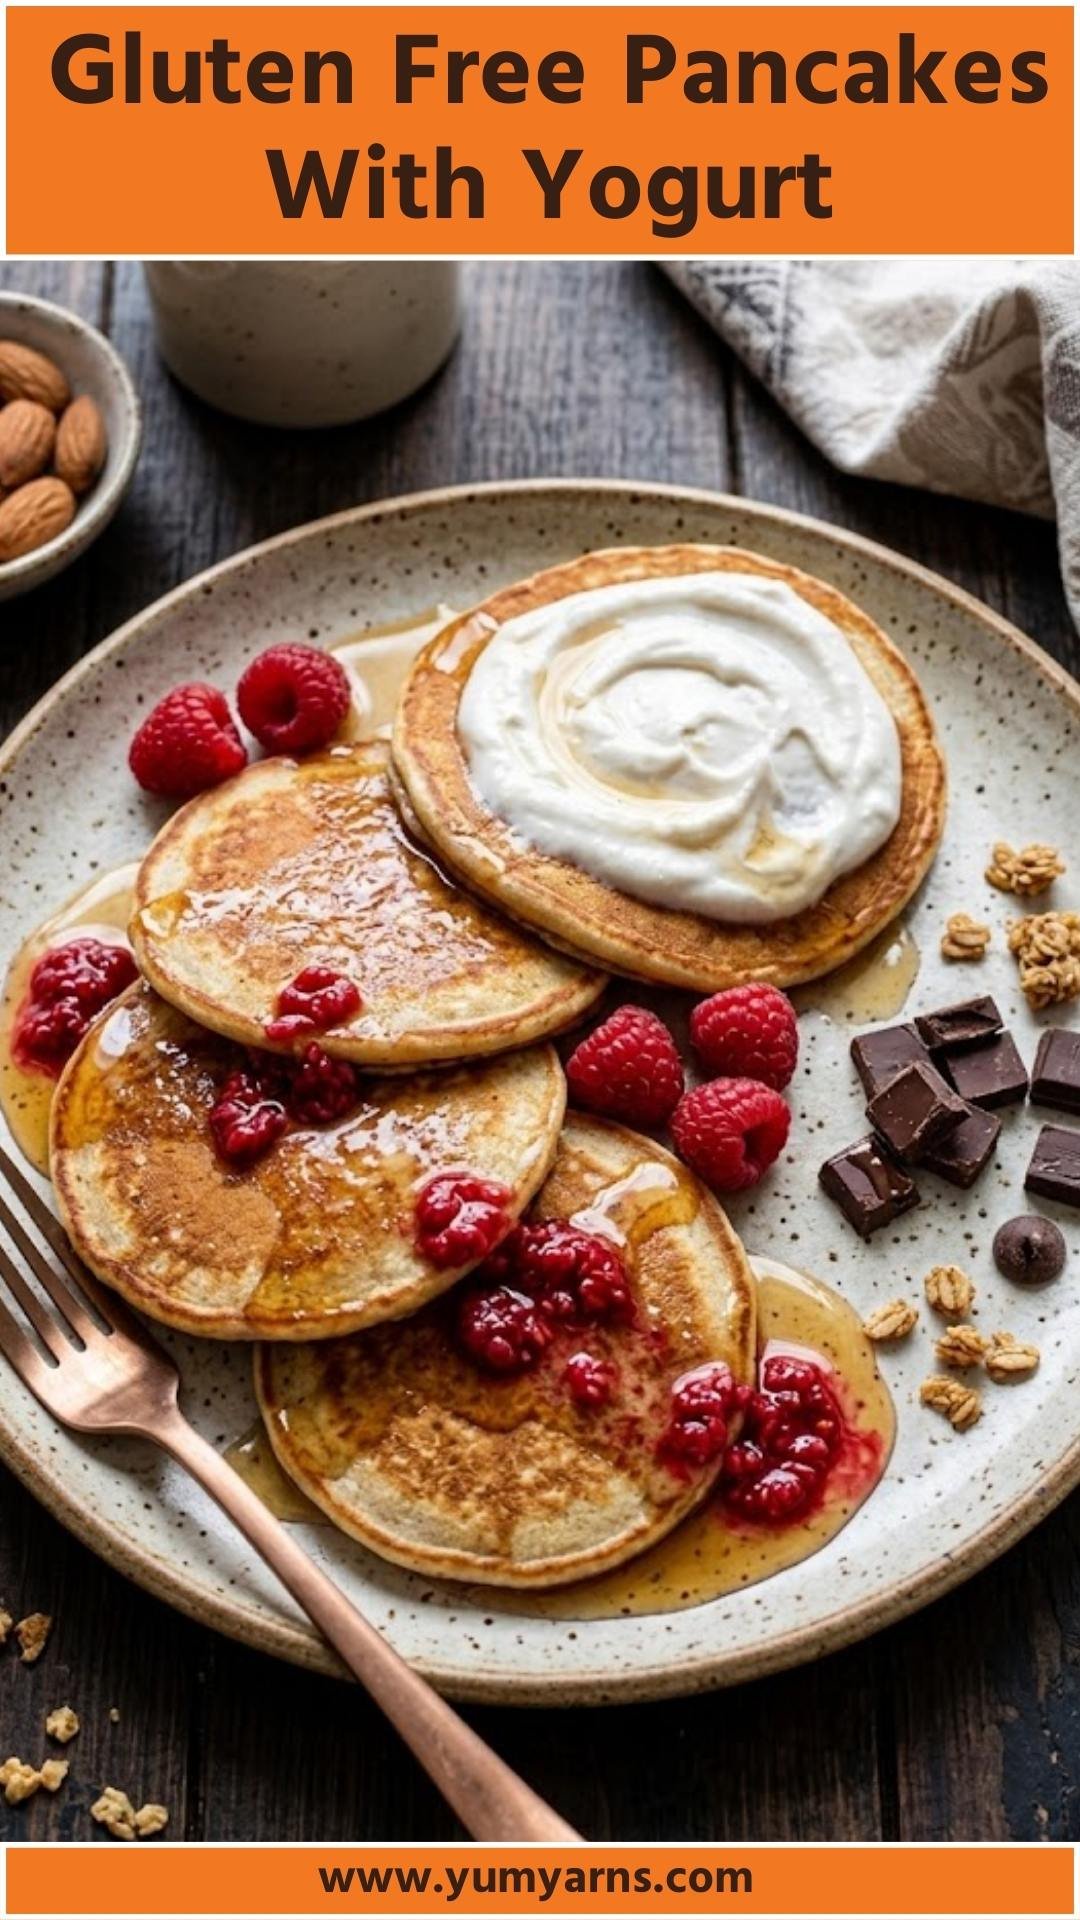
Picture this: a weekend morning, sunlight streaming through the kitchen window, and a smell wafting through the air that makes you smile before you even take a bite. These gluten free pancakes with yogurt are the ticket to that bliss.
They’re absolutely perfect when served alongside fresh fruit, maple syrup, or a dollop of nut butter to kickstart your day. Trust me, all your brunch dreams are about to come true!

Gluten-free pancakes might sound like an indulgence meant solely for those with dietary restrictions, but I’m here to tell you that they can also bring joy to everyone else at the table. Made with hearty rolled oats and luscious yogurt, these pancakes are not just a healthier option; they can easily become the go-to breakfast for any occasion.
Whip them up for a family brunch or enjoy a quiet moment to yourself.
You Might Like These Recipes!
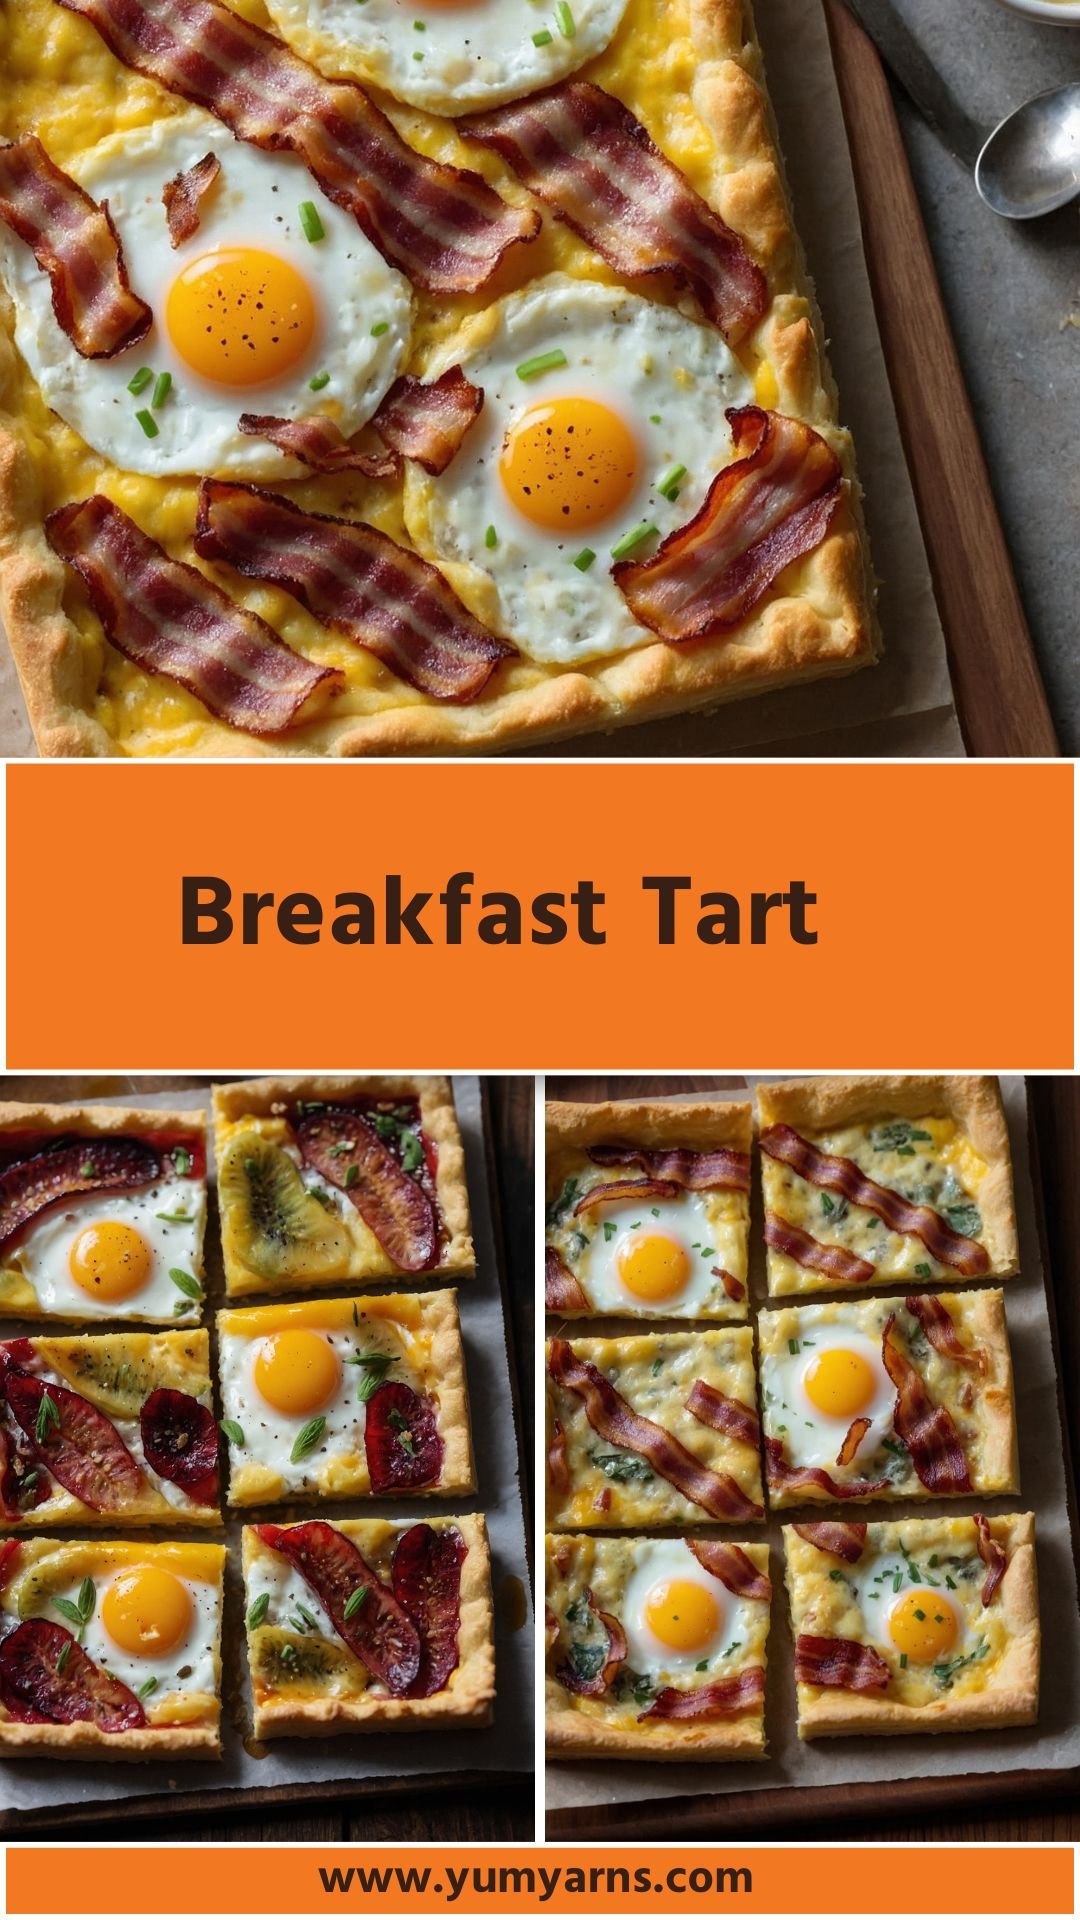
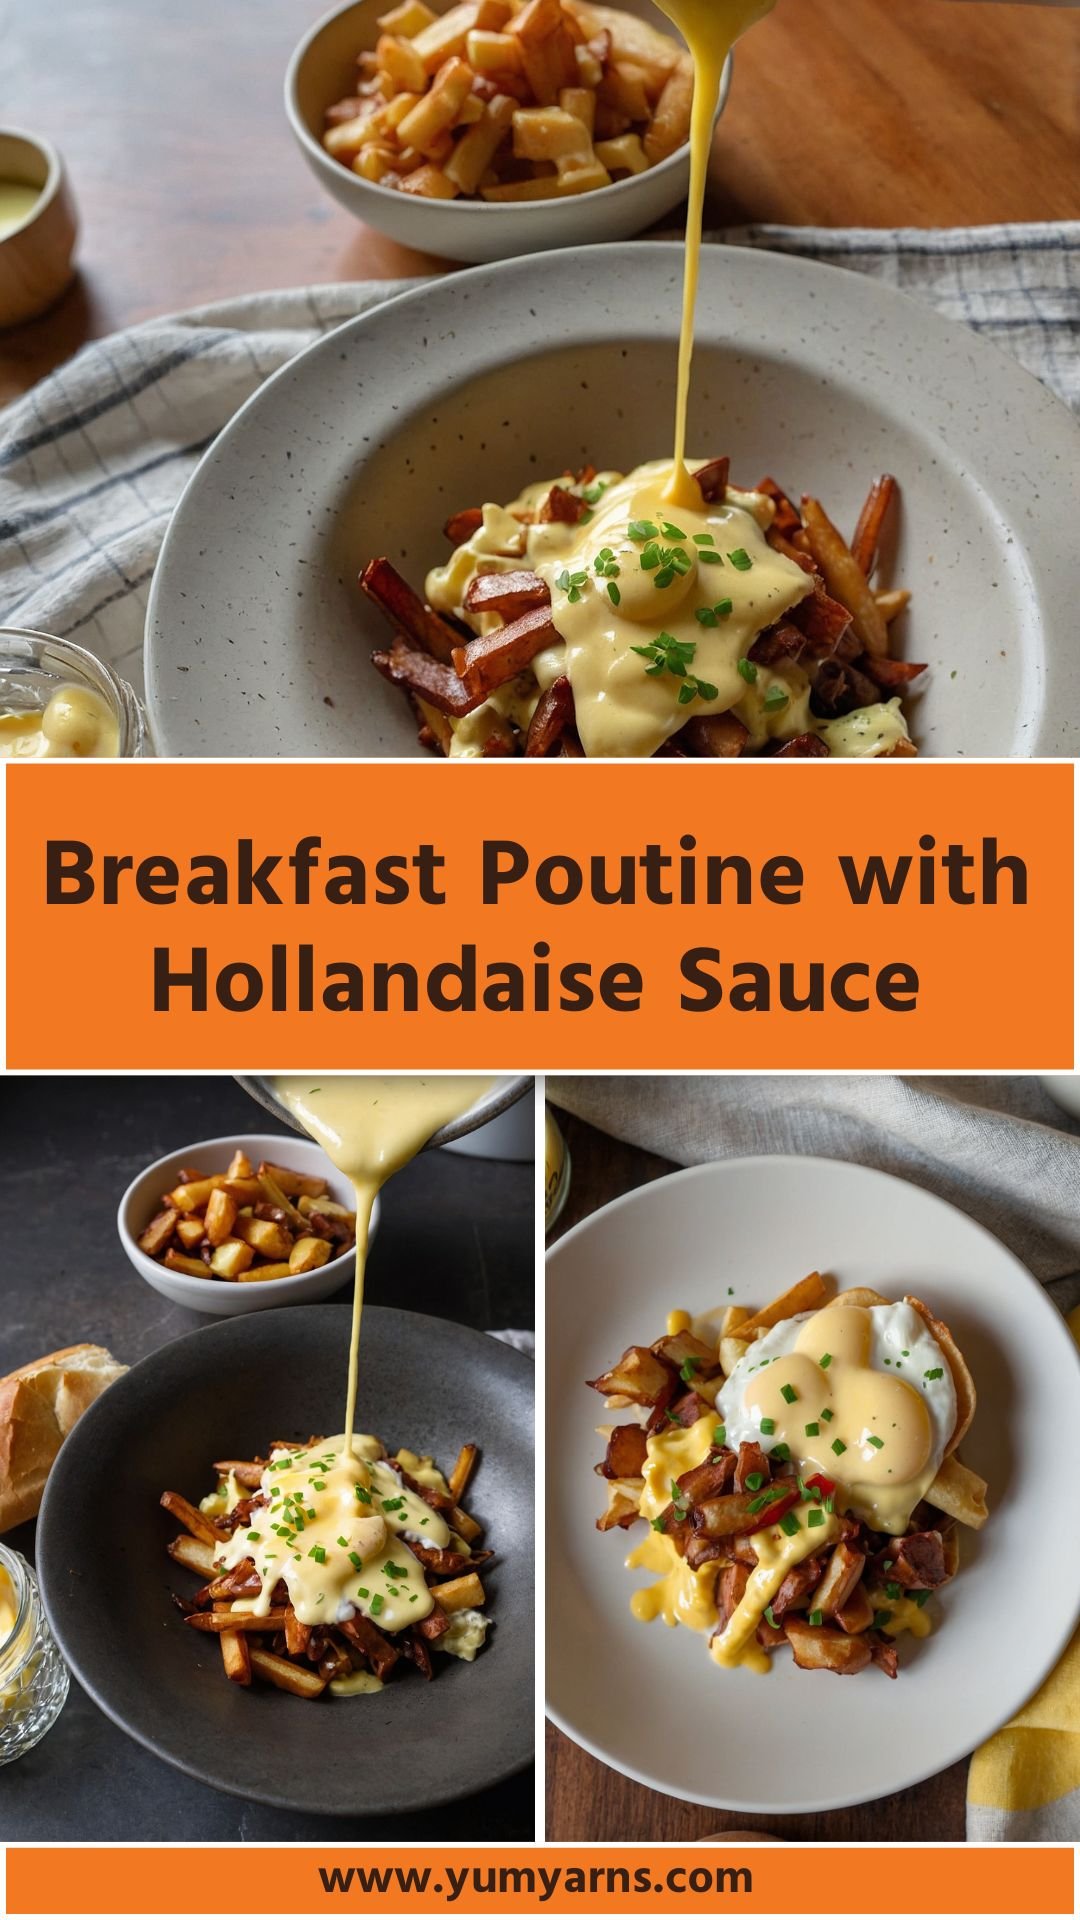
Breakfast Poutine With Hollandaise Sauce Recipe
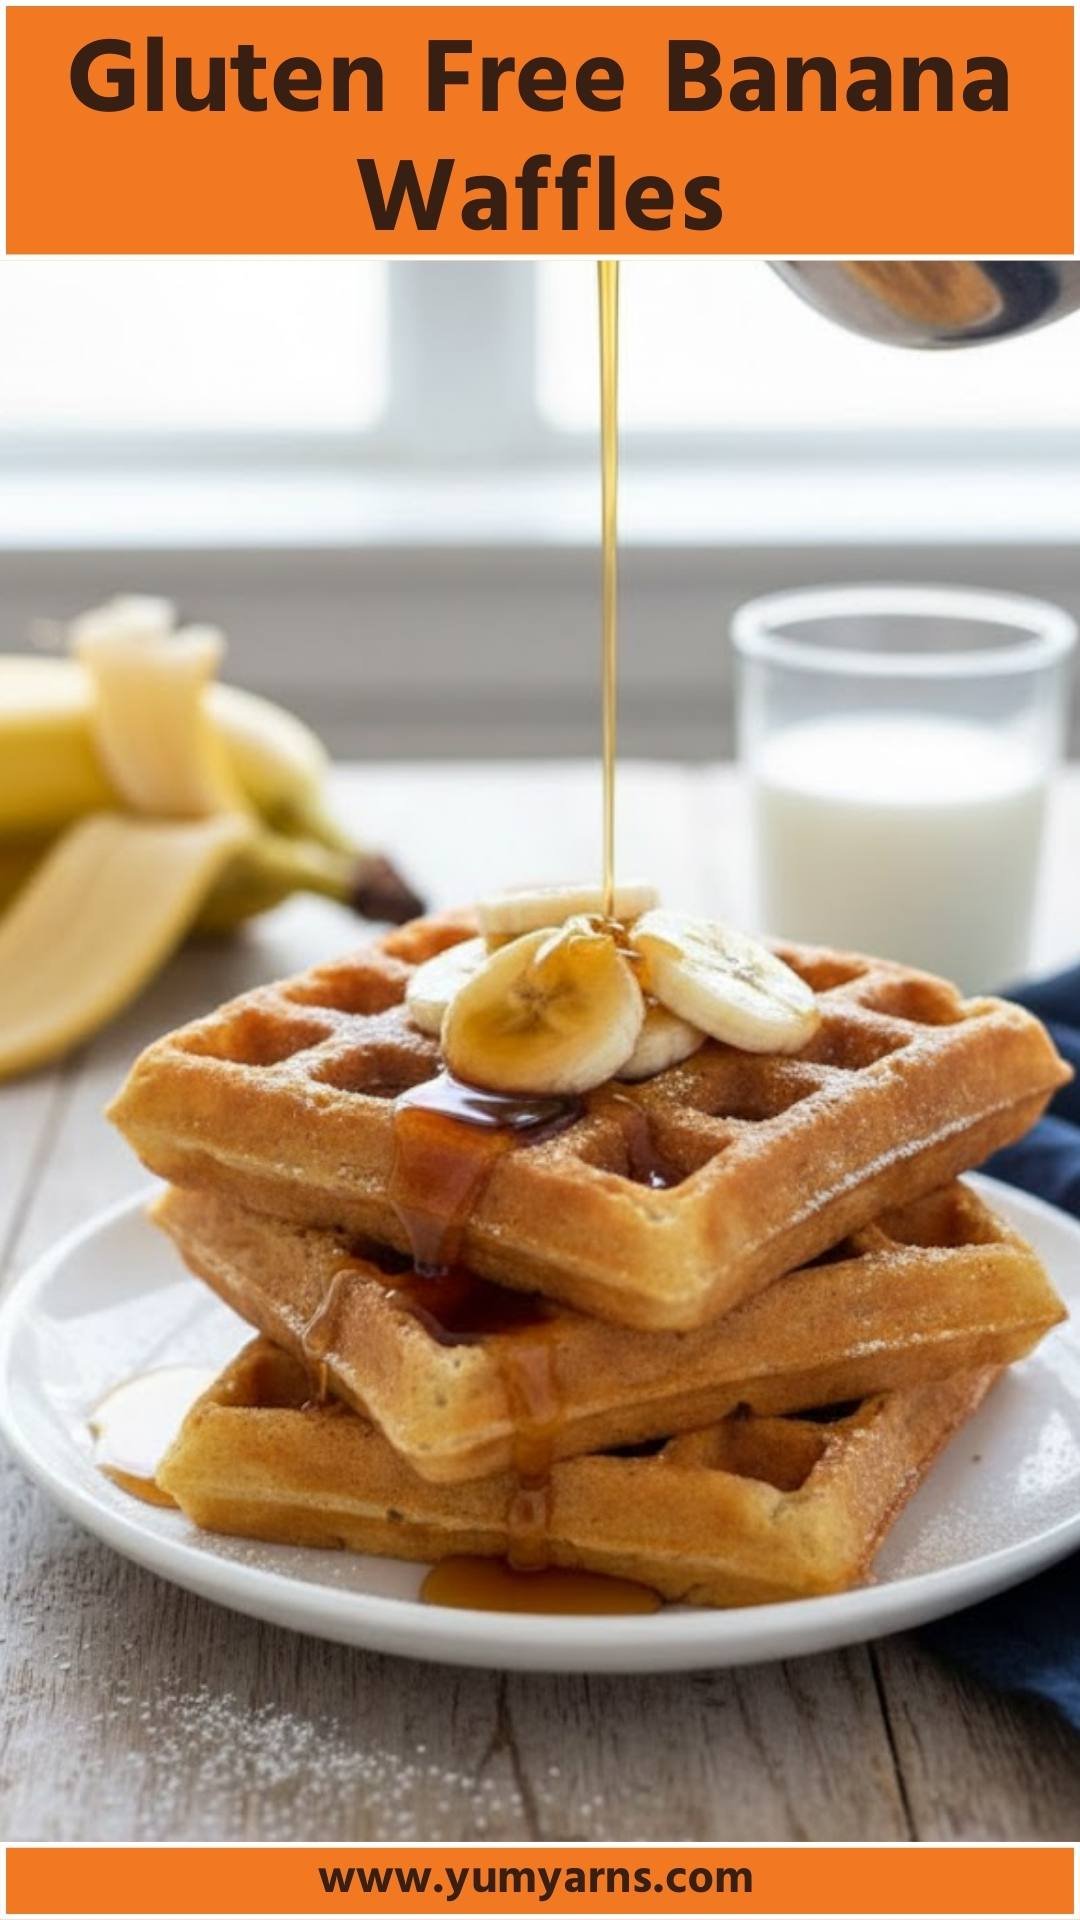
Gluten Free Banana Waffles Recipe
What is gluten free pancakes with yogurt?
Gluten-free pancakes with yogurt are fluffy discs of joy made primarily with rolled oats and yogurt, making them both satisfying and nutritious. By using yogurt, the pancakes achieve a delightful creaminess, which enhances the texture and keeps them moist. The blend of almond milk and yogurt provides a rich flavor profile without the heaviness often found in traditional pancake recipes.
What is the flavor profile of this dish?
These pancakes offer a delightful balance of flavors and textures. The mild sweetness from the coconut sugar and vanilla harmonizes with the nutty undertone from the oats. The yogurt adds creaminess that makes each bite feel indulgent while still being healthy. You can easily customize the flavor by folding in blueberries, chocolate chips, or even a touch of cinnamon for an extra layer of taste.
Why You’ll Love this dish?
You’ll love this dish because it checks so many boxes at once. Not only are these pancakes gluten-free and packed with protein from Greek yogurt, but they’re also incredibly versatile. Whether you prefer sweet or savory toppings—be it fresh fruits, honey, or a sprinkle of cinnamon—these pancakes adapt beautifully. Plus, they’re quick to prepare, meaning you won’t spend your entire morning in the kitchen.
The Ingredients:

To make these delicious pancakes, gather these ingredients:
– 1 ripe banana (adds natural sweetness and moisture)
– ½ cup (113g) plain or vanilla Greek yogurt
– ½ cup (120g) unsweetened vanilla almond milk (or your preferred dairy-free alternative)
– 1 large egg
– 1 tbsp coconut sugar
– 1 tsp pure vanilla extract
– ¼ tsp almond extract
– 1 ¼ cup (119g) old-fashioned rolled oats (ensure gluten-free if needed)
– 2 tsp baking powder
– ¼ tsp salt
– Optional mix-ins: ½ cup fresh blueberries or chocolate chips
– Butter or olive oil for cooking
Ingredients From : ambitiouskitchen.com
How to make gluten free pancakes with yogurt?
Let’s dig into the steps needed to whip these pancakes up! You won’t need a laundry list of fancy equipment—just a blender and a griddle. Ready? Let’s go!
Step-by-step directions:
Step 1: Blend the Batter

In your blender, add all your ingredients except for the mix-ins. This includes the rolled oats, Greek yogurt, egg, coconut sugar, almond milk, and extracts. Blend everything on high until the mixture is completely smooth. You should aim for about 30 seconds to 1 minute of blending time. Once smooth, it’s essential to let the batter sit in the blender for 10 minutes. This step allows the rolled oats to soak up some moisture, resulting in perfect thickness.
Step 2: Preheat the Griddle

While the batter is resting, take a moment to heat a griddle or a non-stick skillet over medium heat. Lightly coat the cooking surface with butter or olive oil, ensuring it’s evenly covered. A properly heated surface helps the pancakes cook evenly.
Step 3: Pour and Cook

Once the griddle reaches the right temperature, pour approximately ¼ cup of the batter for each pancake. You’ll want to drop the batter carefully to maintain a uniform shape. Before the batter sets, scatter a handful of blueberries or a few chocolate chips onto the top of each pancake.
Step 4: Flip and Finish

Watch your pancakes as they cook. In about 2-4 minutes, you should see the edges puffing up slightly and small bubbles forming on the surface, indicating that they are ready to flip. When you do flip, make sure they are golden brown. If you notice they’re browning too quickly, reduce the heat. It can be tricky to find that sweet spot, but once you do, you’ll make perfect pancakes every single time!
Step 5: Serve Warm

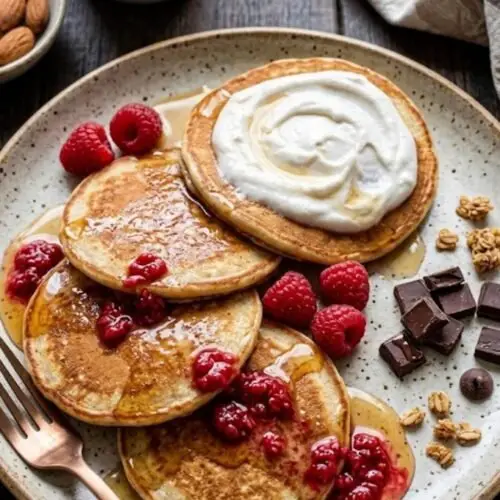
After cooking both sides until golden brown, remove the pancakes from the griddle and serve immediately. Garnish with your favorite toppings, whether fresh fruits, maple syrup, or a drizzle of honey. Enjoy!
Tips:
– Let the Batter Sit: This is a crucial step! Allowing the batter to rest helps thicken the pancakes.
– Adjust Heat: Start with medium heat, but don’t hesitate to lower it if your pancakes are browning too quickly.
– Pan Temperature: Your pan should be hot enough for the batter to sizzle slightly when it hits the surface—test it with a small drop of batter first!
– Mix-In Variation: Don’t be afraid to change things up! You can add in nuts, spices, or even shredded coconut for different flavors.
– Batch Cooking: Make extra pancakes and freeze them for quick weekday breakfasts.
How Can You Store These gluten free pancakes with yogurt?
To store leftover pancakes, let them cool completely before stacking them in an airtight container. You can keep them in the refrigerator for 2-3 days or freeze them for up to a month. Just remember to separate layers with parchment paper to avoid sticking. When you’re ready to eat, simply reheat them in the microwave or toaster.
If some of the ingredients are not available in your pantry, what are some alternative choices you can consider?
– Greek Yogurt: You can swap Greek yogurt with regular plain yogurt or any plant-based yogurt if dairy-free.
– Rolled Oats: If you don’t have rolled oats, instant oats could work, though the texture may differ.
– Coconut Sugar: Brown sugar or maple syrup can be used instead; just adjust the measurement to your taste.
– Almond Milk: Any dairy-free milk works like soy, oat, or even regular dairy milk.
– Egg Substitute: If you need an egg replacement, 1 tablespoon of ground flaxseed mixed with 3 tablespoons of water can serve as a suitable alternative.
Serving Suggestions:
– Top with Fresh Fruit: Use strawberries, bananas, or a berry medley for a fresh twist.
– Nut Butter Delight: Add a spread of peanut butter or almond butter over warm pancakes.
– Chocolate Drizzle: For a treat, drizzle with melted dark chocolate or even a chocolate sauce!
– Coconut Flakes: Toasted coconut flakes add a delightful crunch and sweetness.
– Yogurt Parfait: Layer pancakes with yogurt and fruit for a fun breakfast stack.
What other substitute can I use in gluten free pancakes with yogurt?
– Maple Syrup for Coconut Sugar: This natural sweetener adds a delicious maple flavor.
– Sorghum Flour for Oats: If you’re looking for a flour-based pancake, sorghum has a neutral flavor and holds moisture well.
– Chia Seeds for Eggs: These can help bind the ingredients and contribute additional nutrition.
– Zucchini for Extra Moisture: Incorporating shredded zucchini in the batter can enhance moisture while keeping it healthy.
– Nut Milk for Almond Milk: Any kind of nut milk will provide a similar taste; just ensure it’s unsweetened.
Gluten Free Pancakes With Yogurt
Equipment
- blender
- griddle or skillet
- measuring spoons
- Measuring cups
- Spatula
Ingredients
- To make these delicious pancakes gather these ingredients:
- – 1 ripe banana adds natural sweetness and moisture
- – ½ cup 113g plain or vanilla Greek yogurt
- – ½ cup 120g unsweetened vanilla almond milk (or your preferred dairy-free alternative)
- – 1 large egg
- – 1 tbsp coconut sugar
- – 1 tsp pure vanilla extract
- – ¼ tsp almond extract
- – 1 ¼ cup 119g old-fashioned rolled oats (ensure gluten-free if needed)
- – 2 tsp baking powder
- – ¼ tsp salt
- – Optional mix-ins: ½ cup fresh blueberries or chocolate chips
- – Butter or olive oil for cooking
Instructions
Step 1: Blend the Batter
- In your blender, add all your ingredients except for the mix-ins. This includes the rolled oats, Greek yogurt, egg, coconut sugar, almond milk, and extracts. Blend everything on high until the mixture is completely smooth. You should aim for about 30 seconds to 1 minute of blending time. Once smooth, it’s essential to let the batter sit in the blender for 10 minutes. This step allows the rolled oats to soak up some moisture, resulting in perfect thickness.
Step 2: Preheat the Griddle
- While the batter is resting, take a moment to heat a griddle or a non-stick skillet over medium heat. Lightly coat the cooking surface with butter or olive oil, ensuring it’s evenly covered. A properly heated surface helps the pancakes cook evenly.
Step 3: Pour and Cook
- Once the griddle reaches the right temperature, pour approximately ¼ cup of the batter for each pancake. You’ll want to drop the batter carefully to maintain a uniform shape. Before the batter sets, scatter a handful of blueberries or a few chocolate chips onto the top of each pancake.
Step 4: Flip and Finish
- Watch your pancakes as they cook. In about 2-4 minutes, you should see the edges puffing up slightly and small bubbles forming on the surface, indicating that they are ready to flip. When you do flip, make sure they are golden brown. If you notice they’re browning too quickly, reduce the heat. It can be tricky to find that sweet spot, but once you do, you’ll make perfect pancakes every single time!
Step 5: Serve Warm
- After cooking both sides until golden brown, remove the pancakes from the griddle and serve immediately. Garnish with your favorite toppings, whether fresh fruits, maple syrup, or a drizzle of honey. Enjoy!
Notes
Nutrition
FAQs:
Can I make these pancakes vegan?
Yes! Replace the egg with a flax egg and use plant-based yogurt and milk to make a delicious vegan version.
How do I know when the pancakes are done?
Look for bubbling on the surface and a golden-brown underside indicating they’re ready to flip.
Can I make the batter ahead of time?
While it’s best to use the batter fresh for the fluffiest pancakes, you can prepare it the night before and store it in the refrigerator.
Why is my batter too thick?
If your batter seems thick after resting, just add a few tablespoons of additional milk until you reach your desired consistency.
Are these pancakes freezer-friendly?
Absolutely! Just make sure to stack them with parchment paper in between, and they’ll last in the freezer for a month.
Conclusion:
These gluten-free pancakes with yogurt are not just a meal; they are an experience. Whether you’re serving them on a lazy Sunday morning or preparing for a busy week ahead, they promise to satisfy your cravings and fuel your day.
With your choice of delightful toppings and the ease of preparation, you’ve got a winner that will cater to anyone at the table. So whisk up a batch, and enjoy every delicious bite!