When the weather gets warm and you’re lounging on the porch, nothing beats a cold dessert to cool you down. Personally, I adore pairing this Frozen Oreo Pie with fresh fruit salads or a scoop of vanilla ice cream.
The contrast of flavors and textures just gets my taste buds dancing. Whether it’s a picnic or a backyard gathering, this pie is the cherry on top—no pun intended!

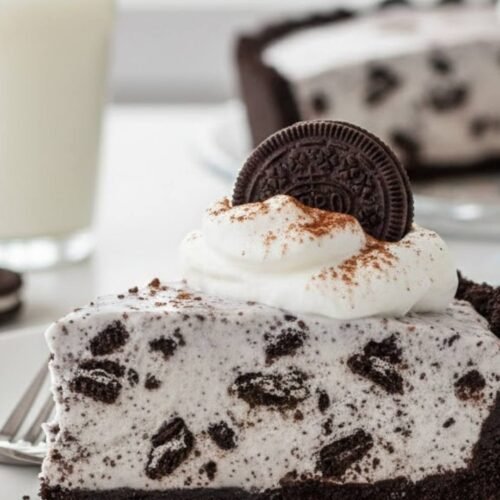
Let me tell you about one of my all-time favorite desserts: Frozen Oreo Pie. It’s that kind of dish you whip up in no time and notice heads turning when you serve it. It’s rich, creamy, and so satisfying that I promise no one will leave the table without a smile—or a second slice. Best of all, it requires no baking, making it a go-to for busy summertime days.
You Might Like These Recipes!
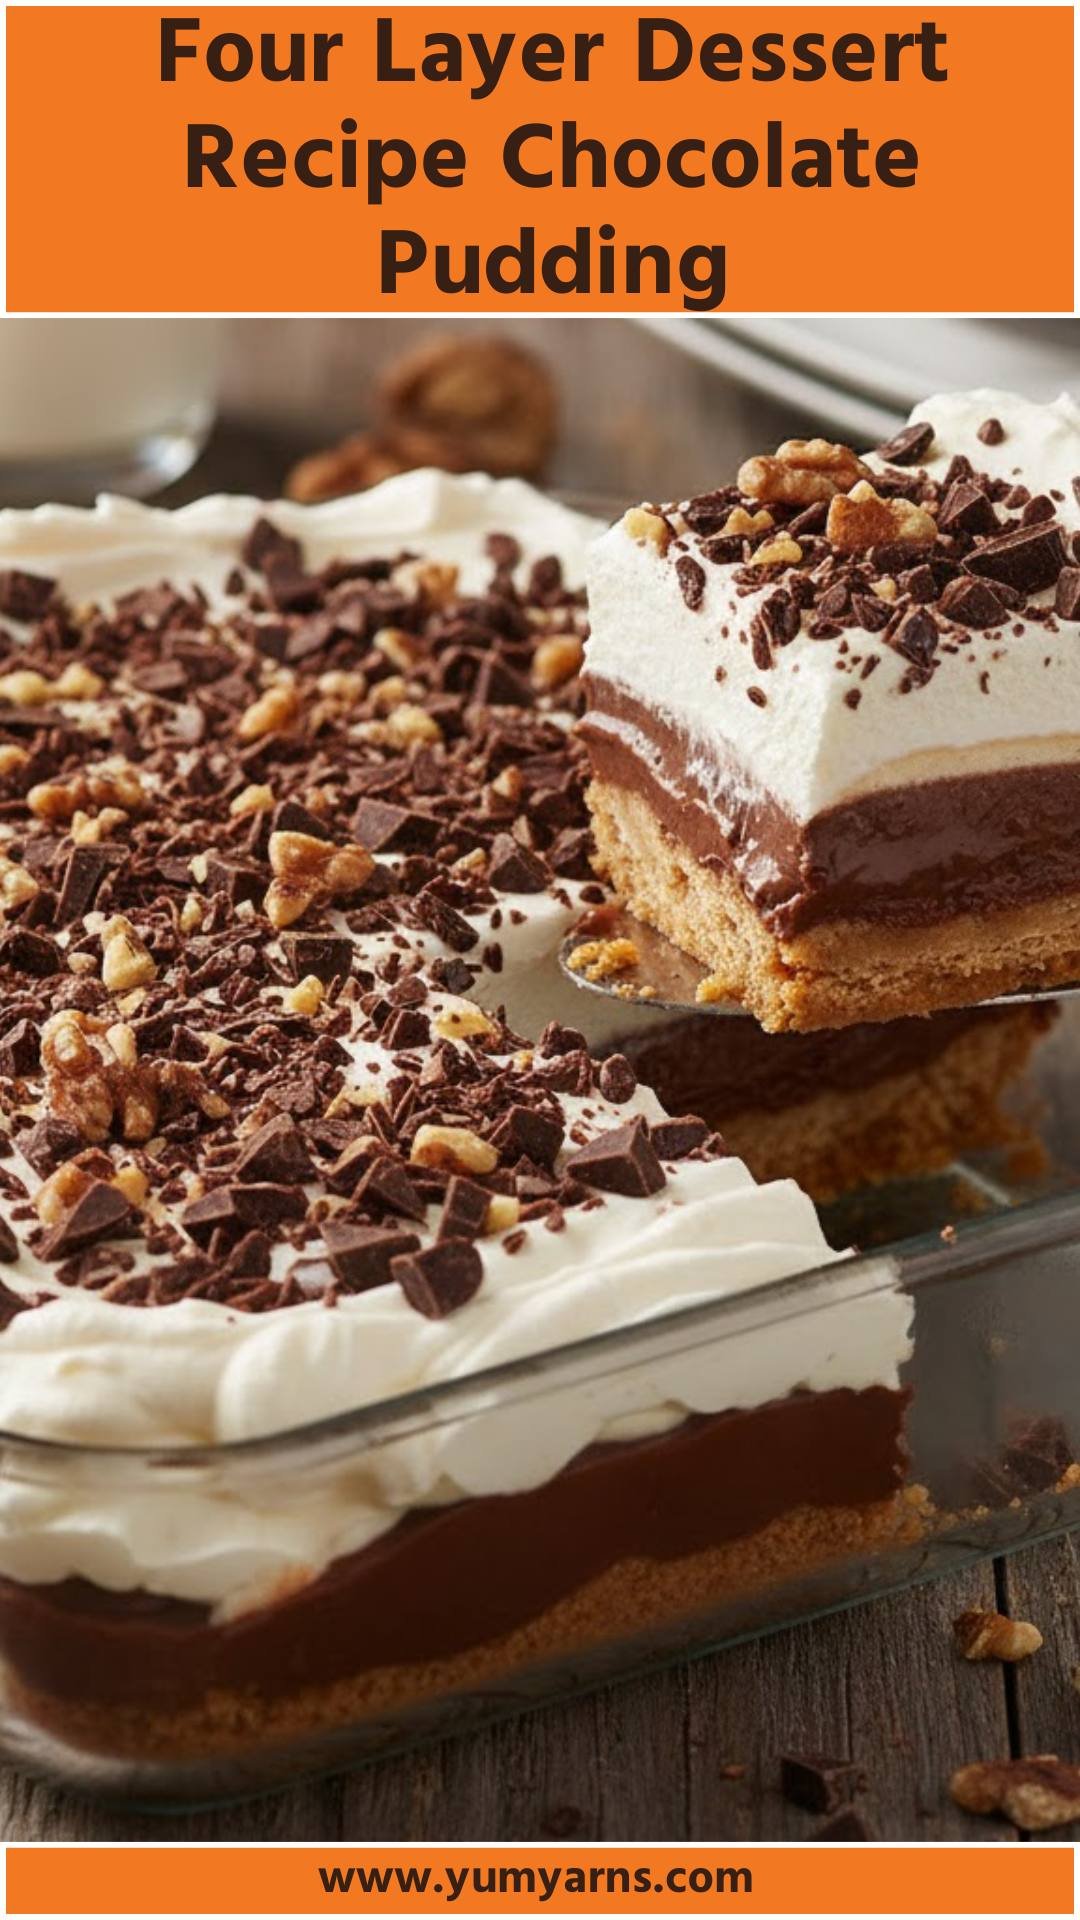
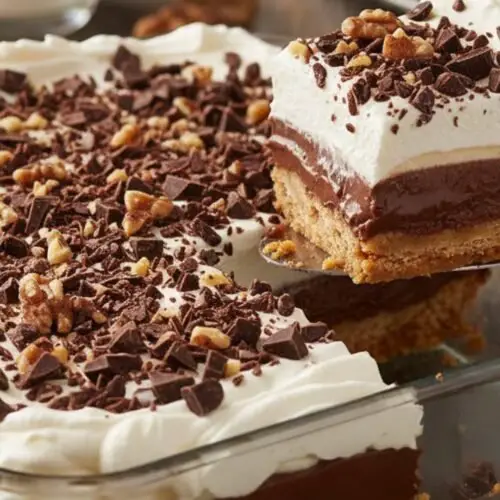
Four Layer Dessert Recipe Chocolate Pudding Recipe
Fresh Ham Recipe In Crock Pot Recipe
What is Frozen Oreo Pie?
Frozen Oreo Pie is a delightful dessert that combines crushed Oreo cookies, creamy filling, and whipped topping, all frozen to perfection. Imagine a smooth, sweet filling set in a crunchy cookie crust—every bite is a treat! It’s a dessert that’s fun to make, and you can easily customize it to your liking.
What Makes This Recipe Different From Other Frozen Oreo Pies?
What sets this Frozen Oreo Pie apart is the highlight on fresh ingredients and the perfect balance of flavors. While many versions rely heavily on artificial ingredients or overly sweet toppings, my approach is to keep it simple and delicious with cream cheese that adds a rich texture, an extra handful of mini chocolate chips for added chocolate goodness, and a light dusting of cocoa powder on top for elegance.
How Does It Taste Like?
Think of the taste of this pie as pure bliss—chocolatey, creamy, and just the right amount of sweetness. The crunch from the crust pairs beautifully with the smooth filling, making it a satisfying dessert experience. The subtle hint of vanilla and cream from the whipped topping elevates the flavors even more—trust me, it’s a taste sensation that’s almost too good to be true!
Ingredients You’ll Need To Make This Dish

To make this delicious Frozen Oreo Pie, gather the following ingredients:
– For the crust:
– 30 crushed Oreo cookies
– 6 tablespoons unsalted butter, melted
– For the filling:
– 8 ounces cream cheese, softened
– ½ cup powdered sugar
– 1 ½ teaspoons pure vanilla extract
– 8 ounces frozen whipped topping (like Cool Whip), thawed
– 15 coarsely chopped Oreos
– ½ cup mini chocolate chips (for added flavor)
– For topping:
– Extra whipped topping and crushed Oreos, if desired
– A light sprinkle of cocoa powder
Ingredients From : mybakingaddiction.com
How to Make Frozen Oreo Pie?
Now, let’s dive into the steps of this easy-to-make Frozen Oreo Pie. It’s simple enough that anyone can give it a shot. Here’s how it goes:
Step 1: Prepare the Crust

In a medium bowl, take your crushed Oreo cookies and melted butter. Mix them together until everything is well blended. You want to make sure the crumbs are fully coated in butter, which ensures the crust will hold together nicely.
Once combined, press this mixture into the bottom and up the sides of a 9-inch pie plate. Your crust should have an even layer without any gaps. Pop the pie plate into the freezer for about 20 minutes. This will help the crust set, so it stays intact when you fill it.
Step 2: Mix the Filling

In a large mixing bowl, grab your electric mixer and beat together the softened cream cheese, powdered sugar, and vanilla extract on medium speed. Whisk this mixture for about 3 minutes until it turns fluffy and well-combined.
The key here is to ensure there are no lumps from the cream cheese. Once that’s done, take your rubber spatula and gently fold in the thawed whipped topping. Go slow and steady to keep that light, airy texture. Finally, add in those coarsely chopped Oreos and mini chocolate chips, folding them in delicately.
Step 3: Assemble the Pie

Once the filling is thoroughly combined, spread it evenly into your chilled crust. Make sure it reaches all corners for an even slice later on. Smooth the top with your spatula. If you’re feeling extra fancy, you can sprinkle a little cocoa powder on top for a decorative touch!
Step 4: Chill Before Serving

Cover the pie and pop it in the refrigerator for at least 3 hours—or longer if you can resist the temptation! It’s a crucial step that allows all the flavors to meld together beautifully. Trust me, the longer it chills, the better it tastes.
Tips & Tricks On Making Frozen Oreo Pie
– Use room temperature cream cheese for a creamier filling; this helps it blend smoothly.
– Don’t skip the chilling time. It not only allows the flavors to meld but also firms up the pie for easier slicing.
– Try adding a splash of espresso powder to the filling for a mocha twist.
– Cut the slices with a hot knife. Dip your knife in hot water, then dry it before slicing for cleaner edges.
– Get creative with toppings. Consider drizzling some melted chocolate or a sprinkle of chopped nuts for added texture.
How Do I Store This Dish?
You can store your Frozen Oreo Pie in the refrigerator for up to five days. If you have any leftovers (which is rare!), wrap it tightly in plastic wrap or cover it with aluminum foil. You can also freeze it for a future treat, but be sure to allow it to thaw in the fridge before serving again.
Serving Suggestions
– Serve alongside fresh berries to cut through the richness with a pop of acidity.
– Pair with a scoop of ice cream; vanilla or mint would work wonders.
– Top with a drizzle of chocolate sauce for an indulgent treat.
– Serve with a side of whipped cream for those who love an extra creamy bite.
– Enjoy it with a cup of coffee; the chocolate pairs perfectly!
What Other Substitutes Can I Use in Frozen Oreo Pie?
– Graham cracker crust can replace the Oreo crust for a different texture and flavor.
– Almond milk cream cheese can work for a dairy-free version.
– Coconut whipped topping is a great vegan alternative to traditional whipped topping.
– Use peanut butter in the filling for a rich flavor twist.
– Swap in gluten-free Oreos if you’re accommodating gluten intolerances.
Frozen Oreo Pie
Equipment
- 9-inch pie plate
- electric mixer
- Mixing bowls
- rubber spatula
Ingredients
- To make this delicious Frozen Oreo Pie gather the following ingredients:
– For the crust:
- – 30 crushed Oreo cookies
- – 6 tablespoons unsalted butter melted
– For the filling:
- – 8 ounces cream cheese softened
- – ½ cup powdered sugar
- – 1 ½ teaspoons pure vanilla extract
- – 8 ounces frozen whipped topping like Cool Whip, thawed
- – 15 coarsely chopped Oreos
- – ½ cup mini chocolate chips for added flavor
– For topping:
- – Extra whipped topping and crushed Oreos if desired
- – A light sprinkle of cocoa powder
Instructions
Step 1: Prepare the Crust
- In a medium bowl, take your crushed Oreo cookies and melted butter. Mix them together until everything is well blended. You want to make sure the crumbs are fully coated in butter, which ensures the crust will hold together nicely. Once combined, press this mixture into the bottom and up the sides of a 9-inch pie plate. Your crust should have an even layer without any gaps. Pop the pie plate into the freezer for about 20 minutes. This will help the crust set, so it stays intact when you fill it.
Step 2: Mix the Filling
- In a large mixing bowl, grab your electric mixer and beat together the softened cream cheese, powdered sugar, and vanilla extract on medium speed. Whisk this mixture for about 3 minutes until it turns fluffy and well-combined. The key here is to ensure there are no lumps from the cream cheese. Once that’s done, take your rubber spatula and gently fold in the thawed whipped topping. Go slow and steady to keep that light, airy texture. Finally, add in those coarsely chopped Oreos and mini chocolate chips, folding them in delicately.
Step 3: Assemble the Pie
- Once the filling is thoroughly combined, spread it evenly into your chilled crust. Make sure it reaches all corners for an even slice later on. Smooth the top with your spatula. If you’re feeling extra fancy, you can sprinkle a little cocoa powder on top for a decorative touch!
Step 4: Chill Before Serving
- Cover the pie and pop it in the refrigerator for at least 3 hours—or longer if you can resist the temptation! It’s a crucial step that allows all the flavors to meld together beautifully. Trust me, the longer it chills, the better it tastes.
Notes
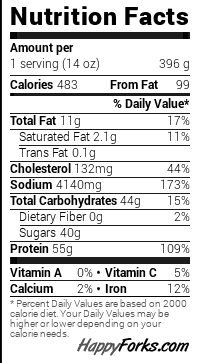
Nutrition
FAQs
1. Can I make this pie ahead of time?
Absolutely! Frozen Oreo Pie is perfect for make-ahead treats. Just ensure you store it covered in the freezer.
2. What if I don’t have mini chocolate chips?
No worries! You can simply omit them or use regular chocolate chips for a more pronounced chocolate flavor.
3. How can I make this pie more chocolatey?
You could add a chocolate drizzle on top or use chocolate-flavored whipped topping.
4. Can I use different flavored Oreos?
Yes! Feel free to experiment with different Oreo flavors, like mint or peanut butter, for a unique twist.
5. Is this pie suitable for special diets?
You can make this pie gluten-free and dairy-free with the right ingredient choices, as mentioned in the substitute section.
Conclusion
Making a Frozen Oreo Pie is as joyful as eating it! With simple ingredients and an easy method, you just can’t go wrong when treating yourself and your loved ones to this delectable dessert. Embrace the spirit of summer with this cool and creamy delight, and I can guarantee there will be smiles all around.
So whether you’re celebrating a special occasion or just want to indulge in something sweet, this Frozen Oreo Pie is a surefire way to sweeten your day! Enjoy every bite!


")