If you’re planning to enjoy a Jollibee hotdog, consider what else might complement your meal. A side of crispy, golden fries is always a winner. The salty crunch of fries pairs beautifully with the savory flavors of the hotdog.
Alternatively, a refreshing green salad can offer a nice contrast, cleansing your palate with each hearty bite. If you’re in the mood for something sweet, a slice of mango or a fruit cup could balance the savory profile wonderfully. Beverages like a cold soda or iced tea can also round out the experience.
Now that you have some ideas to pair, let’s dive into the delicious world of the Jollibee hotdog.

As a food blogger and dietitian, I have spent years exploring different cuisines, and one particular childhood favorite always brings me joy—the Jollibee hotdog. Growing up, the thrill of biting into a hotdog layered with creamy mayonnaise, cheese, and a sprinkle of sweetness was unmatched.
Every encounter with this dish reminded me of celebrating special occasions with family and friends. Whether it’s a casual snack or a festive treat, the Jollibee hotdog is a delightful staple that has captured hearts worldwide.
My journey into the culinary landscape of this beloved dish revealed fascinating insights about its unique flavor and preparation. So, let’s go deeper into what makes the Jollibee hotdog so special.
You will also like the following Taste recipes!
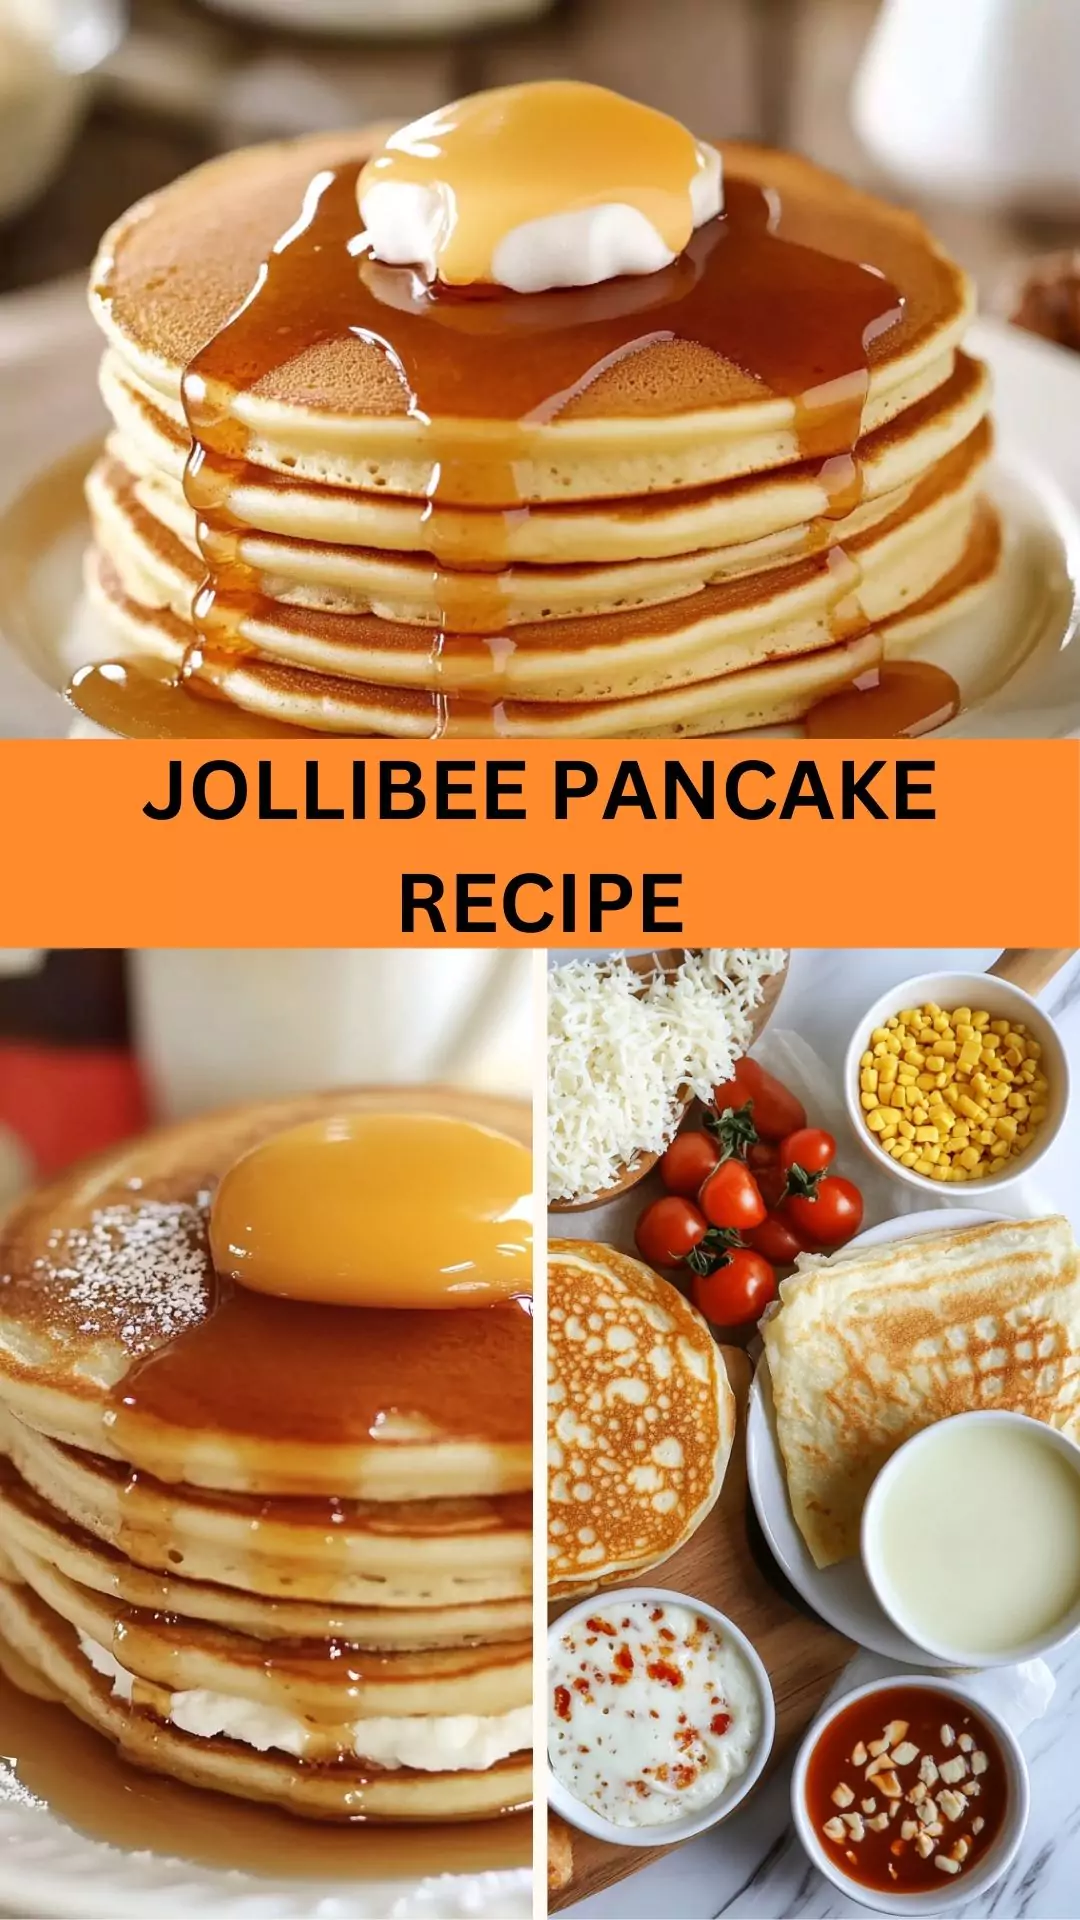
- Best Jollibee Pancake Recipe
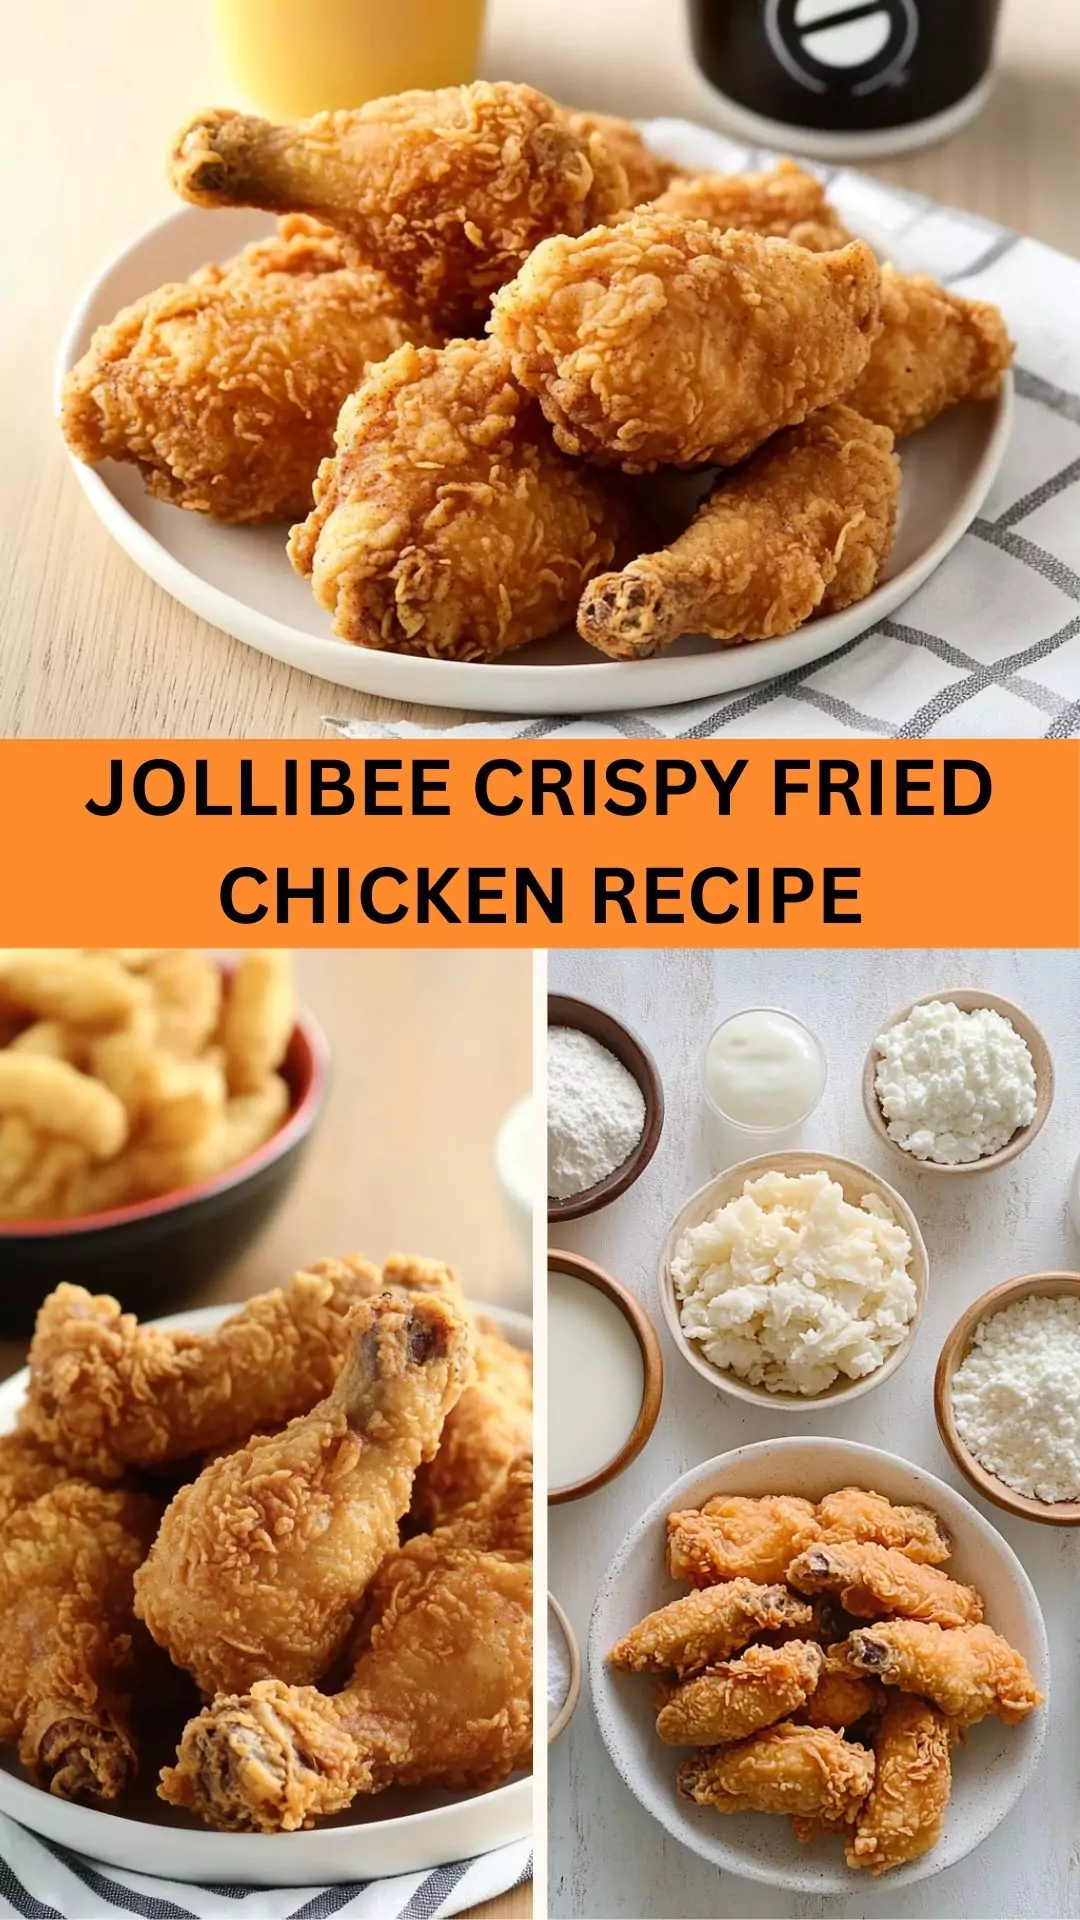
- How to make Jollibee Crispy Fried Chicken
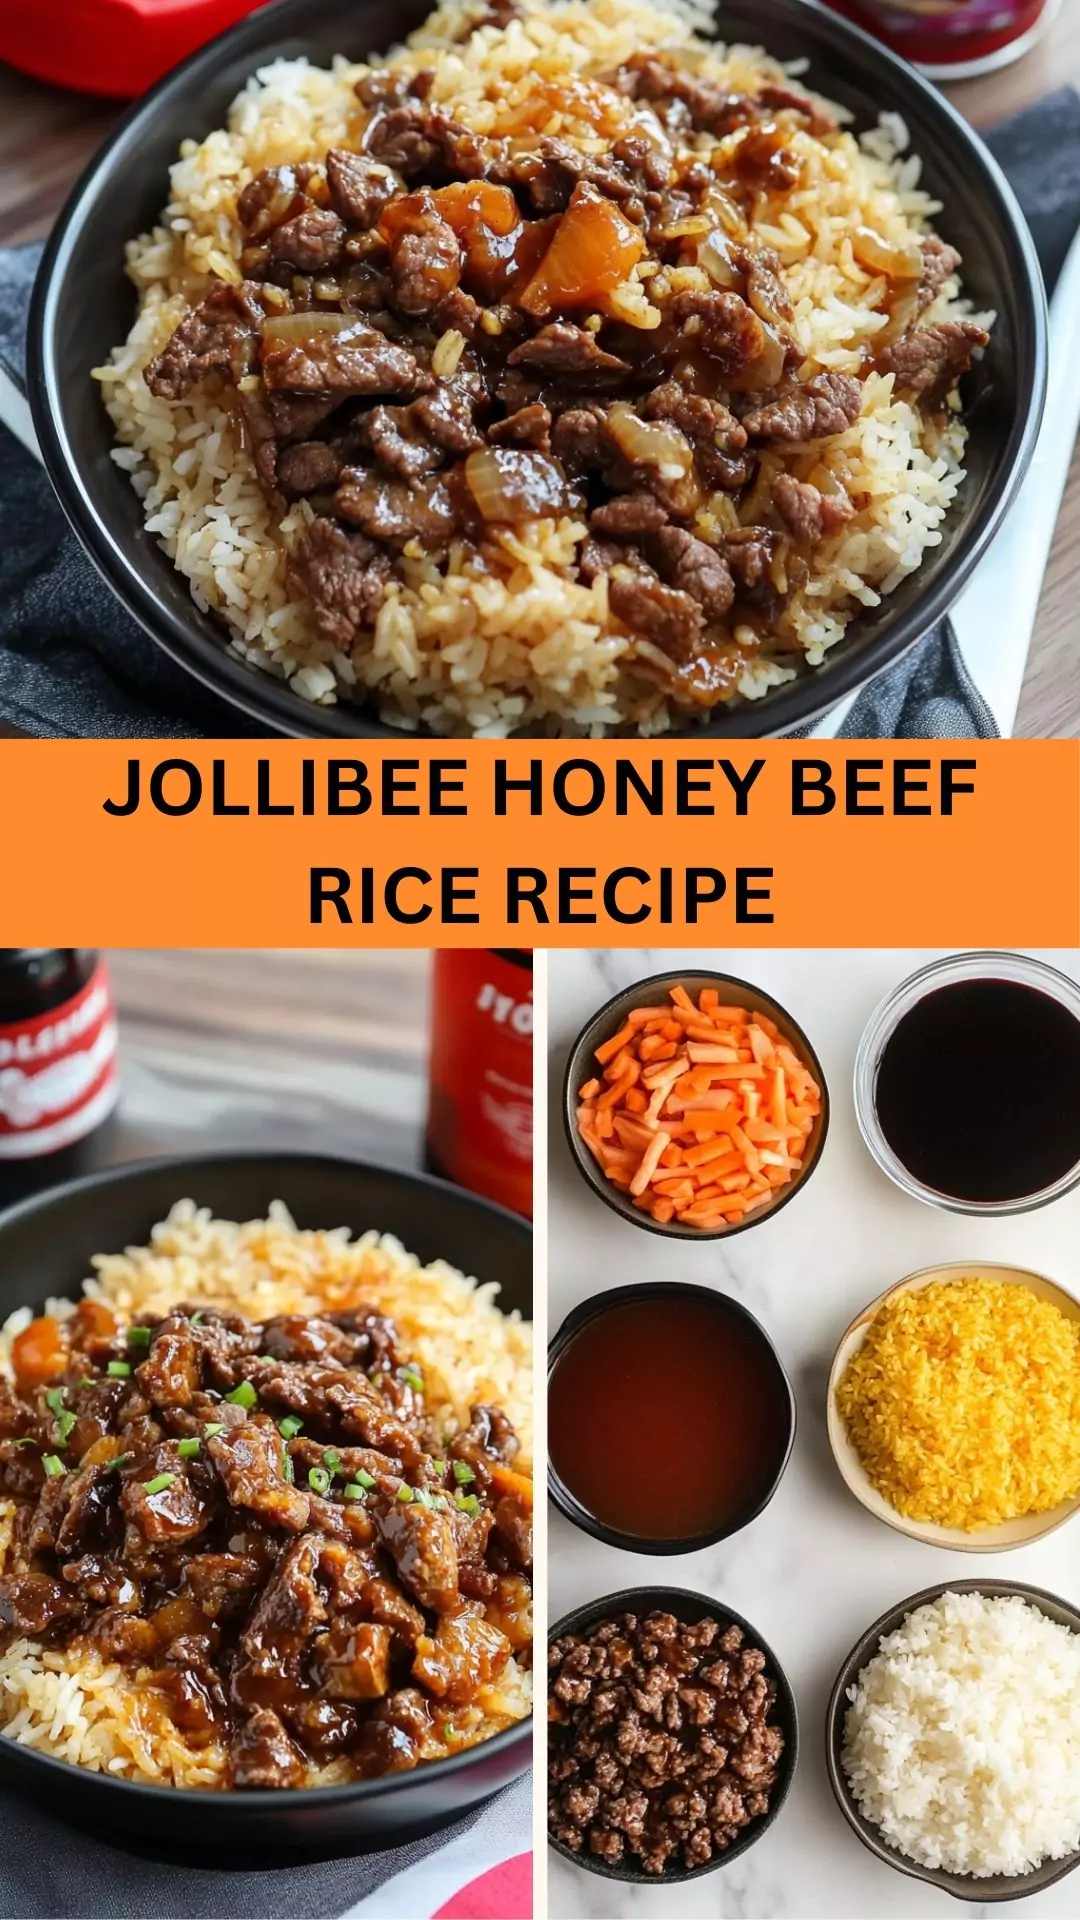
- Easy Jollibee Beef Tapa Recipe
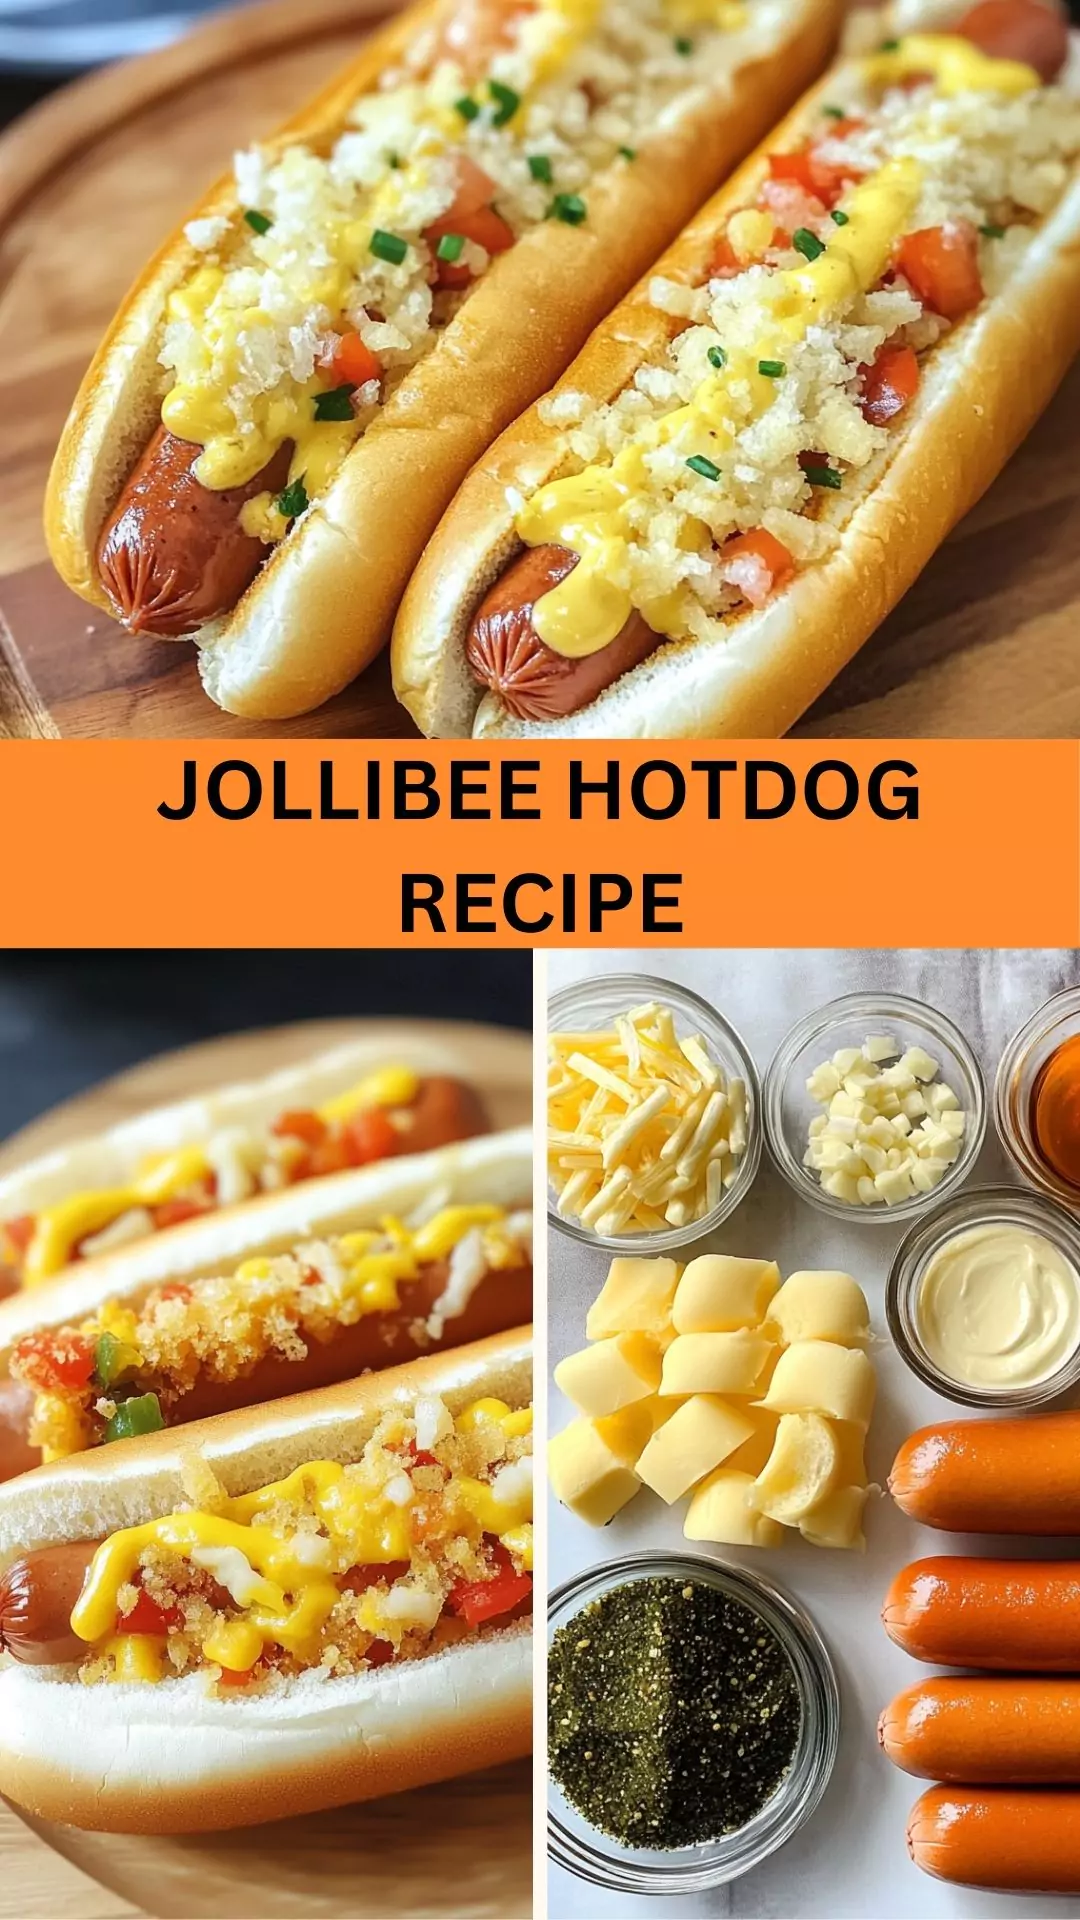
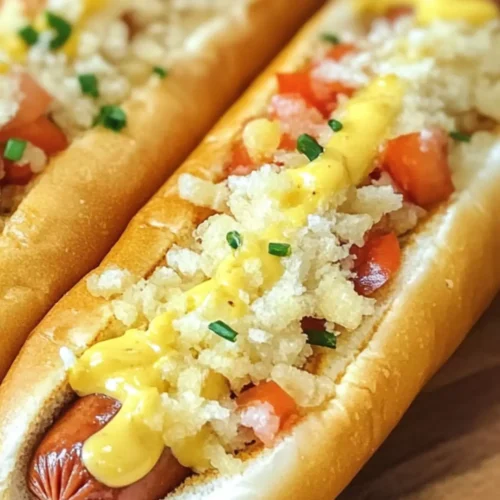
What is the Jollibee Hotdog?
The Jollibee hotdog is a feast for your senses. Unlike your ordinary hotdog, it boasts a combination of flavors layered with rich mayonnaise, cheese, and some interesting seasonings.
Found at the iconic Jollibee fast-food chain, this dish has gained a solid following. The blend of umami from the meat, the creaminess of the mayonnaise, and a pop of sweetness truly sets this hotdog apart.
This treat is often accompanied by a playful presentation—think bright yellow mustard, a dash of colorful food dye, and a sprinkling of toppings that make it visually appealing as well. If you’re in the mood for joy, this hotdog is sure to deliver.
What is the Flavor Profile of This Dish?
Imagine biting into a Jollibee hotdog. At first, the taste of the juicy beef hotdog fills your mouth. It’s savory, almost smoky. Then, the creamy mayonnaise surprises you, adding a smooth texture that dances with the omega-rich fat from the meat.
The shredded cheese melts into the mix, offering a stretchy, cheesy sensation with each bite. That dash of sugar and seasoning brings a subtle sweetness to the table, elevating the experience.
It’s a delightful medley of salty, savory, and slightly sweet—all wrapped in a comforting hotdog bun.
What Makes This Recipe Different from Other Jollibee Hotdogs?
What separates the Jollibee hotdog from other variations is how it combines familiar flavors with an unexpected twist. The significant use of mayonnaise, combined with a sprinkle of sugar, is quite unusual.
Additionally, using processed cheese brings a nostalgic kick, reminiscent of the grab-and-go style of fast-food meals. You won’t find this combination just anywhere. Furthermore, the vibrant presentation—often topped with bright yellow mustard and colorful toppings—makes it a party in your mouth.
Ingredients You’ll Need
To recreate a true Jollibee hotdog experience in your kitchen, you will need:
- 1 cup mayonnaise
- 1 tablespoon grated Parmesan cheese
- 4 premium all-beef hotdogs
- 4 soft hotdog rolls
- 1 squeeze of classic yellow mustard
- 1/2 tablespoon granulated white sugar
- A couple of drops of yellow food coloring
- 1/2 cup shredded mozzarella or processed cheese
- 1 tablespoon of finely chopped pickles
- 1/2 teaspoon smoked paprika

Step by Step Directions
Step 1: Prepare the Hotdogs
Start by cooking your hotdogs. You can boil, grill, or fry them based on your preference. The goal is to have them hot and smoky, so cooking over high heat will work wonders. If grilling, keep an eye on them to avoid burning.
Step 2: Prepare the Toppings
While your hotdogs are cooking, it’s time to whip up the toppings. In a mixing bowl, combine the mayonnaise, grated Parmesan cheese, granulated sugar, yellow food coloring, and smoked paprika.
Stir until everything is well blended. It should resemble a creamy yellow sauce. If you want more zing, add some chopped pickles for that extra crunch.
Step 3: Toast the Buns
For an extra treat, lightly toast your hotdog buns. You can toast them in a skillet or pop them in the oven for just a minute—it’ll enhance the texture.
Step 4: Assemble the Hotdogs
Once everything is ready, take a toasted bun and place a hotdog inside. Generously drizzle your prepared creamy mixture over the top. Now, sprinkle on the shredded cheese and finish with a squeeze of mustard. Look at your masterpiece!
Step 5: Serve Immediately
Serve the hotdogs right away. They are best enjoyed fresh. You can present them with a side of fries or a light salad.
Tips For Making Jollibee Hotdog
- Choose Quality Hotdogs: Always opt for premium all-beef hotdogs. The quality of the hotdog will make or break your dish.
- Homemade Mayonnaise: If you have time, consider making your own mayonnaise for a fresh taste.
- Experiment with Cheese: While mozzarella works great, you can try other cheeses for flavor, such as cheddar or pepper jack for some heat.
- Don’t Skip the Food Coloring: A couple of drops can elevate your dish’s visual appeal, making it look inviting.
- Garnish for Color: Consider adding diced tomatoes or pickled jalapeños for not just flavor, but color too.

How Can I Store This Jollibee Hotdog?
If you have leftovers (which is rare, but it happens), store them in an airtight container in the fridge. Consume them within 1-2 days for the best flavor and texture. You can also separate the components, storing hotdogs and toppings separately to avoid sogginess.
Ingredient Substitutes
If you find yourself short on the listed ingredients, here are some substitutions:
- Mayonnaise: Use Greek yogurt for a healthier option that still provides creaminess.
- All-beef hotdogs: Turkey or chicken hotdogs can replace beef for a lighter meal.
- Shredded Cheese: Use crumbled feta cheese for a tangy flavor boost.
- Yellow Food Coloring: If you don’t have it, a small amount of turmeric can impart a similar color.
Jollibee Hotdog Recipe
Equipment
- Mixing bowl
Ingredients
- 1 cup mayonnaise
- 1 tablespoon grated Parmesan cheese
- We use your personal data for interest-based advertising as outlined in our Privacy Notice.
- 4 premium all-beef hotdogs
- 4 soft hotdog rolls
- 1 squeeze of classic yellow mustard
- 1/2 tablespoon granulated white sugar
- A couple of drops of yellow food coloring
- 1/2 cup shredded mozzarella or processed cheese
- 1 tablespoon of finely chopped pickles
- 1/2 teaspoon smoked paprika
Instructions
Step 1: Prepare the Hotdogs
- Start by cooking your hotdogs. You can boil, grill, or fry them based on your preference. The goal is to have them hot and smoky, so cooking over high heat will work wonders. If grilling, keep an eye on them to avoid burning.
Step 2: Prepare the Toppings
- While your hotdogs are cooking, it’s time to whip up the toppings. In a mixing bowl, combine the mayonnaise, grated Parmesan cheese, granulated sugar, yellow food coloring, and smoked paprika.
- Stir until everything is well blended. It should resemble a creamy yellow sauce. If you want more zing, add some chopped pickles for that extra crunch.
Step 3: Toast the Buns
- For an extra treat, lightly toast your hotdog buns. You can toast them in a skillet or pop them in the oven for just a minute—it’ll enhance the texture.
Step 4: Assemble the Hotdogs
- Once everything is ready, take a toasted bun and place a hotdog inside. Generously drizzle your prepared creamy mixture over the top. Now, sprinkle on the shredded cheese and finish with a squeeze of mustard. Look at your masterpiece!
Step 5: Serve Immediately
- Serve the hotdogs right away. They are best enjoyed fresh. You can present them with a side of fries or a light salad.
Notes
- Choose Quality Hotdogs: Always opt for premium all-beef hotdogs. The quality of the hotdog will make or break your dish.
- Homemade Mayonnaise: If you have time, consider making your own mayonnaise for a fresh taste.
- Experiment with Cheese: While mozzarella works great, you can try other cheeses for flavor, such as cheddar or pepper jack for some heat.
- Don’t Skip the Food Coloring: A couple of drops can elevate your dish’s visual appeal, making it look inviting.
- Garnish for Color: Consider adding diced tomatoes or pickled jalapeños for not just flavor, but color too.
Nutrition
Frequently Asked Questions
1. Can I make Jollibee hotdogs ahead of time?
Yes! You can prepare the toppings ahead and store them in the refrigerator. Cook the hotdogs and assemble them right before serving for the freshest taste.
2. Are Jollibee hotdogs gluten-free?
If you use gluten-free hotdog buns, absolutely! It’s easily customizable for those with gluten sensitivities.
3. Can I grill the hotdogs?
Definitely! Grilling enhances the flavor and adds a smoky touch that makes the hotdog even better.
4. What if I can’t find processed cheese?
You can use any cheese type you prefer. Just remember it should melt well to get that cheesy goodness.
5. How can I spice up the recipe?
Consider adding jalapeños or sriracha to the creamy mix for an extra kick.
Conclusion
The Jollibee hotdog offers a wonderful mix of flavors that speaks to both heart and palate. The nostalgia and warmth it brings make it a beloved dish for many. With this recipe in hand, you can recreate this culinary delight at home, impressing family and friends.
So next time you crave something hearty and fun, look no further than your kitchen. Enjoy the delightful whimsy of a Jollibee hotdog—you won’t be disappointed!