You know those sunny days when you want something fresh and light? A Fuji Chicken Salad really hits the spot. I often pair it with a warm, crusty baguette or maybe a bowl of seasonal fruit. There’s just something about that crunchy texture mixed with tender chicken and tangy apples that gets my taste buds dancing.
The blend of flavors makes every bite an absolute delight, and guess what? It’s super simple to whip up at home!

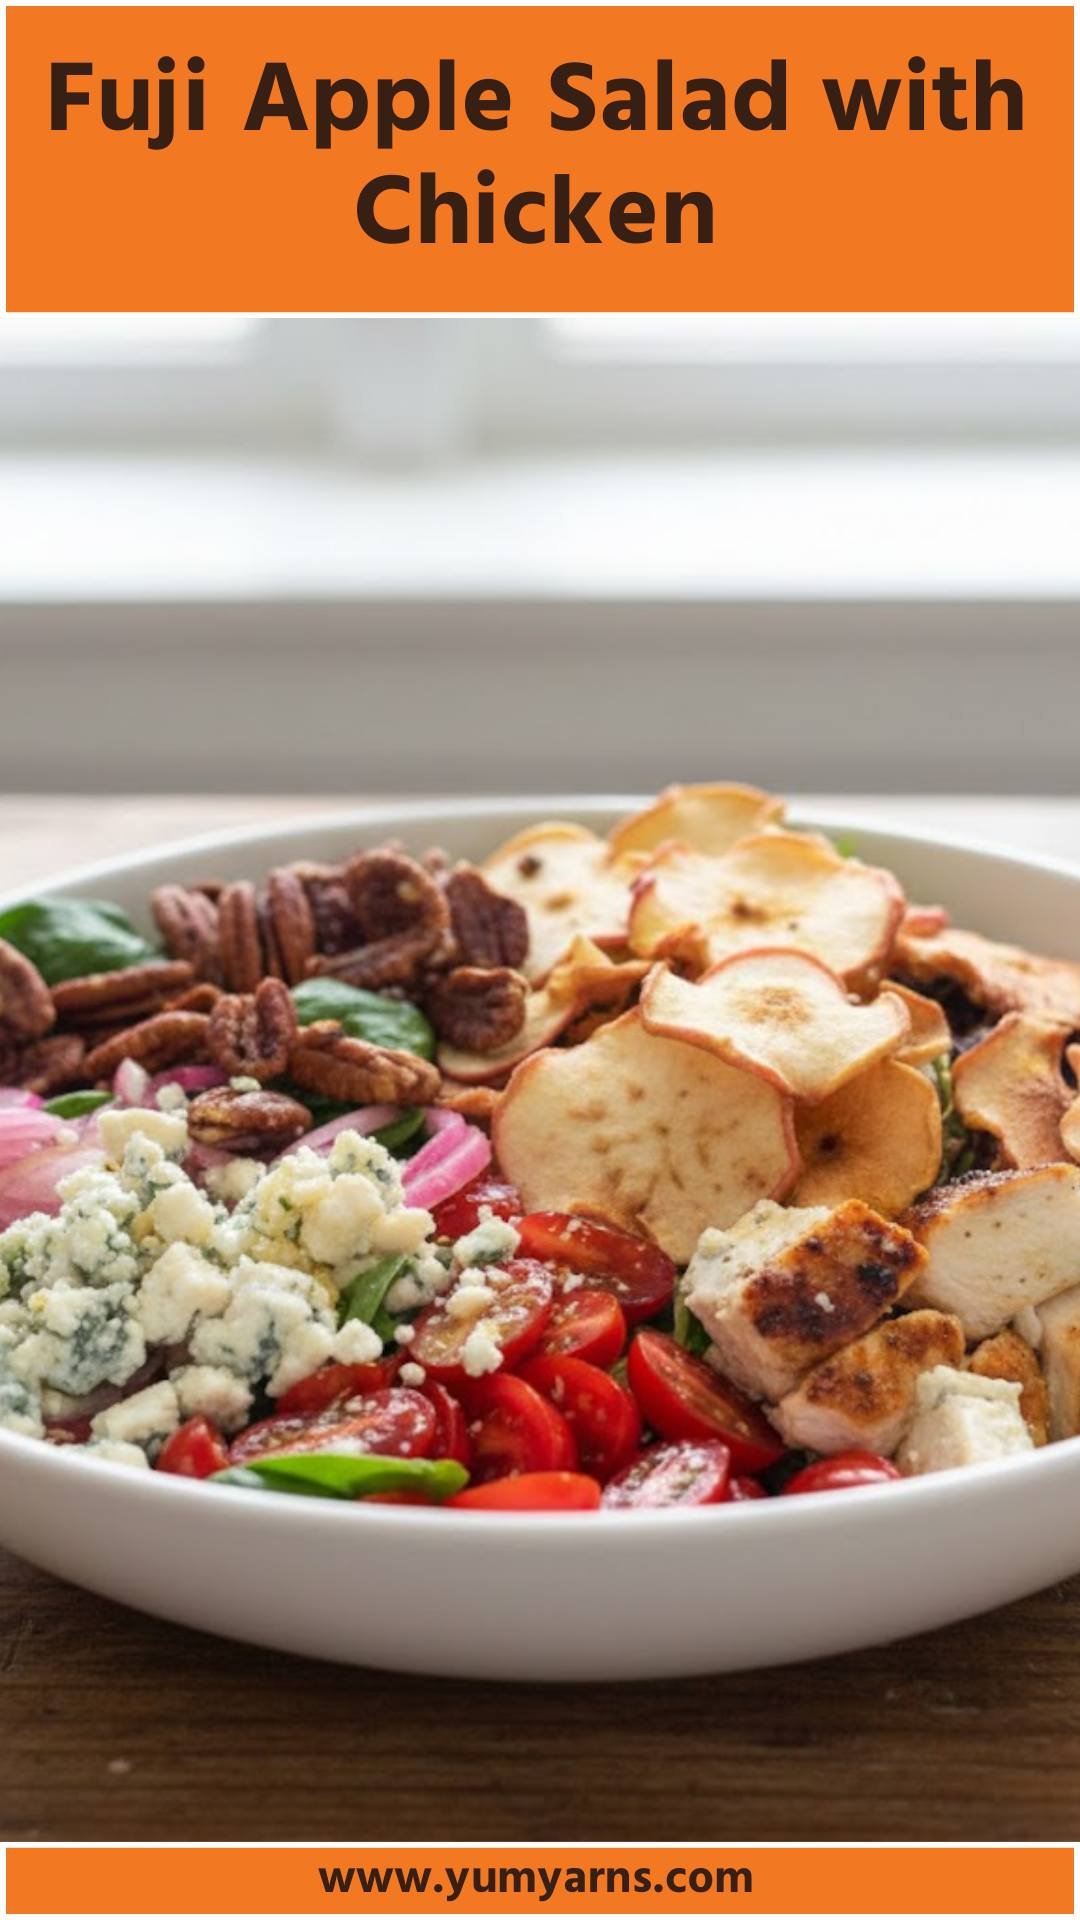
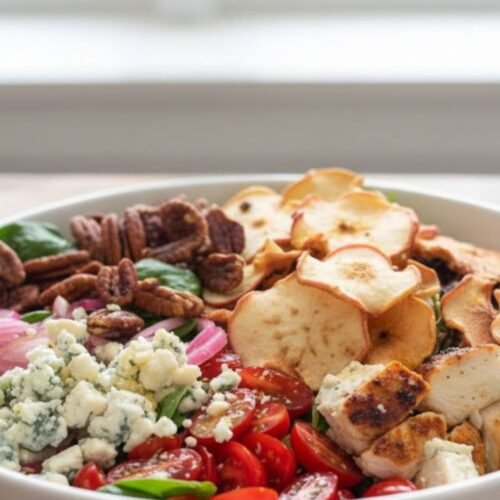
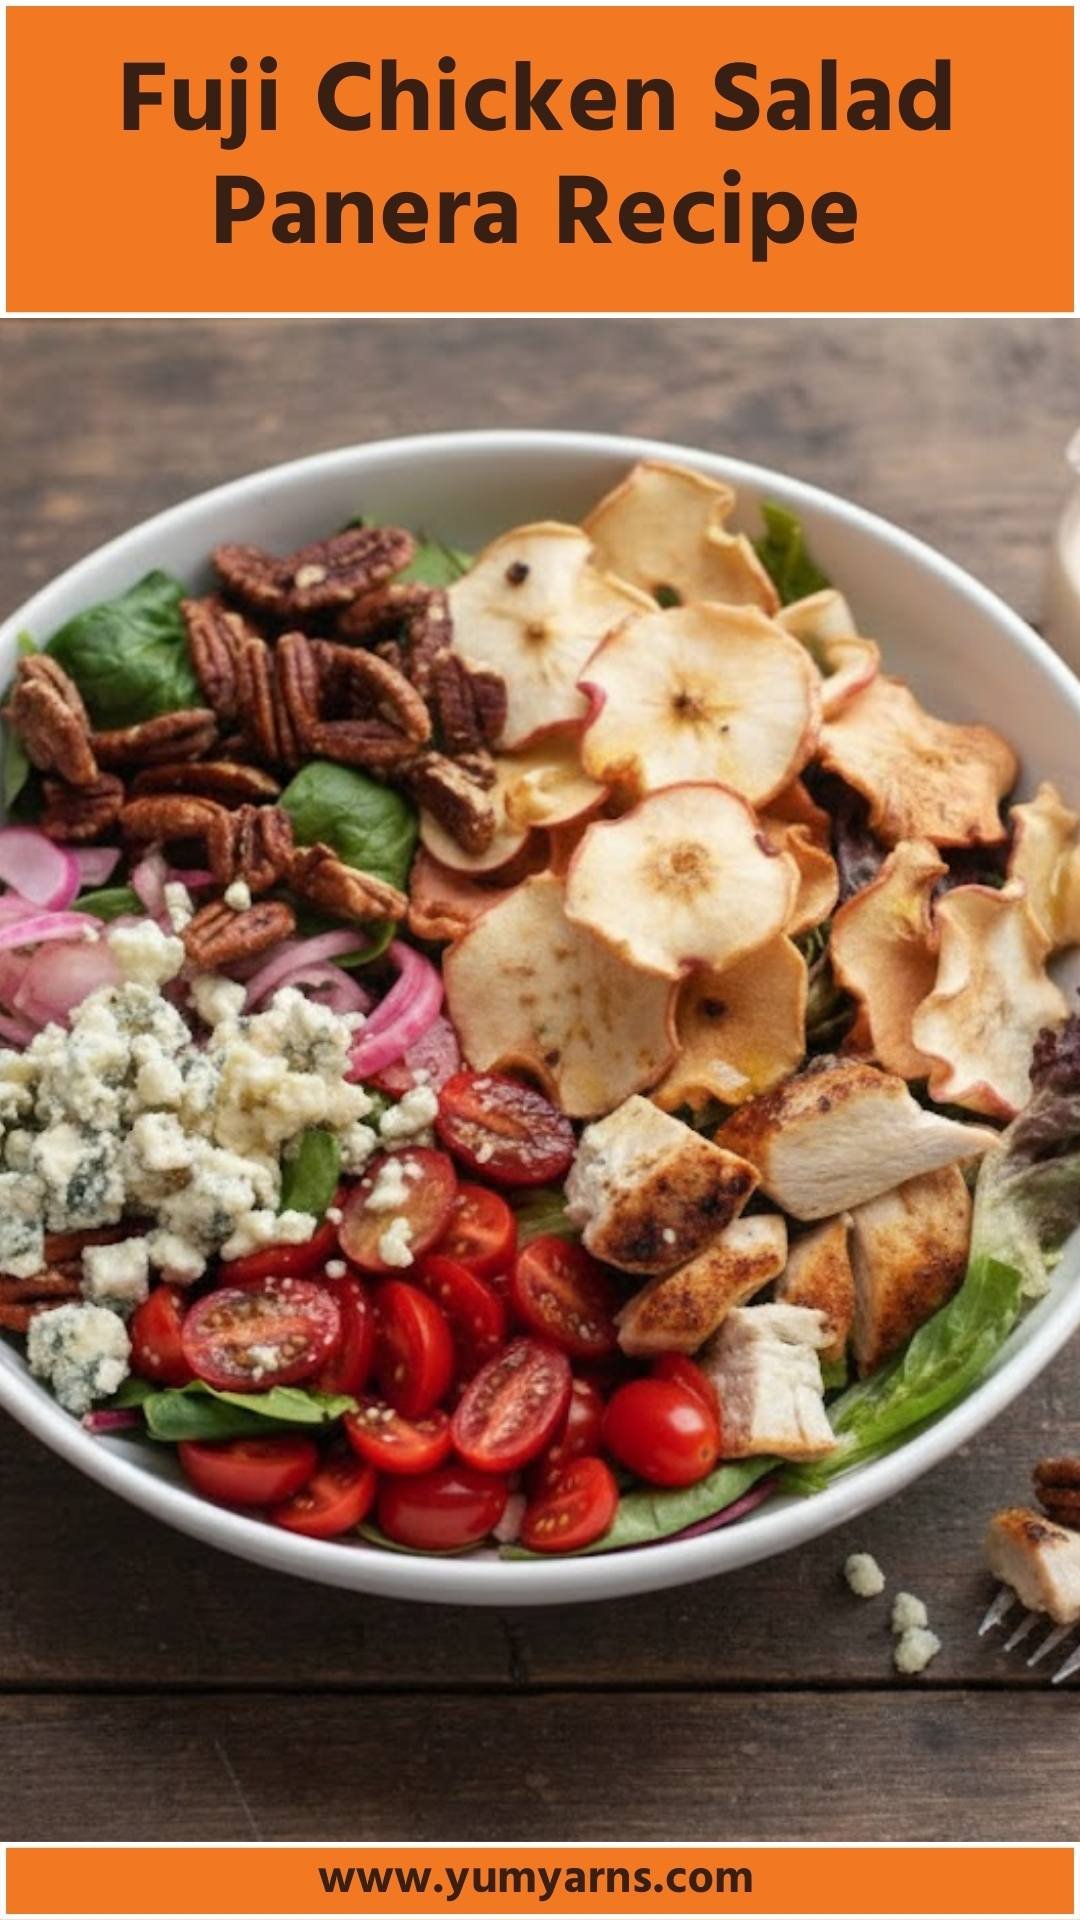
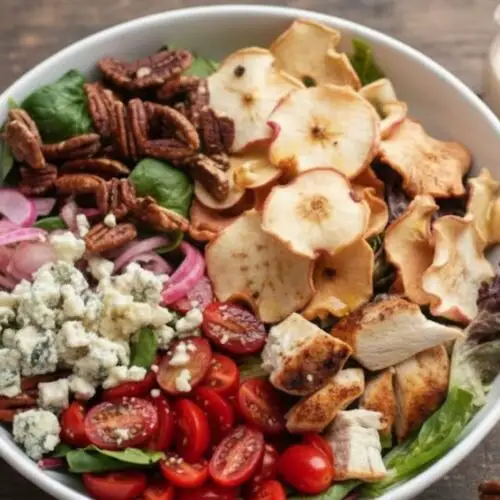
The Fuji Chicken Salad inspired by Panera Bread combines the sweetness of Fuji apples with the savory notes of chicken, greens, and crunchy pecans. This dish enhances your salad game, creating a palette of flavors and textures that both nourishes and satisfies.
Fresh, colorful, and oh so tasty, this salad is perfect for meal prep or simply as a delightful accompaniment to your lunch.
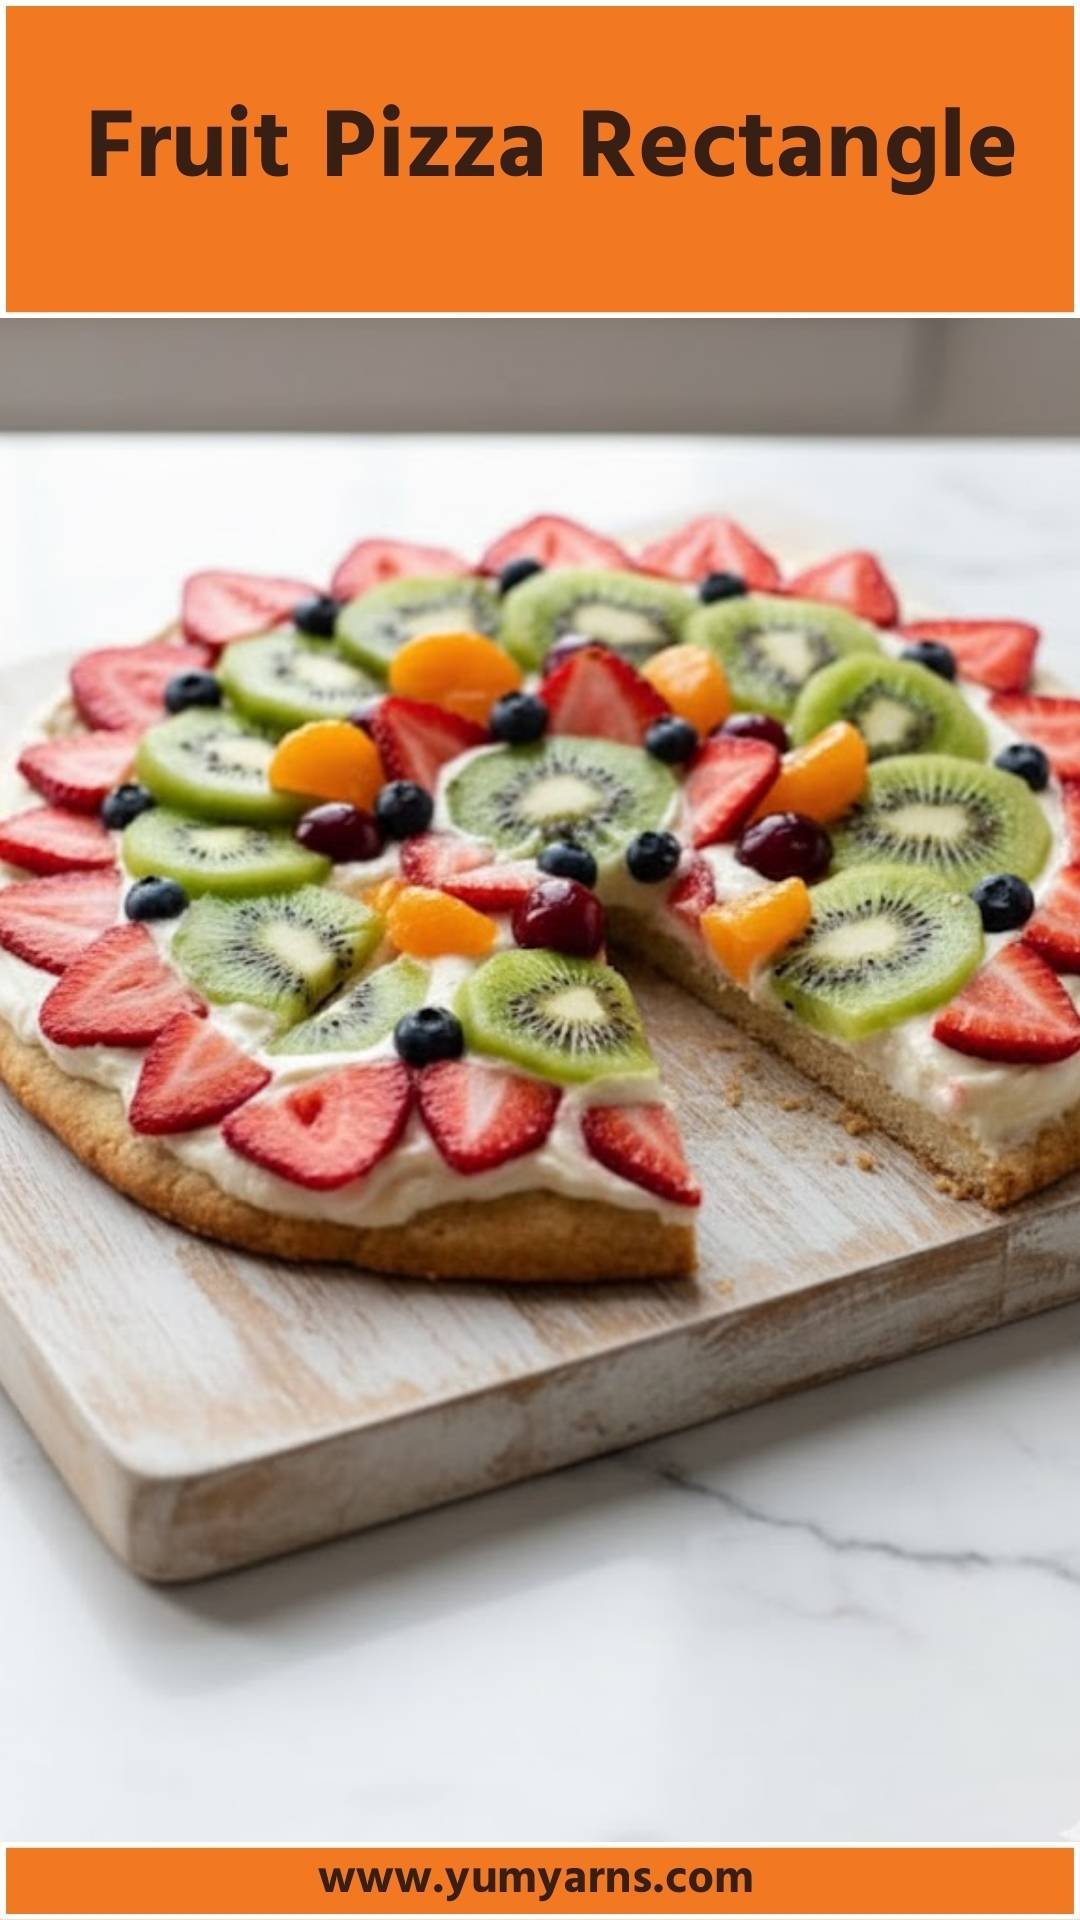
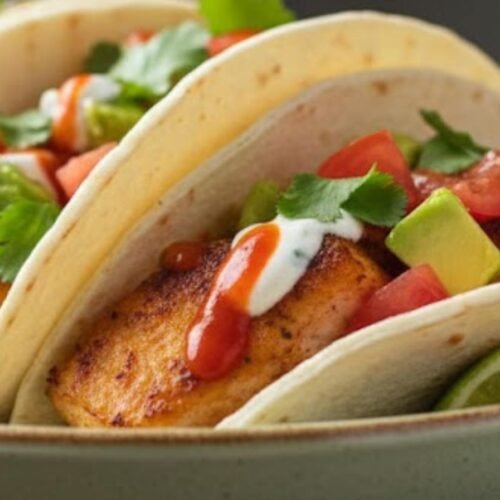
You Might Like These Recipes!
Fuji Apple Salad with Chicken Recipe
BBQ Chicken Chopped Salad Recipe
What is Fuji Chicken Salad Panera Recipe?
This salad features abundant fresh spring greens topped with thinly sliced Fuji apples, succulent chicken breast, and crunchy pecans, all drizzled with a creamy champagne vinaigrette. It stands out because of its balance of flavor — sweet, savory, and tangy, all in one bowl. You can even sprinkle some pickled onions for an added zing that wakes up your palate. Trust me, this isn’t your average salad; it’s a plate full of joy!
Why This Recipe Works?
The magic in this dish lies in its contrast of flavors and textures. Sweet Fuji apples lend a refreshing crispness, while the pecans add a toasty crunch. Gorgonzola cheese introduces a creamy tang that beautifully complements the honey in the vinaigrette. Together, these elements create a well-rounded experience that leaves you feeling satisfied and happy. Each ingredient has a role, and they all play nicely together.
What You’ll Need to Make This Dish?

– Salad:
– 2 Fuji apples, cored and thinly sliced (or 1 to 2 cups apple chips)
– ½ cup pecans
– 1 tablespoon light brown sugar
– 1 cup cooked, cubed chicken breast (rotisserie works great!)
– 8 cups mixed greens (spring mix or baby spinach)
– ⅓ cup crumbled Gorgonzola or feta cheese
– ½ cup halved cherry tomatoes
– Salt and pepper, to taste
– Optional: ½ cup thinly sliced pickled red onions
– For the Creamy Champagne Vinaigrette:
– ¼ cup champagne vinegar
– 1 garlic clove, finely minced
– 1 tablespoon heavy cream
– 2 teaspoons Dijon mustard
– 2 teaspoons honey (adjust to taste)
– A dash of salt and pepper
– ½ cup extra virgin olive oil
– Optional: A squeeze of lemon juice for brightness
Ingredients From : howsweeteats.com
How to Make Fuji Chicken Salad Panera Recipe?
Creating this delightful salad is simple and rewarding! Follow these steps, and you’ll have a vibrant dish ready to serve in no time.
Step-by-Step Directions
Step 1: Prepare the Apple Chips

Preheat your oven to a low 225°F (about 110°C). This slow baking will help transform the fresh Fuji apples into crispy chips. Slice the apples thinly—aim for an even thickness to ensure they cook uniformly. Arrange the apple slices in a single layer on a baking sheet lined with parchment paper. Bake them for an hour and then flip the slices, continuing to bake for another hour until they’re nice and crispy.
You can store these chips at room temperature in an airtight bag or container for snacking or using in your salad.
Step 2: Toast the Pecans

In a nonstick skillet set over medium heat, add your pecans. Spread them out so they cook evenly; you want to toast them until they become fragrant and slightly darker. After about 2 to 3 minutes, sprinkle in the light brown sugar, stirring constantly to coat the nuts.
Keep an eye on them as the sugar melts quickly! Once they’re perfectly toasted, transfer them to parchment paper to cool, allowing them to crisp up.
Step 3: Make the Dressing

In a medium bowl, combine the champagne vinegar, minced garlic, heavy cream, Dijon mustard, honey, and a pinch of salt and pepper. Whisk these together until everything is smoothly blended. Now, while whisking continuously, slowly stream in the extra virgin olive oil. This action helps to emulsify the dressing, creating a creamy consistency.
Taste the dressing and adjust the seasoning as needed. If you want an extra pop, a squeeze of lemon juice can brighten it up even more!
Step 4: Assemble the Salad

In a large salad bowl, toss the mixed greens with a generous pinch of salt and freshly cracked pepper. Top the greens with the cooked and cubed chicken, crispy apple chips, toasted pecans, halved cherry tomatoes, and crumbled Gorgonzola cheese.
If you’re feeling adventurous, don’t forget the pickled onions! Drizzle some of that creamy vinaigrette over the top before gently tossing everything together to combine the flavors. Serve immediately or refrigerate for a bit to let the flavors meld.
Tips
– Prep Ahead: You can slice the apples, prepare the dressing, and cook the chicken the day before. Just store them separately in the fridge for easy assembly.
– Texture Twist: For added crunch, consider tossing in some sunflower seeds or pumpkin seeds.
– Must-Have Leftovers: This salad keeps well for a couple of days in the fridge. Just remember to keep the dressing separate until you’re ready to eat.
– Variety is Key: Feel free to swap in any nuts you have on hand. Walnuts or almonds work beautifully too!
– Herbaceous Addition: For extra flavor, try adding fresh herbs like parsley or basil to the salad just before serving.
How to Store Leftovers?
If you happen to have any leftovers, store the salad and dressing separately. This keeps the greens from wilting and the apple chips from becoming soggy. Place the salad in an airtight container, and store the vinaigrette in a small jar in the fridge. The salad will last for up to 2 days, while the dressing can stay fresh for up to a week.
How Would I Recommend Serving Fuji Chicken Salad Panera Recipe?
– Lunch Meal Prep: Portion this salad into containers for easy grab-and-go lunches throughout the week!
– Summer BBQ Delight: Serve it as a side dish at summer gatherings that will wow your guests.
– Dinner Companion: Pair it with grilled salmon or chicken for a delightful dinner.
– Picnic Essential: Pack it up for a picnic; it travels well and brings a boost of freshness!
– Special Occasion: Dress it up with some fancy plates for a more elegant dining experience.
What Alternatives Can You Use for the Ingredients if Not Available?
– For Fuji Apples: Honeycrisp apples or Granny Smith apples can swap in for similar textures and flavors.
– If Pecans Aren’t Available: Try walnuts or almonds as a great substitute for crunch.
– In Place of Gorgonzola: Feta cheese can work well if you prefer something less pungent.
– Lacking Spring Greens? You can use baby spinach or mixed greens; they all provide lovely freshness.
– For Champagne Vinegar: Substitute with white wine vinegar or apple cider vinegar for similar acidity.
Fuji Chicken Salad Panera Recipe
Equipment
- nonstick pan
- Oven
- Mixing bowl
- Whisk
- Parchment paper
- salad bowl
Ingredients
– Salad:
- – 2 Fuji apples cored and thinly sliced (or 1 to 2 cups apple chips)
- – ½ cup pecans
- – 1 tablespoon light brown sugar
- – 1 cup cooked cubed chicken breast (rotisserie works great!)
- – 8 cups mixed greens spring mix or baby spinach
- – ⅓ cup crumbled Gorgonzola or feta cheese
- – ½ cup halved cherry tomatoes
- – Salt and pepper to taste
- – Optional: ½ cup thinly sliced pickled red onions
– For the Creamy Champagne Vinaigrette:
- – ¼ cup champagne vinegar
- – 1 garlic clove finely minced
- – 1 tablespoon heavy cream
- – 2 teaspoons Dijon mustard
- – 2 teaspoons honey adjust to taste
- – A dash of salt and pepper
- – ½ cup extra virgin olive oil
– Optional: A squeeze of lemon juice for brightness
Instructions
Step 1: Prepare the Apple Chips
- Preheat your oven to a low 225°F (about 110°C). This slow baking will help transform the fresh Fuji apples into crispy chips. Slice the apples thinly—aim for an even thickness to ensure they cook uniformly. Arrange the apple slices in a single layer on a baking sheet lined with parchment paper. Bake them for an hour and then flip the slices, continuing to bake for another hour until they’re nice and crispy.
- You can store these chips at room temperature in an airtight bag or container for snacking or using in your salad.
Step 2: Toast the Pecans
- In a nonstick skillet set over medium heat, add your pecans. Spread them out so they cook evenly; you want to toast them until they become fragrant and slightly darker. After about 2 to 3 minutes, sprinkle in the light brown sugar, stirring constantly to coat the nuts.
- Keep an eye on them as the sugar melts quickly! Once they’re perfectly toasted, transfer them to parchment paper to cool, allowing them to crisp up.
Step 3: Make the Dressing
- In a medium bowl, combine the champagne vinegar, minced garlic, heavy cream, Dijon mustard, honey, and a pinch of salt and pepper. Whisk these together until everything is smoothly blended. Now, while whisking continuously, slowly stream in the extra virgin olive oil. This action helps to emulsify the dressing, creating a creamy consistency.
- Taste the dressing and adjust the seasoning as needed. If you want an extra pop, a squeeze of lemon juice can brighten it up even more!
Step 4: Assemble the Salad
- In a large salad bowl, toss the mixed greens with a generous pinch of salt and freshly cracked pepper. Top the greens with the cooked and cubed chicken, crispy apple chips, toasted pecans, halved cherry tomatoes, and crumbled Gorgonzola cheese.
- If you’re feeling adventurous, don’t forget the pickled onions! Drizzle some of that creamy vinaigrette over the top before gently tossing everything together to combine the flavors. Serve immediately or refrigerate for a bit to let the flavors meld.
Notes
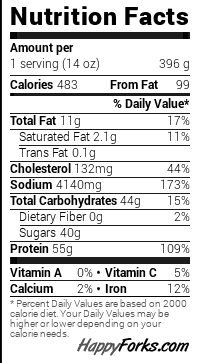
Nutrition
FAQs
1. Can I use rotisserie chicken for this salad?
Absolutely! Rotisserie chicken is a great time-saver that adds a delicious flavor to the salad.
2. How can I make this salad gluten-free?
This salad is naturally gluten-free, but make sure to check the labels on the mustard and any packaged ingredients to be sure.
3. Is there a way to make this vegan?
You can replace the chicken with chickpeas or tempeh, use a vegan cream in the dressing, and omit the cheese for a plant-based version.
4. What’s the best way to slice the apples for this salad?
Using a mandoline slicer will provide even thin slices, perfect for crunching and an appealing presentation.
5. Can I make the dressing in advance?
Yes! The dressing can be made 3 to 4 days in advance. Just shake well before using!
Conclusion
The Fuji Chicken Salad inspired by Panera Bread is not just a salad; it’s a celebration of flavor and freshness. With its delightful crunch of apples and pecans paired with the creamy dressing, this dish makes healthy eating a breeze.
Whether you’re prepping it for lunch or serving it alongside a summer meal, it always pleases. Give it a try, and I promise you’ll be coming back for seconds! Happy cooking!