You might be wondering what to enjoy alongside spicy beer mustard. You’ve come to the right place! This zesty condiment enhances a variety of foods. Let’s dive into some delicious pairings:
Pretzels – You can’t go wrong with soft pretzels and spicy beer mustard. The savory, doughy knots paired with the mustard create a delightful flavor explosion that’s a perfect match.
Grilled Sausages – Whether you prefer bratwurst or Italian sausage, a generous dollop of spicy beer mustard elevates the flavor. The bold spices in the mustard complement the juicy, smoky notes of the grilled meat.
Sandwiches – Add a layer of this mustard to your favorite sandwich for a flavor boost. It works especially well with turkey, pastrami, or a veggie-packed option.
Cheese Boards – Incorporate spicy beer mustard into your next cheese board. It pairs wonderfully with sharp cheddar and creamy brie, adding a kick that will surprise and delight your guests.

As a food enthusiast and a registered dietitian, I’m always on the lookout for interesting flavors that can elevate any dish. One day while experimenting in the kitchen, I stumbled upon a delightful recipe for spicy beer mustard.
It’s more than just a condiment; it’s an experience. The zesty taste adds depth to all sorts of meals, making it a playful addition to your culinary repertoire.
You will also like the following Sauce recipes!
- Best Jollibee Gravy Recipe
- How to make El Pollo Loco Tropical Habanero Sauce
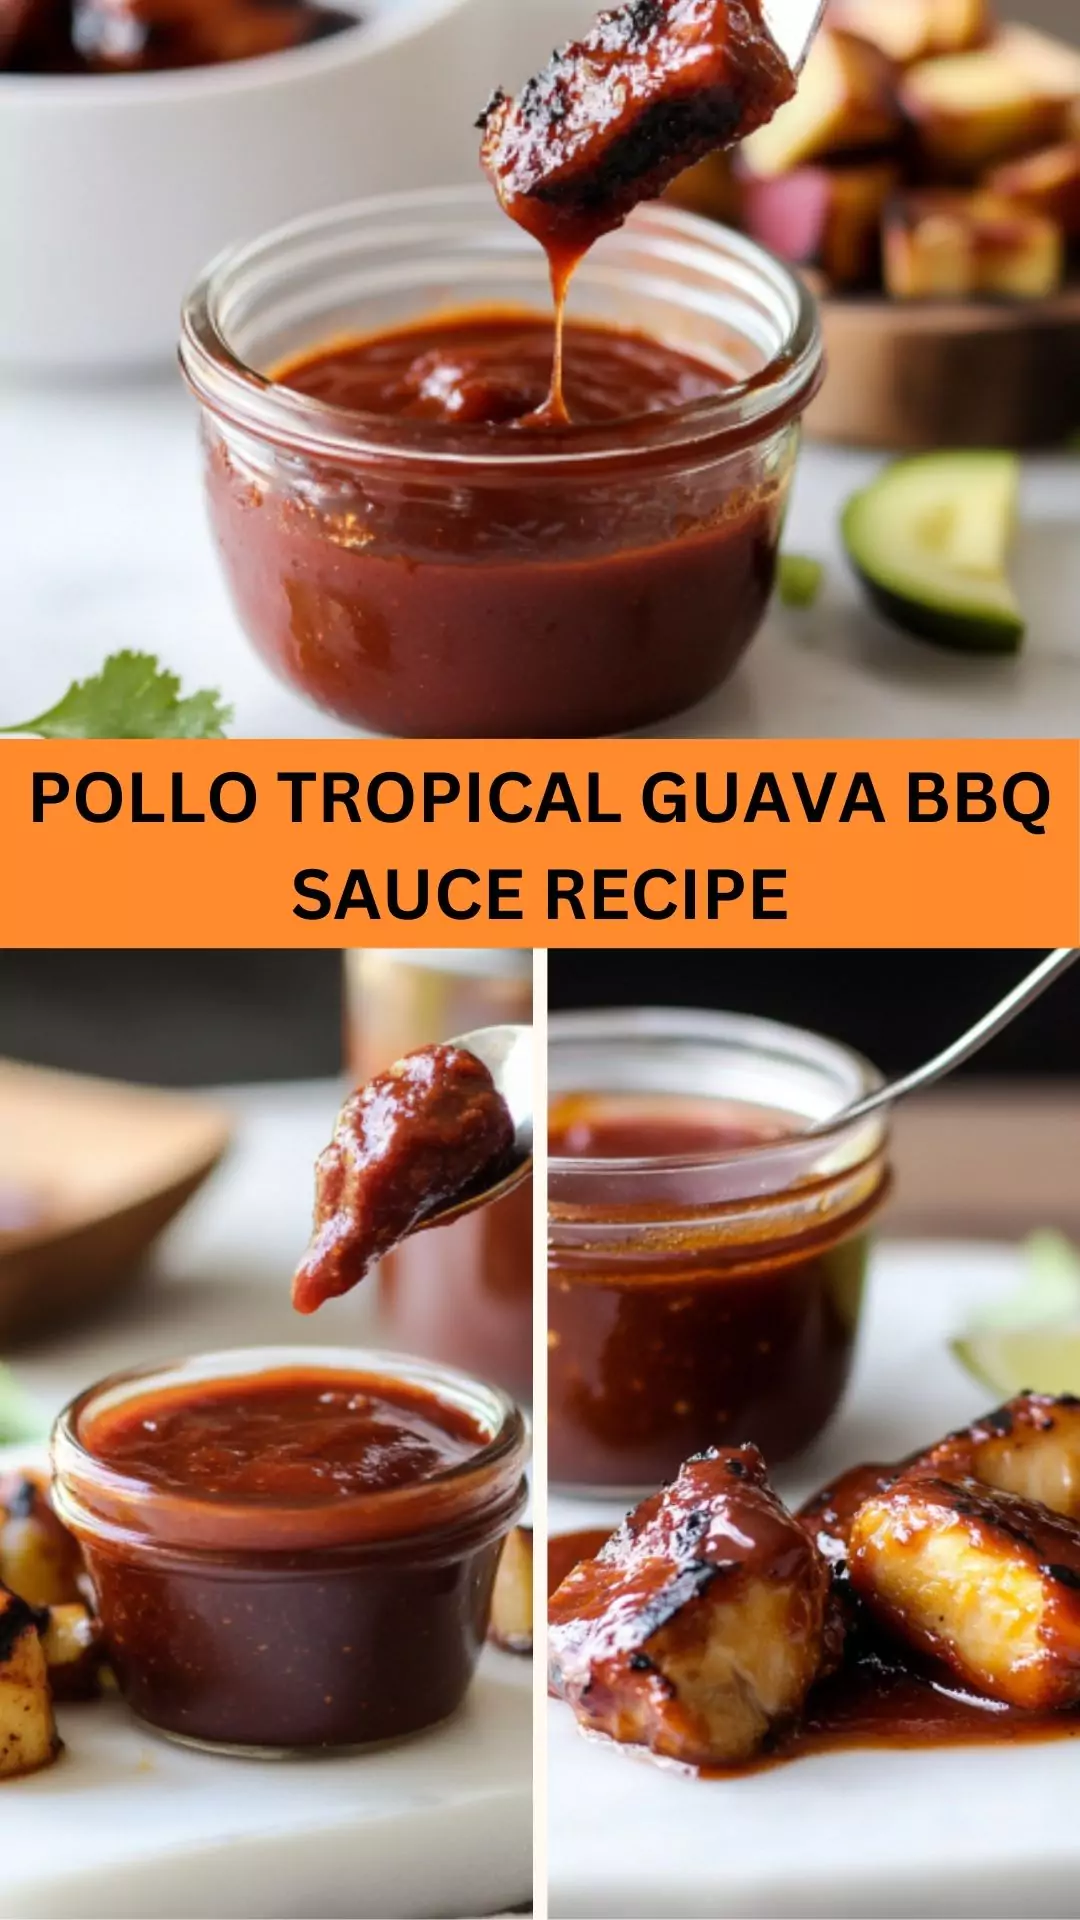
- Easy Pollo Tropical Guava Bbq Sauce Recipe
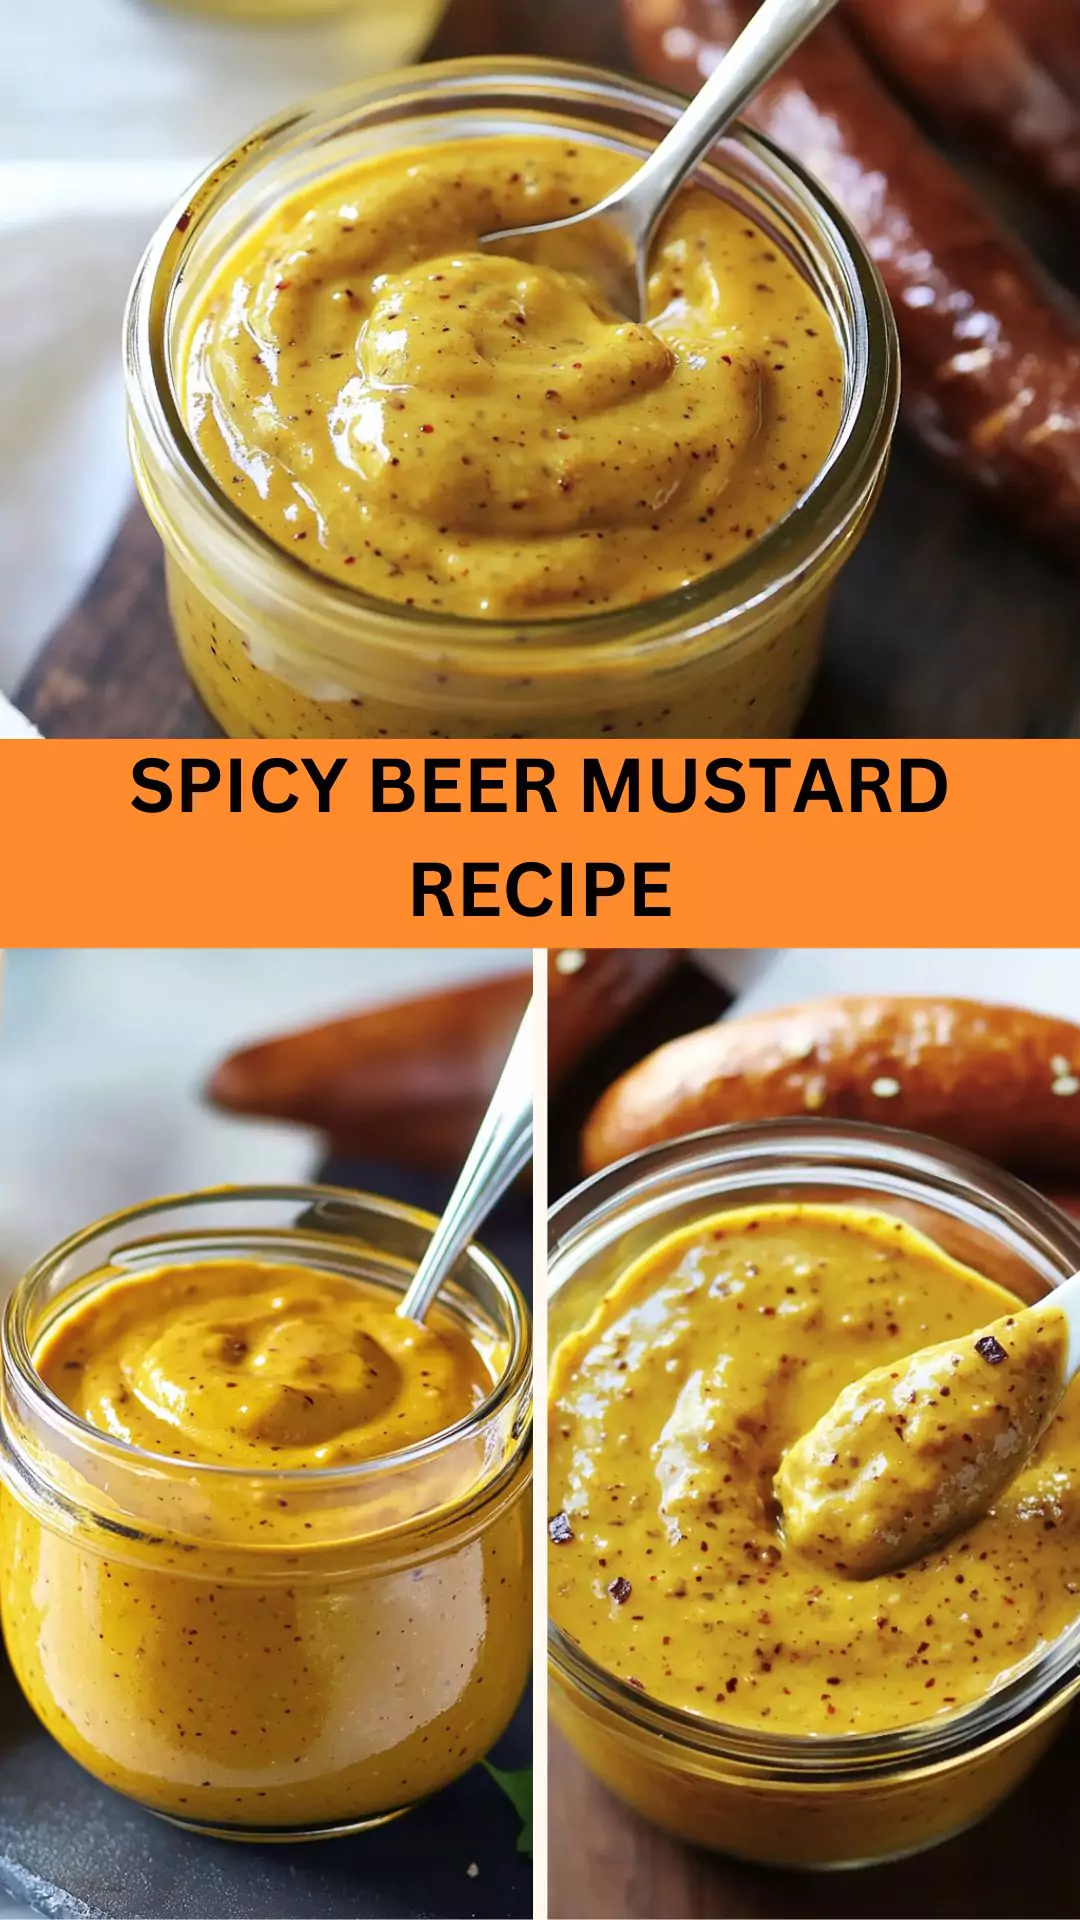
What is Spicy Beer Mustard?
Essentially, spicy beer mustard is a blend of mustard seeds, spices, and, of course, beer. The beer not only intensifies the flavor but also provides a unique tang.
This mustard isn’t just about spice; it brings a complex taste that can transform ordinary dishes into something extraordinary.
Why Does This Recipe Work?
This recipe balances two main elements: the heat of the mustard seeds and the comforting depth of dark beer. The vinegar gives it that tangy kick while the honey and brown sugar introduce a hint of sweetness.
Together, these components create an addictive condiment that you won’t be able to resist. Plus, making your own mustard lets you control the ingredients, ensuring it’s both delicious and healthier than many store-bought versions.
What You’ll Need to Make This Dish
To make this zesty mustard, you’ll need the following ingredients:
- 2 cups dark beer, such as doppelbock or stout
- 1½ cups malt vinegar
- ½ cup black mustard seeds
- ½ cup yellow mustard seeds
- 1 cup dry ground mustard
- 5 tablespoons raw honey
- ½ cup packed dark brown sugar
- 2 teaspoons sea salt
- 2 teaspoons ground allspice
- ¾ teaspoon ground turmeric
- 1 teaspoon smoked paprika
- ½ teaspoon garlic powder

How to Make Spicy Beer Mustard
Making spicy beer mustard is easy, and the results are impressive. Let’s look at the process, step by step.
Step 1: Gather Ingredients
Start by pulling together all the ingredients. Having everything within reach will make the process smoother and more enjoyable.
Step 2: Soak Mustard Seeds
In a large bowl, combine the black and yellow mustard seeds with the dark beer and malt vinegar. Allow this mixture to soak for at least 12 hours. This step is crucial. Soaking hydrates the seeds and helps to release their natural oils, leading to a richer flavor.
Step 3: Blend Ingredients
After soaking, transfer the mustard seed mixture into a blender or food processor. Add the dry ground mustard, honey, dark brown sugar, salt, allspice, turmeric, smoked paprika, and garlic powder. Blend the mixture until smooth, or leave it slightly chunky if you prefer texture.
Step 4: Cook the Mustard
Pour the blended mustard into a saucepan and cook over medium-low heat. Stir continuously for about 10 minutes until the mustard begins to thicken. Keep in mind that as it cools, it will thicken further, so don’t overdo it on the heat.
Step 5: Cool and Store
After cooking, remove the mustard from the heat and allow it to cool. Once it’s at room temperature, transfer it to sterilized jars. Your spicy beer mustard can be stored in the refrigerator for up to three months.
Tips for Perfecting Spicy Beer Mustard
Experiment with Beers – Don’t hesitate to try different kinds of dark beer. Each variety will impart a unique flavor to the mustard.
Adjust Sweetness – If you prefer a sweeter mustard, increase the amount of honey or brown sugar slightly.
Spice Level – Tailor the heat to your taste. If you want it spicier, add more ground mustard or even a few drops of hot sauce.
Storage – Always use clean utensils to scoop out mustard to maintain freshness and avoid spoilage.
Let It Age – Like many condiments, this mustard can improve with time. Giving it a week in the fridge allows the flavors to meld beautifully.

How to Store Leftovers
Keep your homemade spicy beer mustard in airtight jars in the refrigerator. It can last up to three months.
The flavors might change slightly over time, taking on a sharper taste, but that’s part of what makes it special.
How Would I Recommend Serving Spicy Beer Mustard?
On Grilled Meats – Slather it on burgers or chicken. The tangy, spicy flavor enhances the grilled taste, making your outdoor meals more exciting.
In Salad Dressings – Mix it into your vinaigrette for a kick. Adding a spoonful to your basic dressing can liven up a simple salad. It’s an easy way to jazz up greens.
As a Dipping Sauce – Pair it with fresh vegetables or chips. It makes for a fun appetizer at parties. Your guests will love the flavor contrast with crunchy veggies.
With Cheese – Serve it alongside your favorite cheese. Whether on crackers or as part of a charcuterie board, the mustard complements the richness perfectly.
What Alternatives Can You Use for the Ingredients If Not Available?
Dark Beer Substitution – Use non-alcoholic beer if you’re avoiding alcohol. It still offers that malty flavor without the buzz.
Malt Vinegar Replacement – Apple cider vinegar works well in a pinch. It will add a different but delightful tang.
Brown Sugar Swap – Coconut sugar can be used instead for a slightly different flavor profile, maintaining that sweet element.
Smoked Paprika Alternative – Regular paprika can substitute, but if you’re looking for that smoky taste, consider adding a pinch of cayenne pepper.
Spicy Beer Mustard Recipe
Equipment
- blender
Ingredients
- 2 cups dark beer such as doppelbock or stout
- 1½ cups malt vinegar
- ½ cup black mustard seeds
- ½ cup yellow mustard seeds
- 1 cup dry ground mustard
- 5 tablespoons raw honey
- ½ cup packed dark brown sugar
- 2 teaspoons sea salt
- 2 teaspoons ground allspice
- ¾ teaspoon ground turmeric
- 1 teaspoon smoked paprika
- ½ teaspoon garlic powder
Instructions
- Making spicy beer mustard is easy, and the results are impressive. Let’s look at the process, step by step.
Step 1: Gather Ingredients
- Start by pulling together all the ingredients. Having everything within reach will make the process smoother and more enjoyable.
Step 2: Soak Mustard Seeds
- In a large bowl, combine the black and yellow mustard seeds with the dark beer and malt vinegar. Allow this mixture to soak for at least 12 hours. This step is crucial. Soaking hydrates the seeds and helps to release their natural oils, leading to a richer flavor.
Step 3: Blend Ingredients
- After soaking, transfer the mustard seed mixture into a blender or food processor. Add the dry ground mustard, honey, dark brown sugar, salt, allspice, turmeric, smoked paprika, and garlic powder. Blend the mixture until smooth, or leave it slightly chunky if you prefer texture.
Step 4: Cook the Mustard
- Pour the blended mustard into a saucepan and cook over medium-low heat. Stir continuously for about 10 minutes until the mustard begins to thicken. Keep in mind that as it cools, it will thicken further, so don’t overdo it on the heat.
Step 5: Cool and Store
- After cooking, remove the mustard from the heat and allow it to cool. Once it’s at room temperature, transfer it to sterilized jars. Your spicy beer mustard can be stored in the refrigerator for up to three months.
Notes
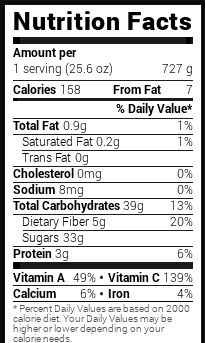
Nutrition
Frequently Asked Questions
Can I make this mustard ahead of time?
Absolutely! You can prepare this mustard days, or even weeks, in advance. Tightly seal it and store it in the refrigerator.
What if I don’t have mustard seeds?
You can use all ground mustard, but the texture and flavor will change. Experimentation can yield surprising results!
Is spicy beer mustard gluten-free?
Most ingredients are gluten-free, but ensure the beer you use is labeled as gluten-free if you are sensitive.
Can I use a different type of mustard seed?
Yes! While black and yellow mustard seeds lend the best flavor, you can use brown mustard seeds for a different profile.
How can I adjust the heat level?
You can control the spiciness by adjusting the amount of ground mustard or adding spices like cayenne pepper for more heat.
Conclusion
Homemade spicy beer mustard is a game-changer in the kitchen. It’s incredibly easy to make, packs a flavor punch, and enhances a variety of dishes.
Whether you’re hosting a barbecue, putting together a cheese board, or simply spicing up your meals, this mustard is an excellent companion. Give it a try and experience the joy of flavorful cooking at home. Your taste buds will thank you!