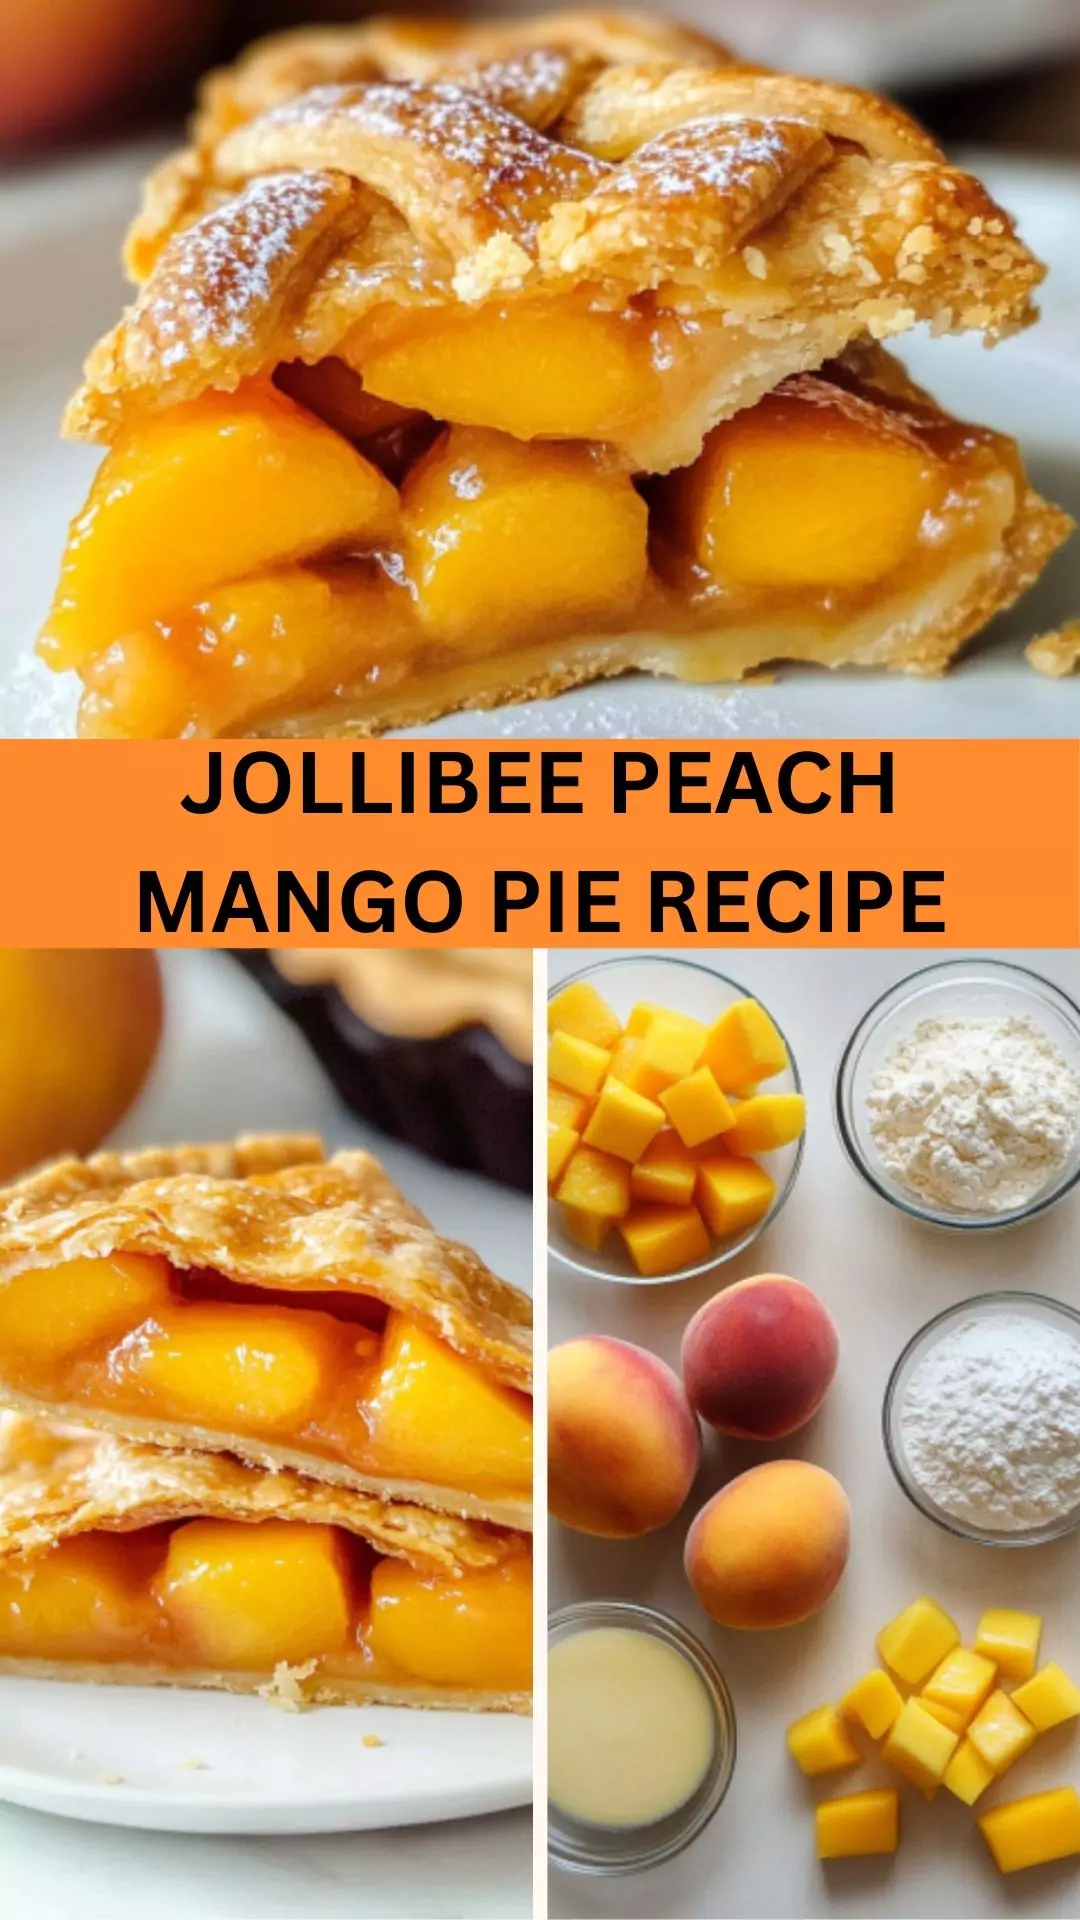
Jollibee Peach Mango Pie is a sweet, irresistible treat that pairs wonderfully with a variety of accompaniments to enhance its flavors. For a classic combo, enjoy the pie with a scoop of creamy vanilla ice cream.
The contrast between the warm pie and cold ice cream creates a delightful melt-in-your-mouth experience. If you’re in the mood for something fresh, a vibrant tropical fruit salad made with pineapple, kiwi, and strawberries adds tangy brightness that perfectly complements the richness of the pie.
For a cozy touch, pair your dessert with a comforting cup of coffee or tea; a robust cappuccino or a calming chamomile tea will balance the sweetness of the pie. And if you want to take it up a notch, a dollop of freshly whipped cream on top adds an extra layer of indulgence.
These pairings make for a truly satisfying dessert experience.

I remember the first time I took a bite of a Jollibee Peach Mango Pie. The crispy crust gave way to a warm, gooey filling that burst with sunny flavors. It was like a slice of happiness wrapped in flaky goodness.
If you’ve been lucky enough to experience this treat, you know exactly what I mean. If not, allow me to take you on a delicious journey into the heart of this beloved dessert.
The Jollibee Peach Mango Pie is more than just a dessert. It’s a cultural icon that captures the essence of Filipino flavors with a hint of nostalgia. I’ve tried making this pie at home multiple times and am excited to share a recipe that gets it just right.
With a few simple ingredients, a step-by-step guide, and personal insights along the way, you too can create this masterpiece in your kitchen.
You will also like the following Dessert recipes!
- Best Cinnamon Sugar Protein Donut Recipe
- How to make Kirkland signature chocolate chip cookies
- Easy Jollibee Peach Mango Pie Recipe
What is Jollibee Peach Mango Pie?
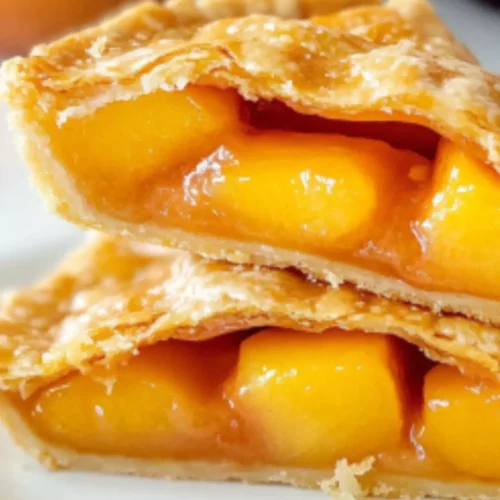
Jollibee Peach Mango Pie is a deep-fried pastry filled with a delightful mixture of sweet peaches and ripe mangoes. This iconic dessert is famous for its unique combination of flavors and textures – a crisp exterior giving way to a luscious, gooey center.
On a busy day, grabbing one of these pies at Jollibee feels like a warm hug. But the best part? You can recreate this beloved treat in your own kitchen.
Why This Recipe Works
1. Authentic Flavor: The use of ripe peaches and mangoes ensures that the pie is bursting with tropical flavor. Fresh ingredients make all the difference.
2. Easy Preparation: This recipe uses pre-made pie crusts which saves a tremendous amount of time. Even busy folks can whip this up in no time.
3. Versatility: You can adjust the sweetness or spices based on your preferences. Don’t like vanilla? Substitute it with almond extract.
4. Satisfying Texture: The combination of a flaky crust with a gooey filling hits all the right spots. Each bite is a delightful contrast that keeps you going back for more.
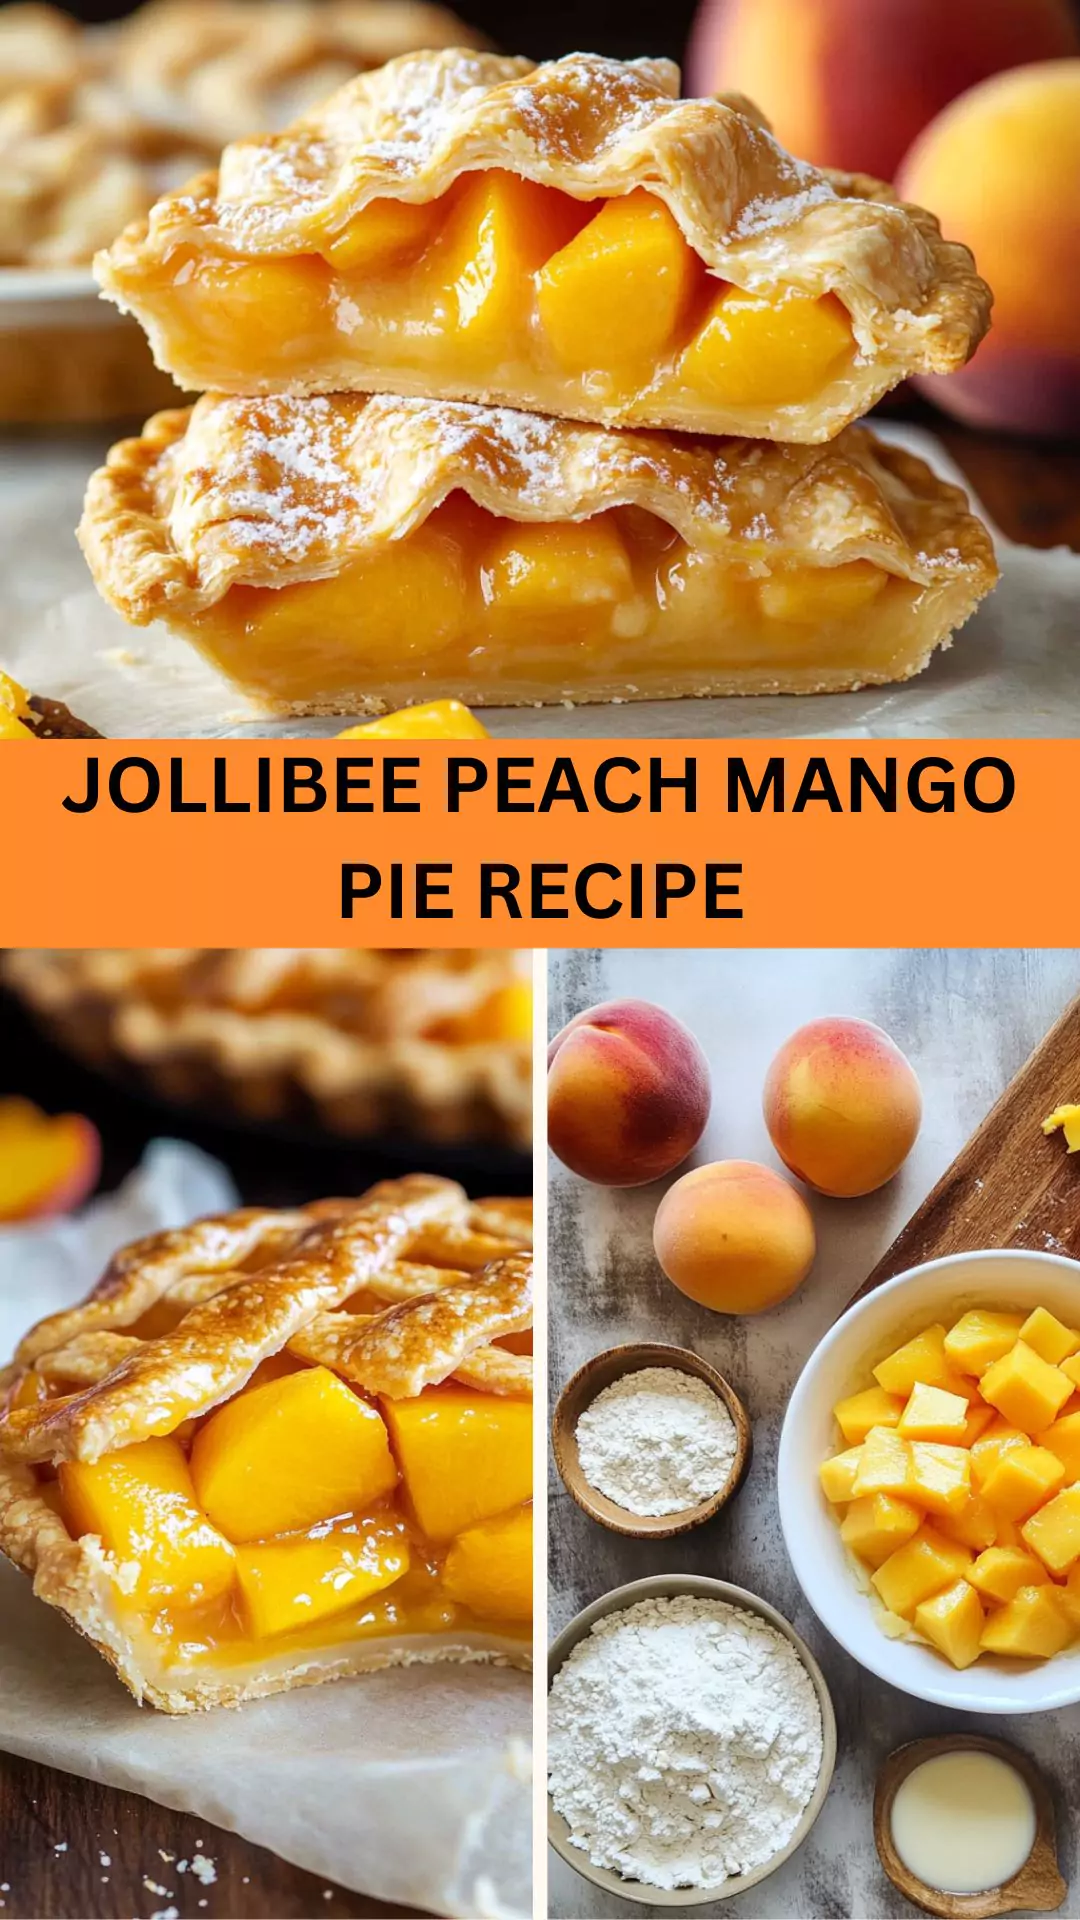
Ingredients You’ll Need to Make This Jollibee Peach Mango Pie
Before we dive into the steps, here’s a quick view of the ingredients you’ll need:
- 2 pre-made 9-inch pie crusts (store-bought or homemade)
- 1 large egg, lightly beaten
- 1 tablespoon of heavy cream
- A sprinkle of raw sugar, for topping
- ¾ cup diced mangoes (fresh or frozen)
- ¾ cup diced peaches (fresh or frozen)
- ½ cup white sugar
- 2 tablespoons of cornstarch
- ¼ teaspoon ground cinnamon
- 1 tablespoon freshly squeezed lemon juice
- A pinch of sea salt
- ½ teaspoon pure vanilla extract
- All-purpose flour, for dusting the counter
- ¼ teaspoon ground ginger
- 1 tablespoon maple syrup

How to Make These?
Follow these steps to create your very own Jollibee Peach Mango Pie.
Step 1: Prepare the Filling
In a mixing bowl, combine the diced mangoes and peaches. Add the white sugar, cornstarch, ground cinnamon, lemon juice, sea salt, vanilla extract, ground ginger, and maple syrup. Gently fold everything together until evenly mixed. Let this sit while you prepare your crust.
Step 2: Roll Out the Crust
Dust your countertop with flour. Take one of the 9-inch pie crusts and gently roll it out to smooth any creases. You want it to be pliable enough to form into a pie shape without breaking.
Step 3: Fill the Pie Crust
Carefully place the rolled-out pie crust into a pie dish. Use your fingers to mold the crust into the shape of the dish. Now, take your fruit filling and pour it into the crust, spreading it evenly.
Step 4: Seal the Pie
Roll out the second pie crust in a similar manner. Cover the pie with this second crust. Pinch the edges of both crusts together to seal in the delicious filling. You can make decorative cuts on top to let steam escape.
Step 5: Brush and Sprinkle
Mix the beaten egg and heavy cream together. Gently brush the top of the pie with this mixture for a golden finish. Sprinkle some raw sugar on top for added crunch and sweetness.
Step 6: Bake
Preheat your oven to 375°F (190°C). Bake for about 25 to 30 minutes or until the crust is golden brown. Allowing the baking aroma to fill your kitchen is a definite plus.
Step 7: Cool and Serve
Once baked, let the pie cool for a few minutes before slicing. This will help the filling set a bit.
Tips for Success
- Choose Ripe Fruit: For the best flavor, select ripe, sweet peaches and mangoes. Overripe fruit can make the pie too mushy.
- Watch the Baking Time: Every oven is different. Keep an eye on your pie to avoid over-baking.
- Cool Before Serving: Let the pie cool slightly; this helps the filling firm up.
- Experiment with Spices: Cinnamon and ginger are classic, but feel free to experiment with nutmeg or other spices.
- Dusting Flour: Don’t skimp on the flour when rolling out crusts. It prevents sticking and tearing.

How to Store the Leftovers?
If you happen to have leftover pie (which seems unlikely, but just in case!), store it in an airtight container in the refrigerator. It should last for about 3-4 days. You can reheat slices in the oven for a warm treat or enjoy it cold.
What are Some Recommended Side Dishes for Jollibee Peach Mango Pie?
Pairing your pie with sides can elevate your meal experience. Here are a few ideas:
1. Steamed Asparagus: Its crispness contrasts the softness of the pie, making for a refreshing addition.
2. Side Salad: A light salad with mixed greens, nuts, and a tangy vinaigrette can add a nice balance to the sweetness of your dessert.
3. Roasted Sweet Potatoes: These can be a savory side that complements the sweetness of the pie well.
4. Grilled Shrimp Skewers: Add some grilled proteins to your fare. The smokiness contrasts the sweet flavors perfectly.
Substitute Options for the Ingredients
Not all ingredients may be available, but don’t worry. Here are some substitutes:
- Pre-made Pie Crusts: Use homemade dough or phyllo pastry instead for a different texture.
- Heavy Cream: Half-and-half or coconut cream are alternatives that yield a similar result.
- Granulated Sugar: Brown sugar or coconut sugar will add a deeper flavor.
- Cornstarch: Arrowroot powder or all-purpose flour can work as thickening alternatives in your filling.

Jollibee Peach Mango Pie Recipe
Equipment
- Mixing bowl
Ingredients
- 2 pre-made 9-inch pie crusts store-bought or homemade
- 1 large egg lightly beaten
- 1 tablespoon of heavy cream
- A sprinkle of raw sugar for topping
- ¾ cup diced mangoes fresh or frozen
- ¾ cup diced peaches fresh or frozen
- ½ cup white sugar
- 2 tablespoons of cornstarch
- ¼ teaspoon ground cinnamon
- 1 tablespoon freshly squeezed lemon juice
- A pinch of sea salt
- ½ teaspoon pure vanilla extract
- All-purpose flour for dusting the counter
- ¼ teaspoon ground ginger
- 1 tablespoon maple syrup
Instructions
- Follow these steps to create your very own Jollibee Peach Mango Pie.
Step 1: Prepare the Filling
- In a mixing bowl, combine the diced mangoes and peaches. Add the white sugar, cornstarch, ground cinnamon, lemon juice, sea salt, vanilla extract, ground ginger, and maple syrup. Gently fold everything together until evenly mixed. Let this sit while you prepare your crust.
Step 2: Roll Out the Crust
- Dust your countertop with flour. Take one of the 9-inch pie crusts and gently roll it out to smooth any creases. You want it to be pliable enough to form into a pie shape without breaking.
Step 3: Fill the Pie Crust
- Carefully place the rolled-out pie crust into a pie dish. Use your fingers to mold the crust into the shape of the dish. Now, take your fruit filling and pour it into the crust, spreading it evenly.
Step 4: Seal the Pie
- Roll out the second pie crust in a similar manner. Cover the pie with this second crust. Pinch the edges of both crusts together to seal in the delicious filling. You can make decorative cuts on top to let steam escape.
Step 5: Brush and Sprinkle
- Mix the beaten egg and heavy cream together. Gently brush the top of the pie with this mixture for a golden finish. Sprinkle some raw sugar on top for added crunch and sweetness.
Step 6: Bake
- Preheat your oven to 375°F (190°C). Bake for about 25 to 30 minutes or until the crust is golden brown. Allowing the baking aroma to fill your kitchen is a definite plus.
Step 7: Cool and Serve
- Once baked, let the pie cool for a few minutes before slicing. This will help the filling set a bit.
Notes
- Choose Ripe Fruit: For the best flavor, select ripe, sweet peaches and mangoes. Overripe fruit can make the pie too mushy.
- Watch the Baking Time: Every oven is different. Keep an eye on your pie to avoid over-baking.
- Cool Before Serving: Let the pie cool slightly; this helps the filling firm up.
- Experiment with Spices: Cinnamon and ginger are classic, but feel free to experiment with nutmeg or other spices.
- Dusting Flour: Don’t skimp on the flour when rolling out crusts. It prevents sticking and tearing.
Nutrition
Frequently Asked Questions
1. Can I freeze Jollibee Peach Mango Pie?
Yes! You may freeze it before baking or after. Wrap it tightly in plastic wrap and foil to prevent freezer burn. It should last for about three months.
2. Can I use canned peaches and mangoes?
Absolutely! Canned fruits can offer convenience. Just make sure to drain them well to avoid excess moisture.
3. Is it necessary to deep-fry the pie?
While traditional recipes fry the pie, baking yields a lighter option. Just keep an eye on the oven for that golden crisp.
4. Can I make mini pies?
Definitely! Use muffin tins for mini versions. Adjust baking time because they will cook faster.
5. What type of mango is best?
Alfonso mangoes are sweet and flavorful, making them ideal for this recipe. Pick whatever is ripe!
Conclusion
Creating your very own Jollibee Peach Mango Pie is a rewarding experience that’s easy, fun, and delicious. Whether you enjoy it fresh from the oven or save it for a snack, each bite will take you on a flavor adventure.
The perfect combination of sweet fruit and flaky crust is one bite away. Now that you’ve got the recipe, it’s time to gather your ingredients and get baking. Happy pie-making!