Before diving into the wonders of Jollibee pasta, let’s explore the perfect pairings that can enhance this delicious dish. Jollibee pasta, with its flavorful tomato base and hearty toppings, is versatile enough to complement a variety of sides.
A crunchy slice of garlic bread makes an excellent accompaniment, with its buttery, crispy texture and rich garlic flavor perfectly balancing the dish’s lightness. For a refreshing contrast, a fresh Caesar salad adds a crisp green element, with the crunch of romaine and the tangy dressing offering a bright and vibrant side.
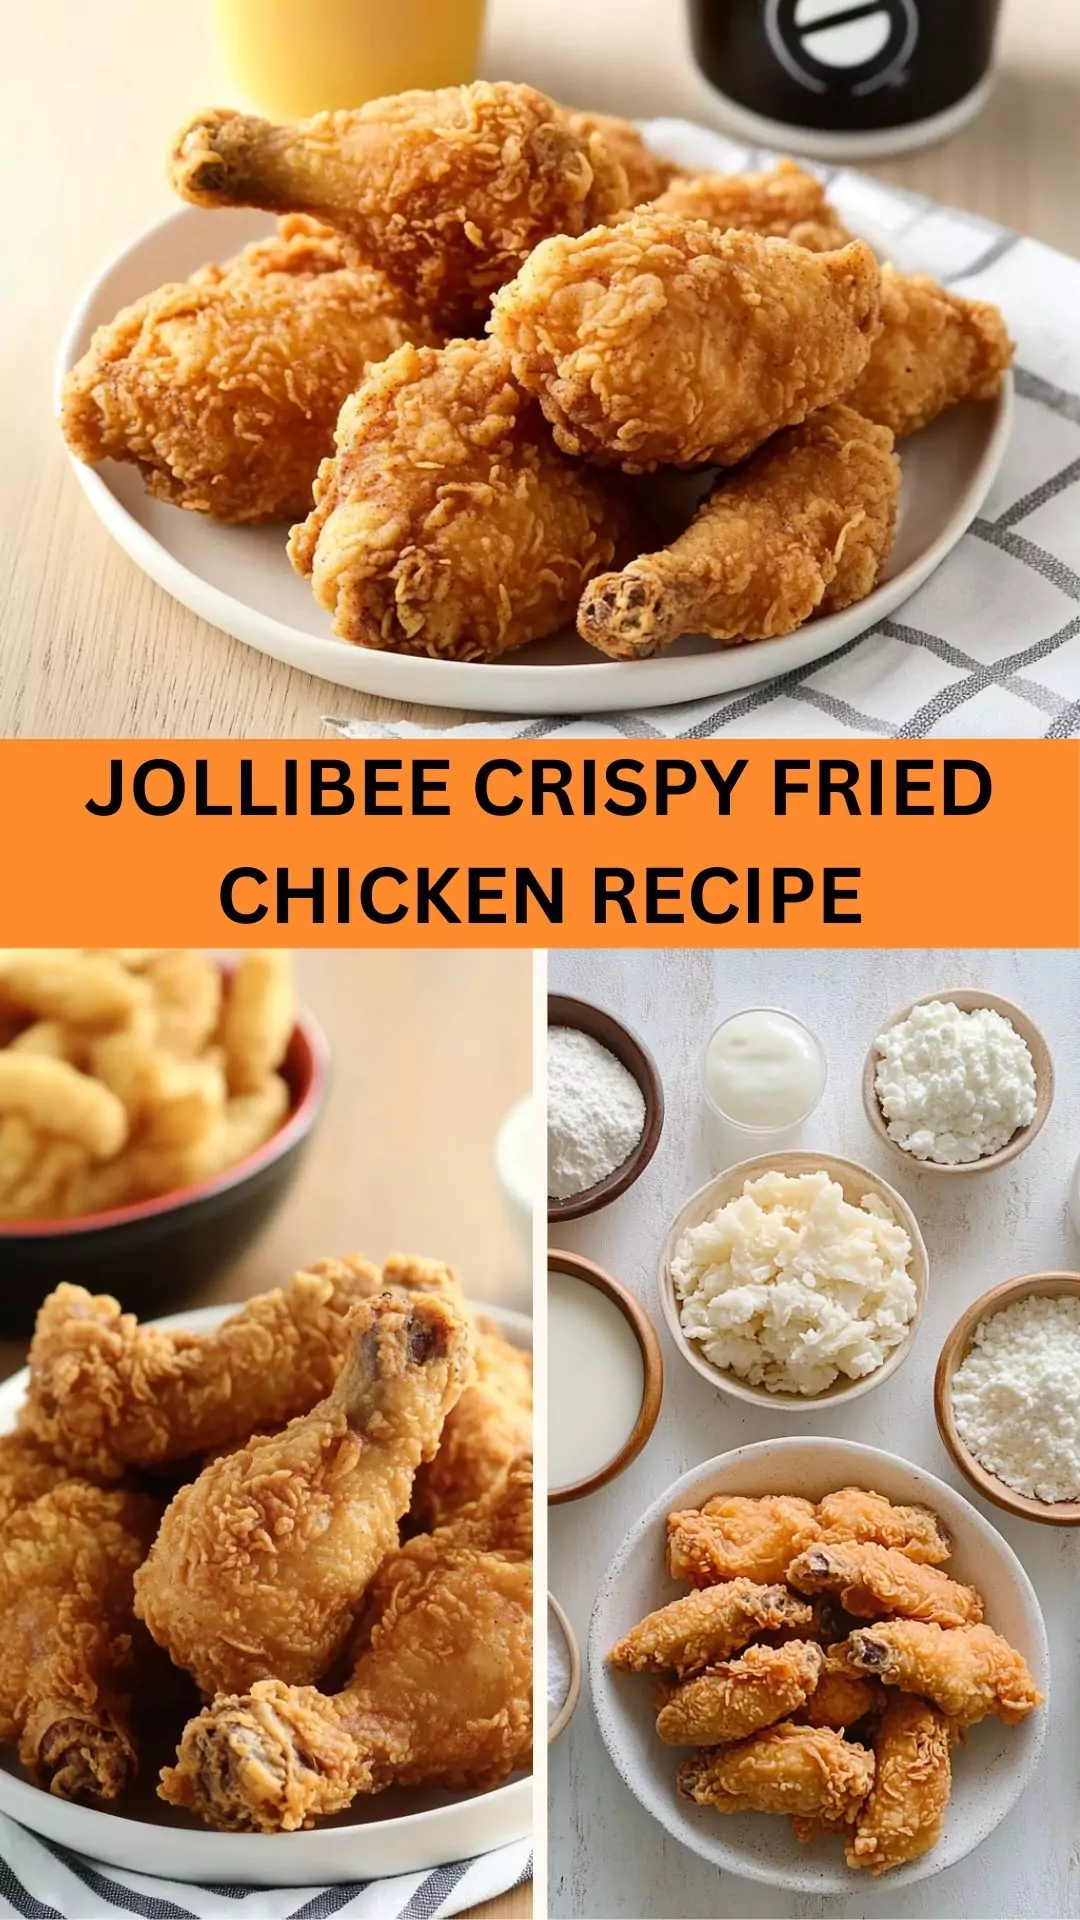
And, of course, no meal is complete without Jollibee’s famous fried chicken. The crispy, savory goodness of the chicken pairs wonderfully with the pasta, creating a delightful mix of textures and flavors. Now, let’s jump into all that is Jollibee pasta!

As a food enthusiast and registered dietitian, I’m always on the lookout for dishes that pack a punch in flavor and nutrition. When I first encountered Jollibee pasta, I was intrigued. The dish, a fusion of Italian and Filipino flavors, surprised me with its vibrant taste and texture.
With a combination of pasta, meat, and a rich sauce, this dish represents more than just a meal; it tells a story of cultural intersection. If you’ve never tried Jollibee pasta before, you’re in for a treat.
You will also like the following Dinner recipes!
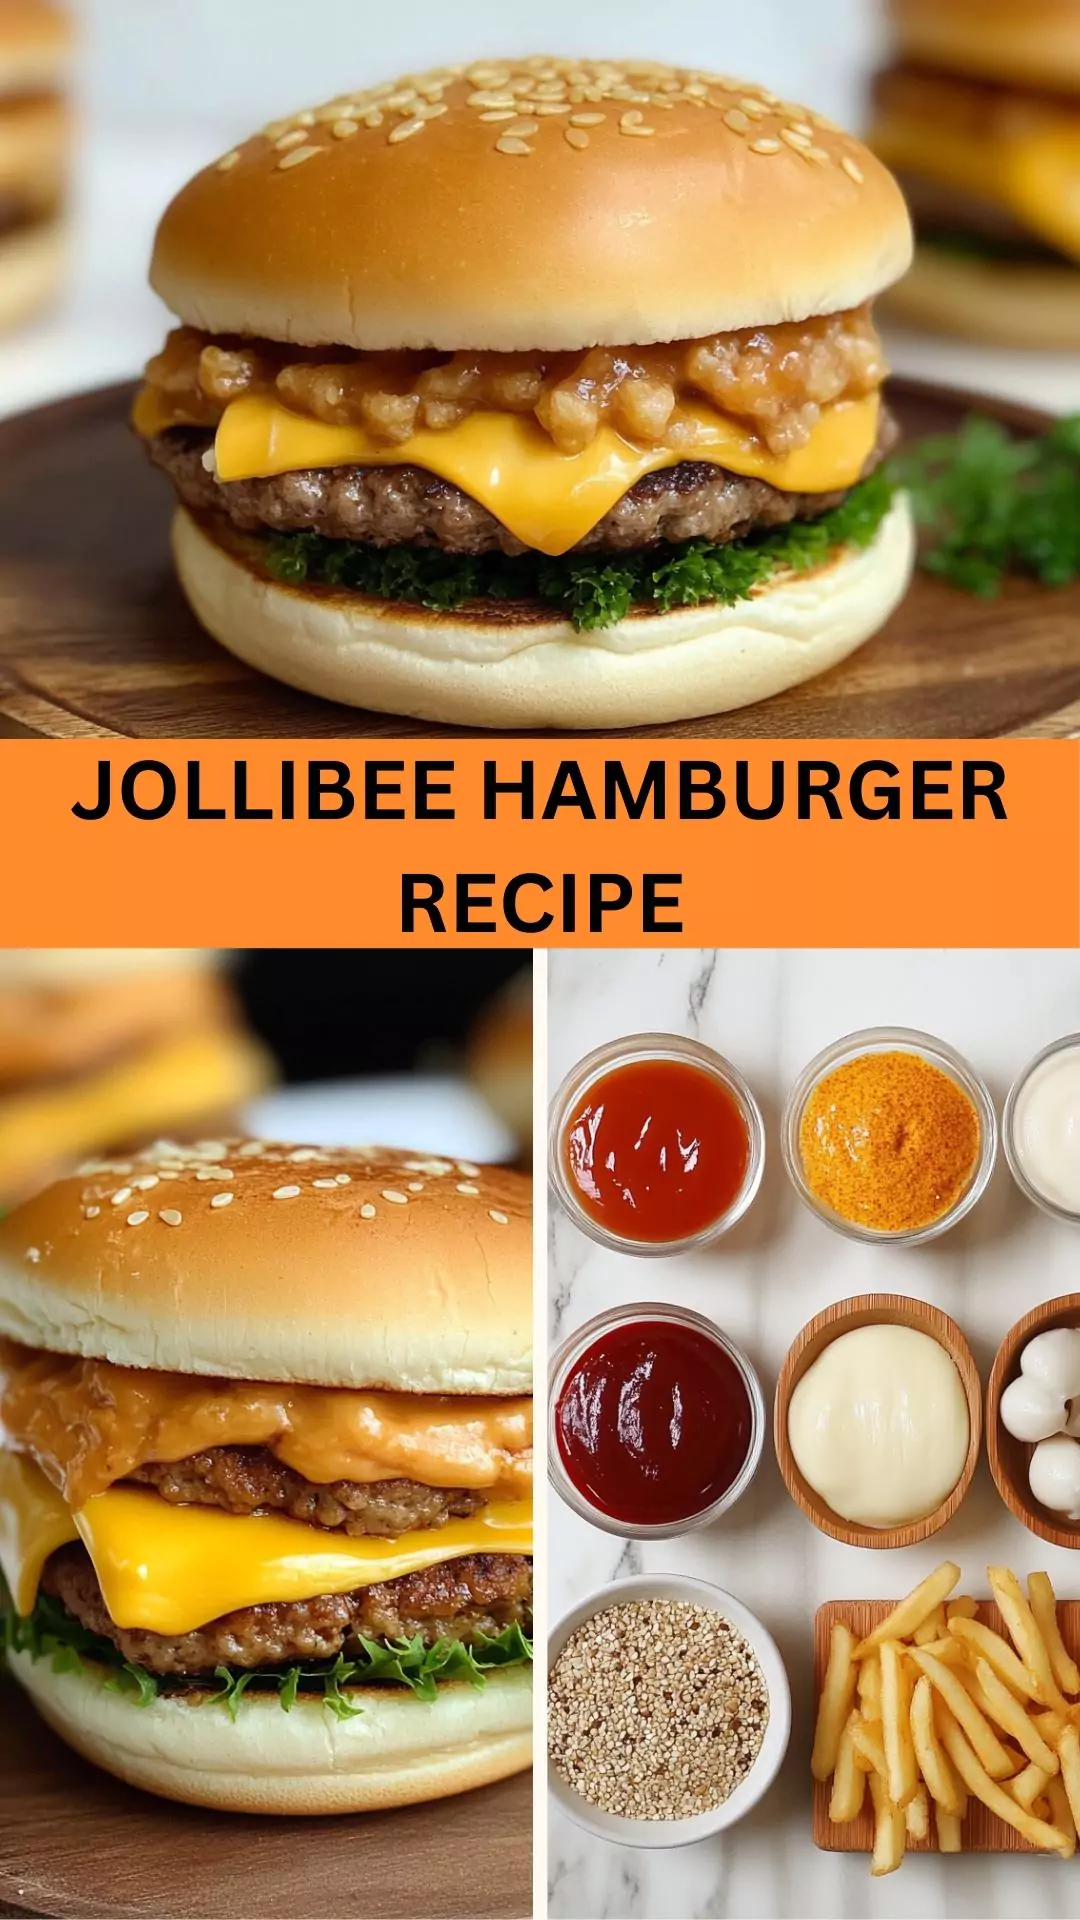
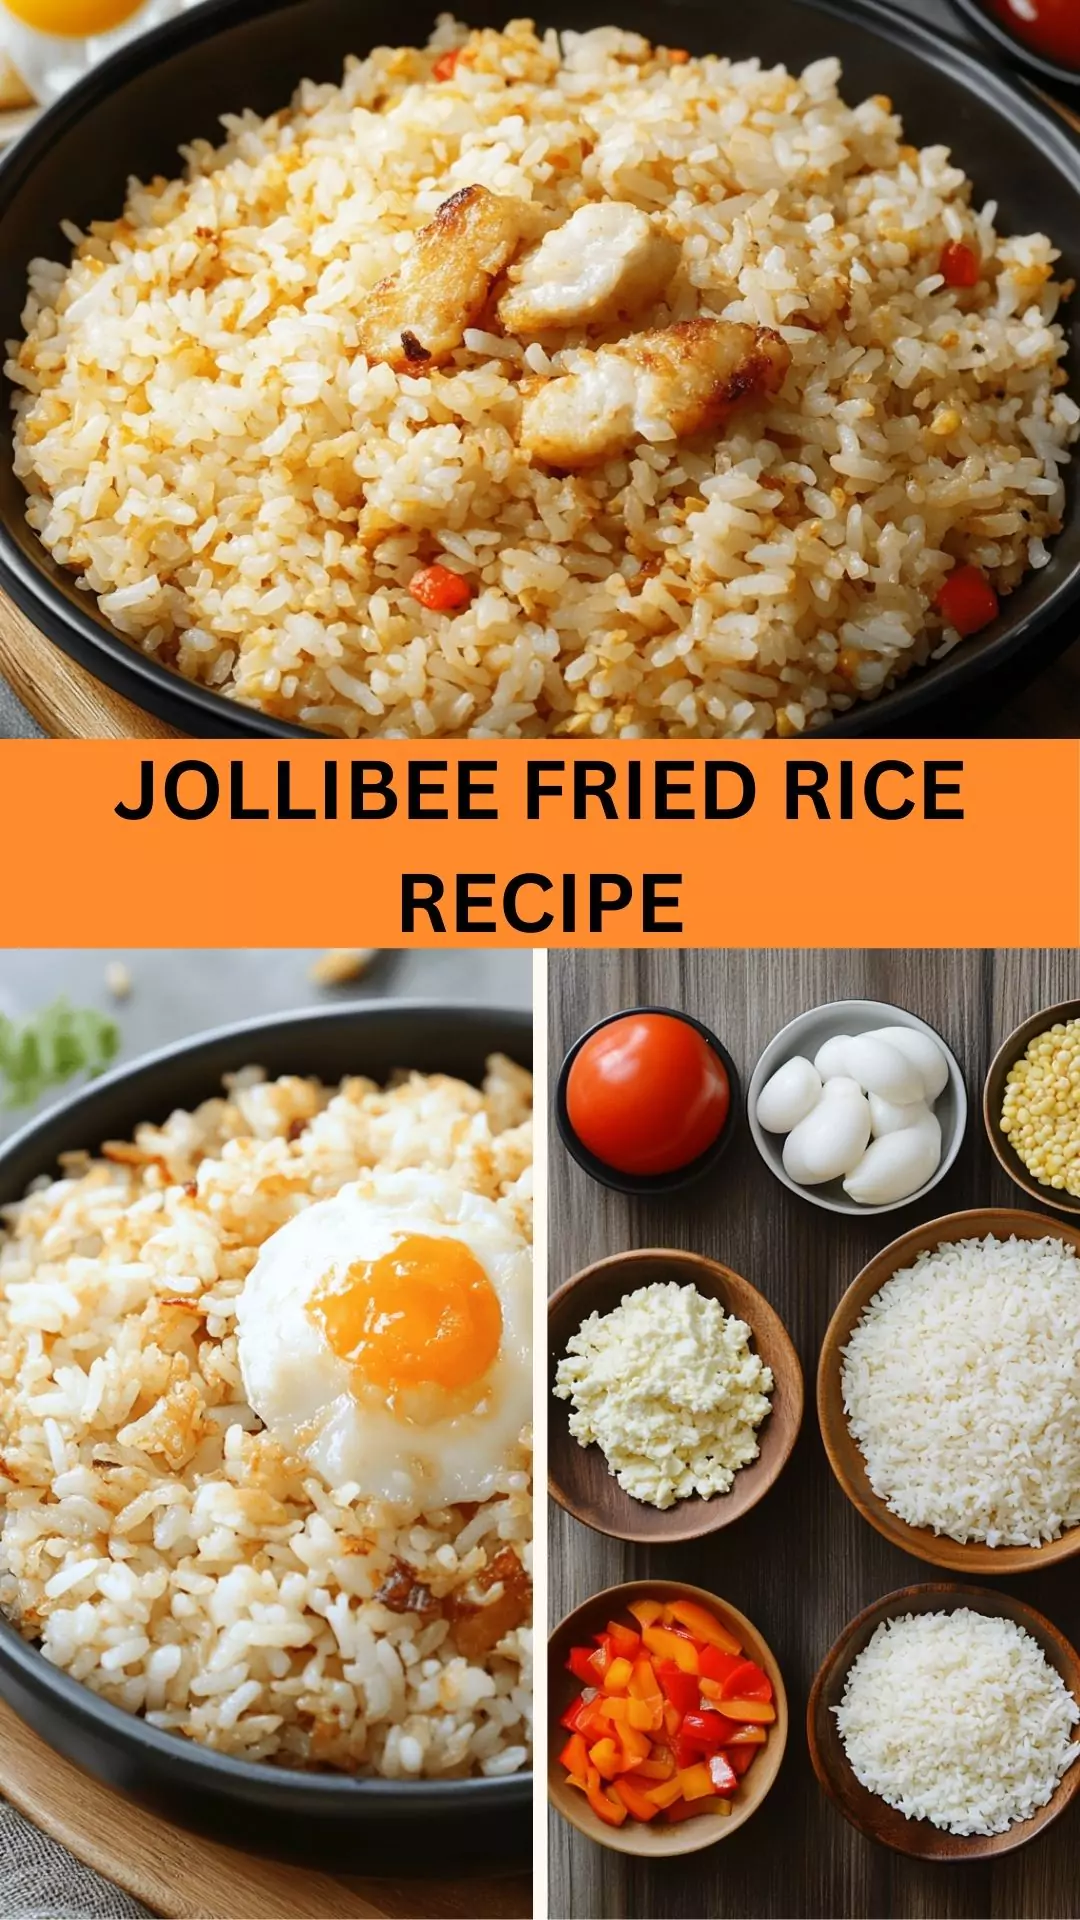
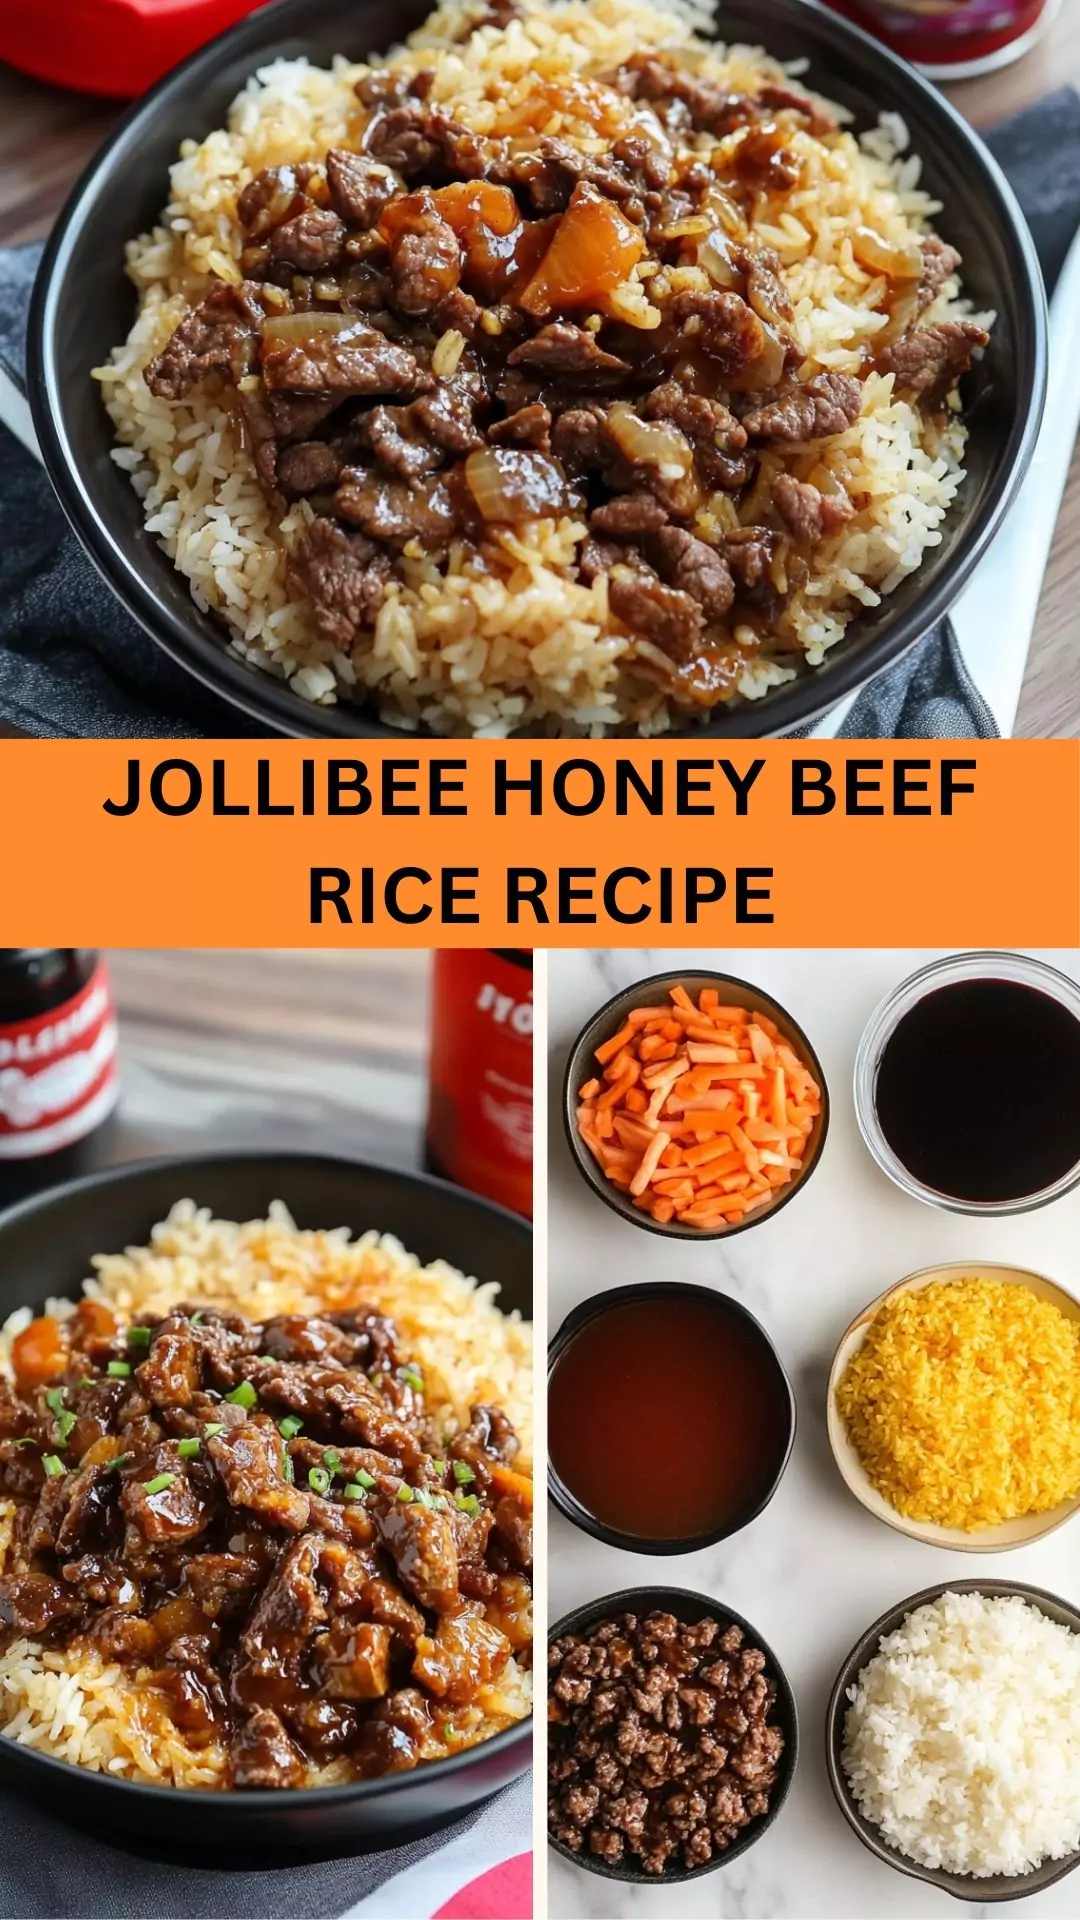
- Best Jollibee Honey Beef Rice Recipe
- How to make Jollibee Chicken Sandwich
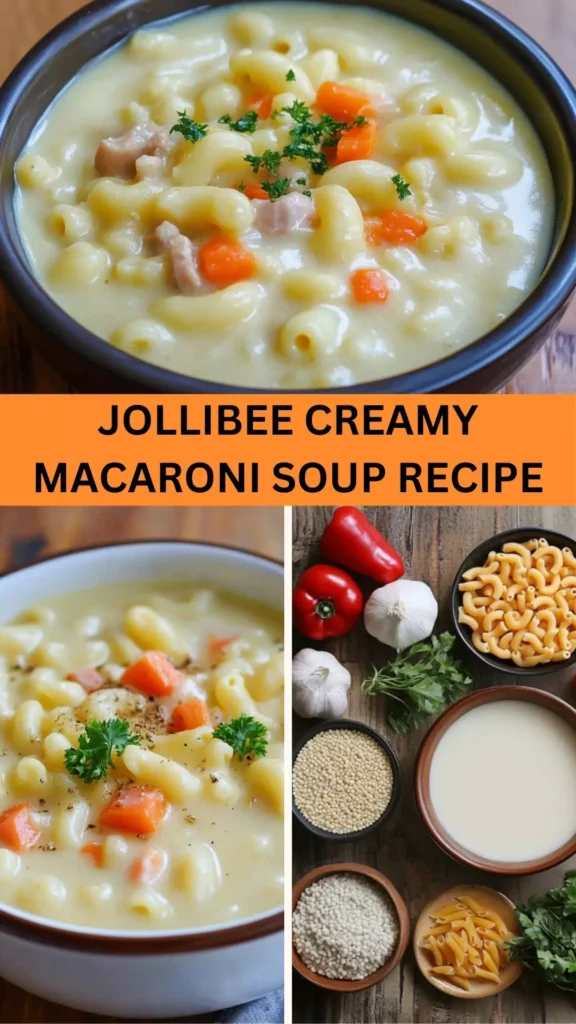
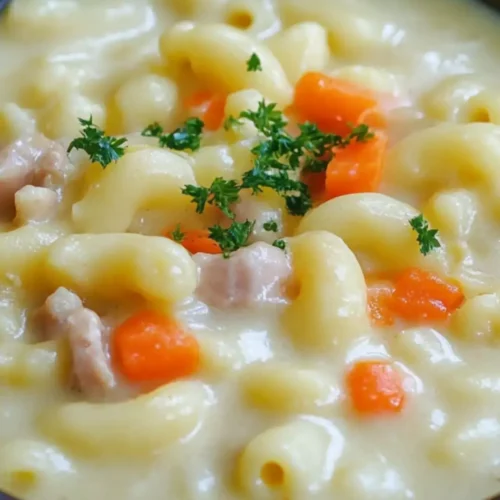
- Easy Jollibee Creamy Macaroni Soup Recipe
What is Jollibee Pasta?
Jollibee pasta is a unique creation found in the popular Filipino fast-food chain, Jollibee. This dish often features spaghetti or a similar noodle topped with a sweet, tangy sauce made primarily from tomatoes and banana ketchup.
The addition of protein, usually ground meat or sausage, enhances its heartiness.
In the Philippines, food isn’t just fuel; it’s an experience shaped by history and tradition. Jollibee pasta stands as a testament to this, blending Western culinary influence with Filipino taste profiles.
What is the Flavor Profile of This Dish?
The beauty of Jollibee pasta lies in its complex flavor profile. Let’s break it down:
- Sweetness: One of the defining ingredients is banana ketchup. It contributes a level of sweetness that many people adore. It’s unexpected yet familiar.
- Tanginess: The tomato puree adds a sharp, tangy counterbalance that elevates the overall taste.
- Savory: Ground meat, whether beef or sausage, lends depth to the dish. The savory element complements the sweetness and tanginess beautifully.
- Aromatic: Garlic and onion add aromatic notes that round out the dish. Each bite is filled with flavor, offering a taste of home for many Filipinos.
Why You’ll Love This?
You’ll love Jollibee pasta for several reasons. First, it’s comfort food at its finest. It’s hearty, filling, and reminiscent of childhood meals. The sweetness combined with the rich tomato flavor feels like a hug for your taste buds.
Second, it’s versatile. You can tweak the ingredients based on your dietary needs. Want it vegetarian? Swap the meat for mushrooms or chickpeas. Gluten-free? Use your favorite gluten-free pasta.
Lastly, Jollibee pasta is easy to prepare. With simple ingredients and straightforward steps, you’ll be enjoying a warm bowl of deliciousness in no time.
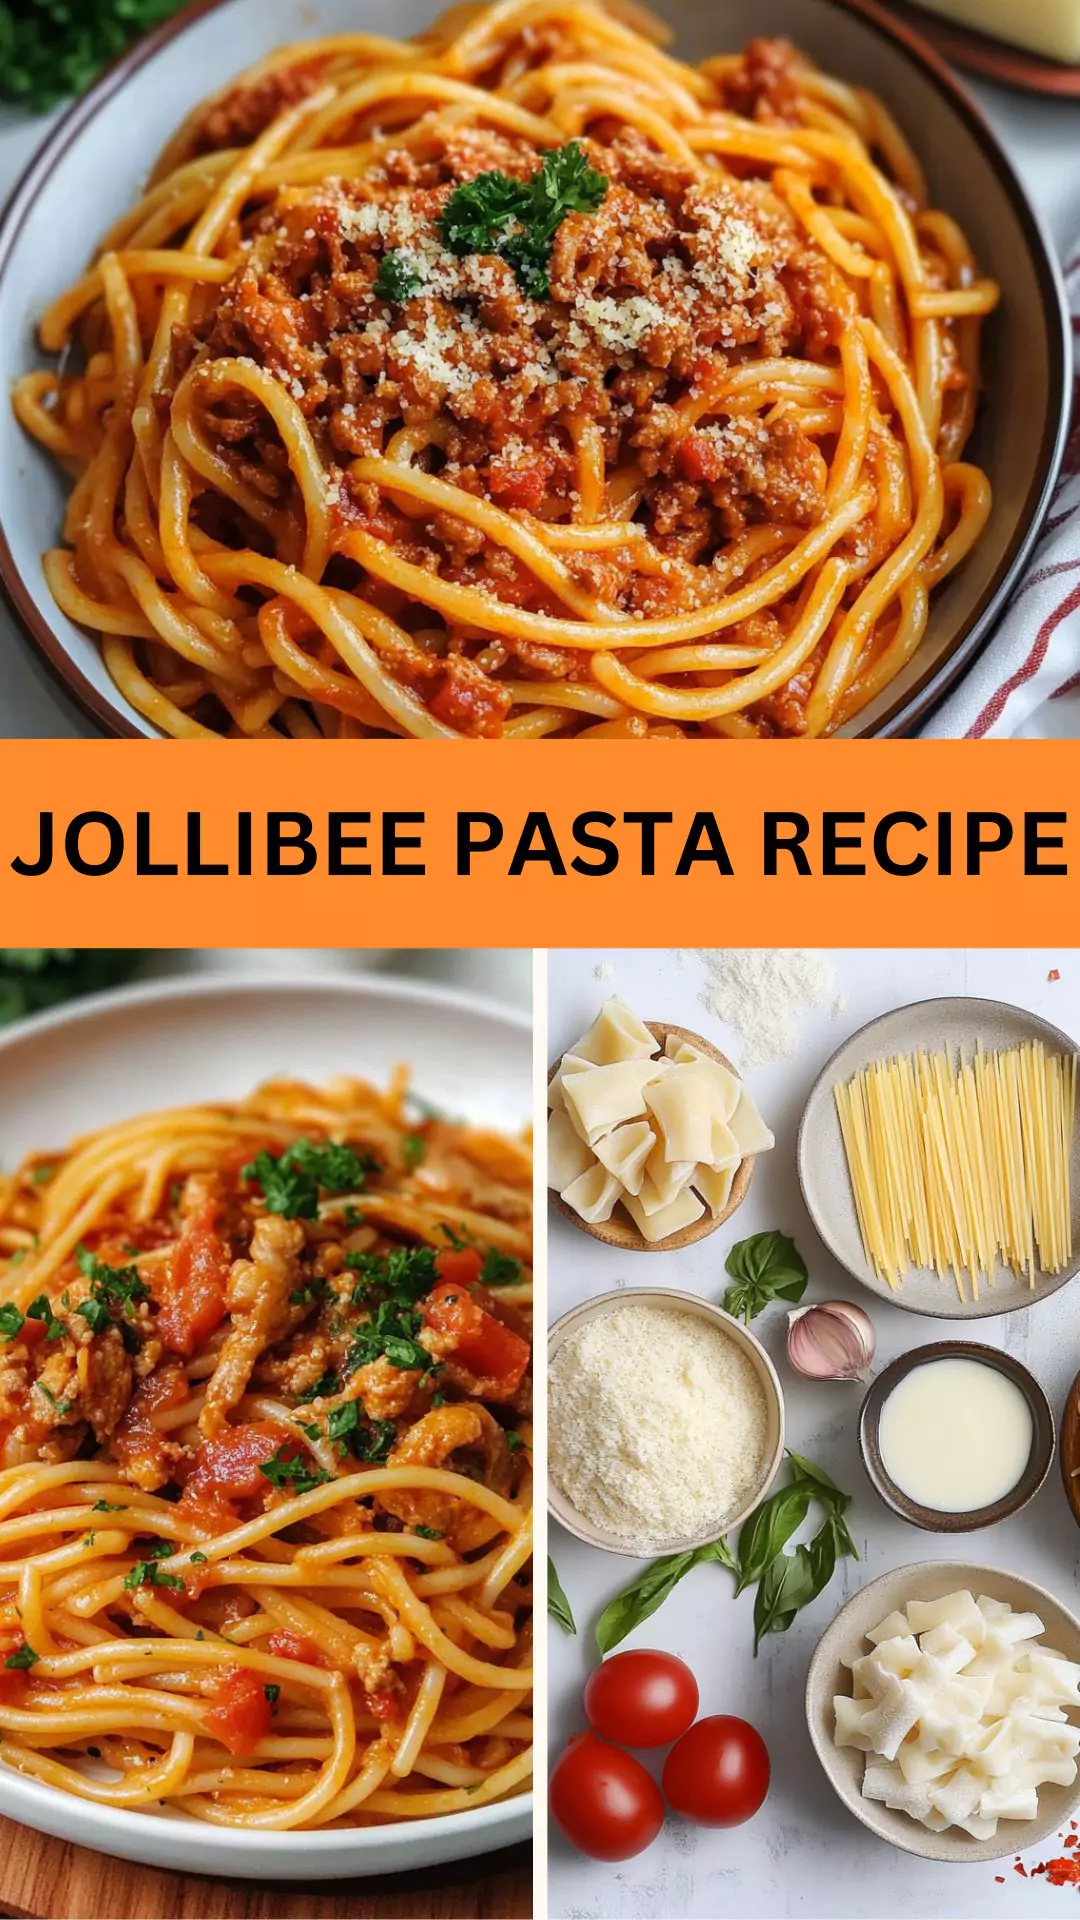
Ingredients
Now let’s gather everything you need to recreate this dish in your kitchen. Here’s what you’ll require:
- 1 pound spaghetti pasta
- 1 tablespoon extra virgin olive oil
- 1 can (15 ounces) tomato puree
- 4-5 sausages, sliced on the diagonal
- 1 can (8 ounces) tomato paste
- 1 teaspoon honey or maple syrup
- 3 cloves garlic, finely minced
- ½ teaspoon sea salt
- 1 small yellow onion, finely chopped
- ½ cup shredded sharp cheddar cheese
- 1 pound ground chuck beef
- 1 cup sweet banana ketchup
- 1 cup beef stock
- ¼ teaspoon freshly cracked black pepper
- Optional: Fresh basil or cilantro for garnish

Step-by-Step Instructions
Let’s transform those ingredients into a comforting bowl of Jollibee pasta. Here’s how to do it:
Step 1: Cook the Pasta
Start by boiling a large pot of salted water. Add the spaghetti and cook according to the package instructions. Drain and set aside when done.
Step 2: Sauté the Aromatics
In a large skillet, heat the olive oil over medium heat. Add the finely chopped onions and minced garlic. Sauté until fragrant and translucent, about 3-4 minutes. The aroma? It’ll make you want to dive in early!
Step 3: Brown the Meat
Add the ground beef to the skillet. Break it up with a spatula and cook until browned. Drain excess fat if needed. This step will give your dish that savory essence.
Step 4: Add Sausage
Once the beef is browned, add the sliced sausages. Let them brown for another 3-4 minutes, stirring occasionally. They add a delightful bite and flavor.
Step 5: Mix in the Sauces
Stir in the tomato puree and tomato paste. Follow with banana ketchup. Make sure to mix thoroughly, allowing all flavors to meld together.
Step 6: Season It Up
Pour in the beef stock and mix it well. Season with sea salt, black pepper, and the teaspoon of honey or maple syrup. Bring this mixture to a gentle simmer and let it bubble away for about 10 minutes.
Step 7: Combine Pasta and Sauce
Once your sauce has thickened slightly, add the cooked spaghetti to the skillet. Toss to coat the noodles well. The goal is to let every strand soak in that delicious sauce.
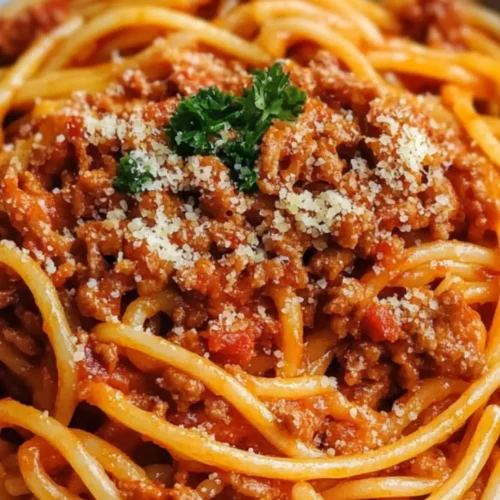
Step 8: Serve and Garnish
Serve the Jollibee pasta in bowls, topped with shredded cheddar cheese. For an extra touch, sprinkle with fresh basil or cilantro. It’s all about the finishing touches!
Tips & Tricks
Here are some handy tips to ensure your pasta turns out perfect:
- Salt the Pasta Water: Always season your boiling water. It improves flavor from the very beginning.
- Don’t Overcook the Noodles: Aim for al dente! The pasta should still have a slight bite.
- Make It Ahead: This pasta tastes even better the next day. It’s a great make-ahead option for gatherings.
- Experiment with Proteins: Use chicken or even plant-based proteins if you prefer. The flavors will adapt wonderfully.
- Add Veggies: Toss in some bell peppers or zucchini for added nutrition and color.

How Can You Store This Jollibee Pasta?
If you have leftovers, storing them is a breeze. Allow the pasta to cool completely before transferring it to an airtight container. It can be kept in the fridge for up to 3 days.
When reheating, add a splash of water to prevent it from drying out. Heat thoroughly in a microwave or on the stove until hot.
Alternative Ingredient Choices
Sometimes, you might not have everything on hand. Here are some alternative ingredients that can work wonders:
- Spaghetti Substitutes: Fusilli or penne can be used instead of spaghetti. They capture the sauce beautifully.
- Banana Ketchup Alternative: If you can’t find banana ketchup, consider using regular ketchup with a dash of sugar to replicate the sweetness.
- Cheese Options: Don’t have cheddar? Mozzarella or parmesan can easily replace it to achieve a delightful flavor.
Jollibee Pasta Recipe
Equipment
- Skillet
Ingredients
- 1 pound spaghetti pasta
- 1 tablespoon extra virgin olive oil
- 1 can 15 ounces tomato puree
- 4-5 sausages sliced on the diagonal
- 1 can 8 ounces tomato paste
- 1 teaspoon honey or maple syrup
- 3 cloves garlic finely minced
- ½ teaspoon sea salt
- 1 small yellow onion finely chopped
- ½ cup shredded sharp cheddar cheese
- 1 pound ground chuck beef
- 1 cup sweet banana ketchup
- 1 cup beef stock
- ¼ teaspoon freshly cracked black pepper
- Optional: Fresh basil or cilantro for garnish
Instructions
- Let’s transform those ingredients into a comforting bowl of Jollibee pasta. Here’s how to do it:
Step 1: Cook the Pasta
- Start by boiling a large pot of salted water. Add the spaghetti and cook according to the package instructions. Drain and set aside when done.
Step 2: Sauté the Aromatics
- In a large skillet, heat the olive oil over medium heat. Add the finely chopped onions and minced garlic. Sauté until fragrant and translucent, about 3-4 minutes. The aroma? It’ll make you want to dive in early!
Step 3: Brown the Meat
- Add the ground beef to the skillet. Break it up with a spatula and cook until browned. Drain excess fat if needed. This step will give your dish that savory essence.
Step 4: Add Sausage
- Once the beef is browned, add the sliced sausages. Let them brown for another 3-4 minutes, stirring occasionally. They add a delightful bite and flavor.
Step 5: Mix in the Sauces
- Stir in the tomato puree and tomato paste. Follow with banana ketchup. Make sure to mix thoroughly, allowing all flavors to meld together.
Step 6: Season It Up
- Pour in the beef stock and mix it well. Season with sea salt, black pepper, and the teaspoon of honey or maple syrup. Bring this mixture to a gentle simmer and let it bubble away for about 10 minutes.
Step 7: Combine Pasta and Sauce
- Once your sauce has thickened slightly, add the cooked spaghetti to the skillet. Toss to coat the noodles well. The goal is to let every strand soak in that delicious sauce.
Step 8: Serve and Garnish
- Serve the Jollibee pasta in bowls, topped with shredded cheddar cheese. For an extra touch, sprinkle with fresh basil or cilantro. It’s all about the finishing touches!
Notes
- Salt the Pasta Water: Always season your boiling water. It improves flavor from the very beginning.
- Don’t Overcook the Noodles: Aim for al dente! The pasta should still have a slight bite.
- Make It Ahead: This pasta tastes even better the next day. It’s a great make-ahead option for gatherings.
- Experiment with Proteins: Use chicken or even plant-based proteins if you prefer. The flavors will adapt wonderfully.
- Add Veggies: Toss in some bell peppers or zucchini for added nutrition and color.
Nutrition
Frequently Asked Questions
1. Can I make Jollibee pasta vegetarian?
Absolutely! Simply swap the meats for vegetables like mushrooms and add beans for protein. The flavors remain fantastic!
2. Is banana ketchup necessary?
While it adds a unique sweetness, you can substitute it with regular ketchup and a bit of sugar. It won’t replicate the exact taste, but it comes close.
3. Can I freeze Jollibee pasta?
Yes, it freezes well! Just be sure to store it in airtight containers and consume it within 2 months for optimal taste.
4. What side dishes go best with Jollibee pasta?
Aside from garlic bread and salads, crispy spring rolls or a vegetable stir-fry would be delightful as a side.
5. How spicy is Jollibee pasta?
This dish is not typically spicy. However, if you enjoy heat, feel free to add chili flakes or diced jalapeños to the mix.
Conclusion
Making Jollibee pasta is not just about preparing a dish; it’s about embracing a fusion of cultures and flavors that have a special place in many hearts. The next time you gather with friends or family, consider this nostalgic recipe, and bask in the delightful flavors it brings to the table.
You might just find Jollibee pasta becoming a staple in your kitchen. Dive in, share stories, and enjoy every cheesy, savory bite. There’s nothing quite like food that brings people together!