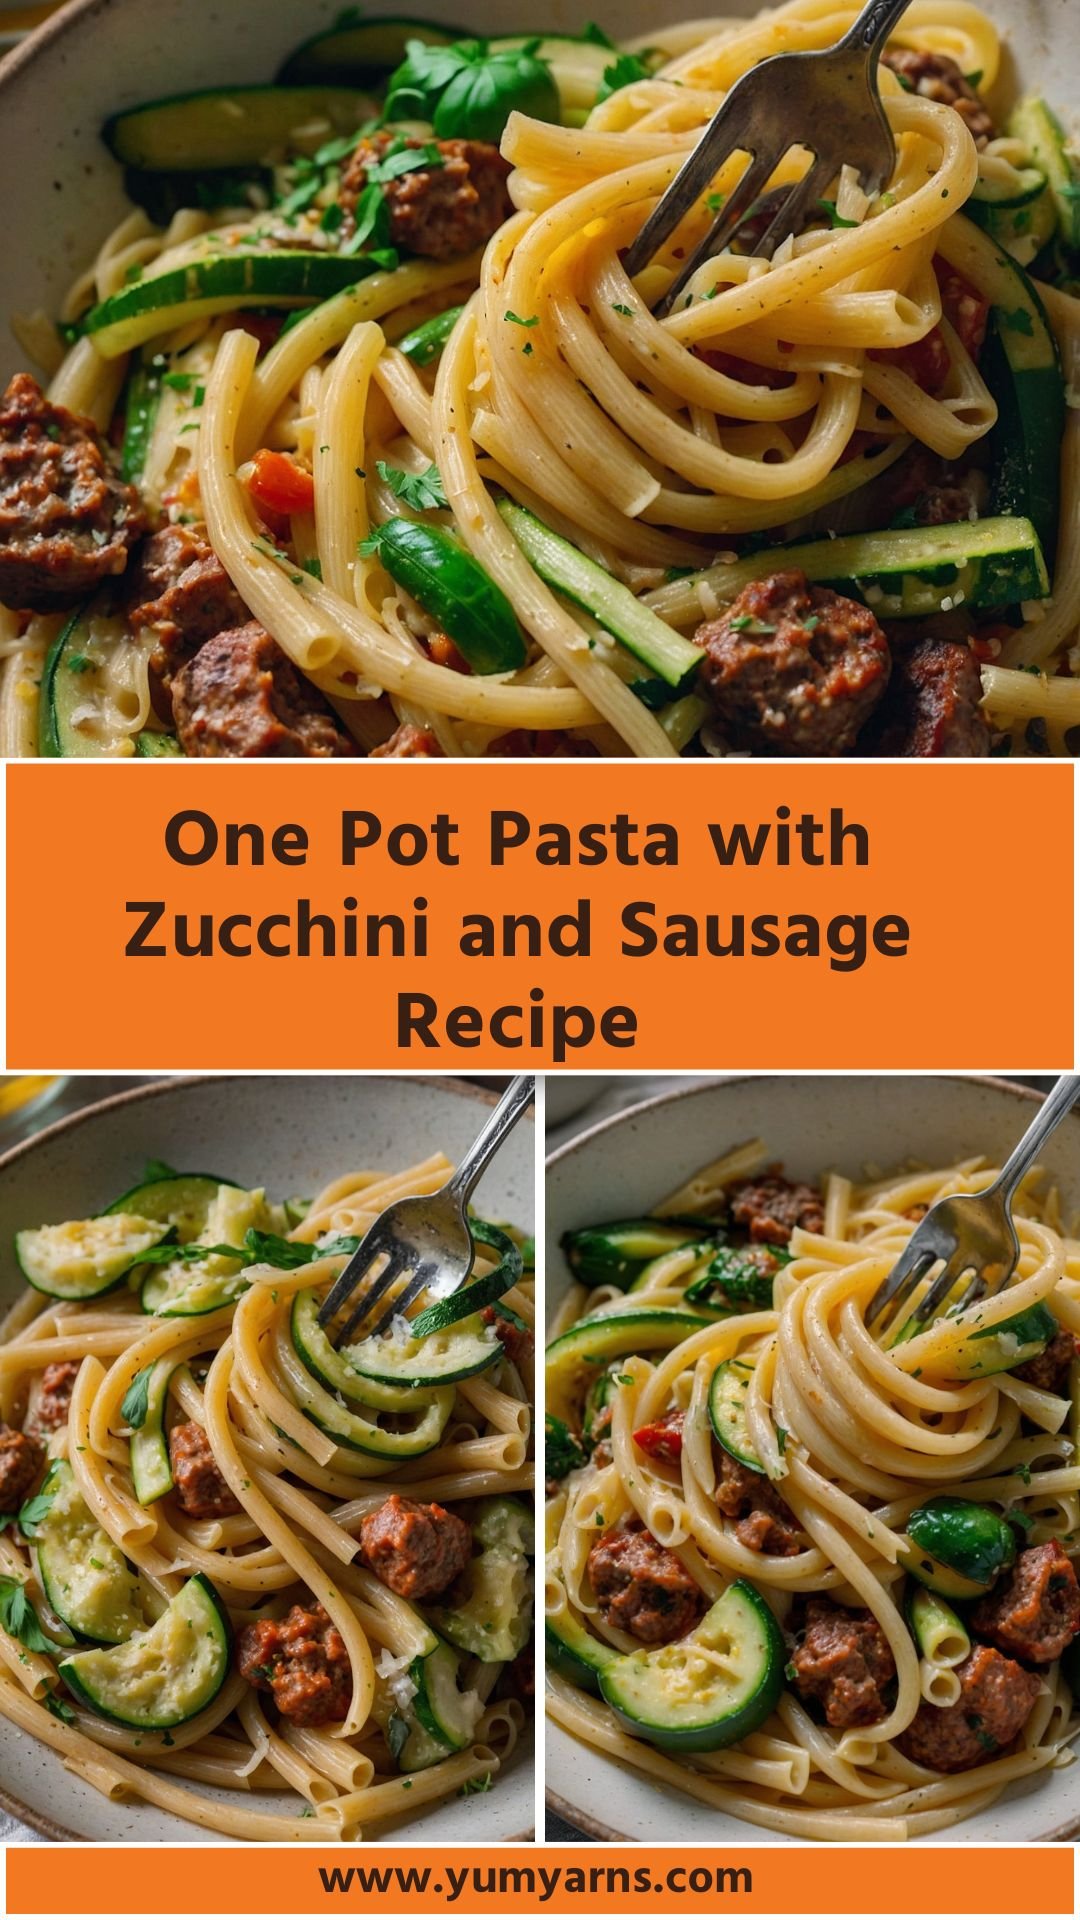
As summer envelops us with its warmth, there’s nothing quite like gathering friends and family for a comforting meal. Picture this: laughter fills the air, the grill smokes in the distance, and the aroma of fresh herbs and savory sausage wafts through your kitchen. It’s the perfect setting for sharing a delightful dish. Today, I’m excited to present my favorite One Pot Pasta recipe with zucchini and sausage. Pair it with a simple arugula salad dressed with lemon and olive oil, and you’re in for a treat!

What is One Pot Pasta Recipe with Zucchini and Sausage?
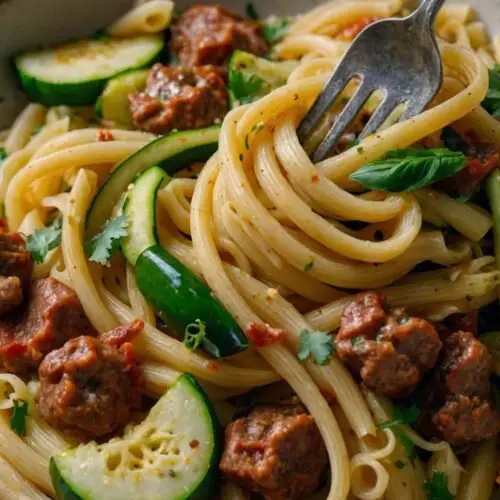
One Pot Pasta with Zucchini and Sausage is a simple yet satisfying dish that combines hearty ingredients for a flavorful experience. It’s versatile, allowing you to adjust the flavors and ingredients based on what’s fresh or available at your local market. The dish is perfect for busy weeknights or laid-back gatherings with friends.
You will also like the following Dinner recipes!
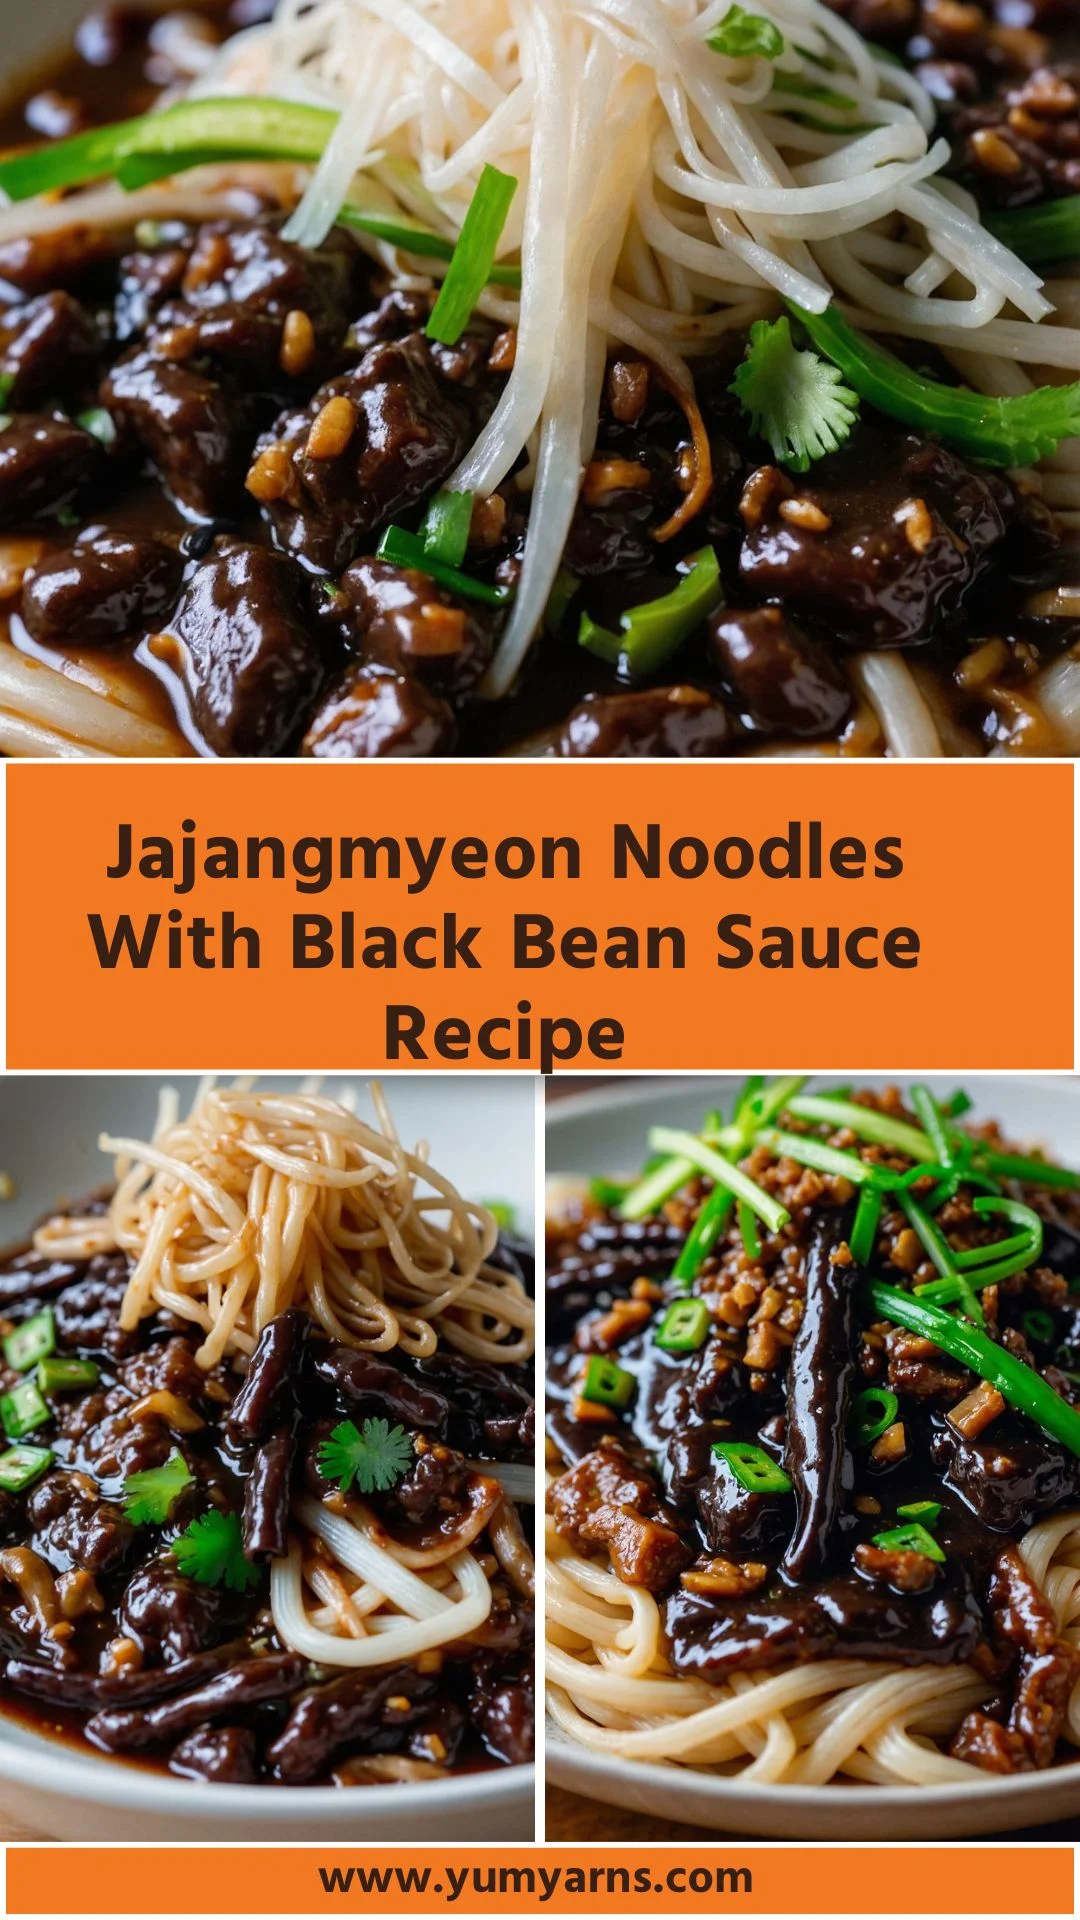
- Jajangmyeon Noodles With Black Bean Sauce
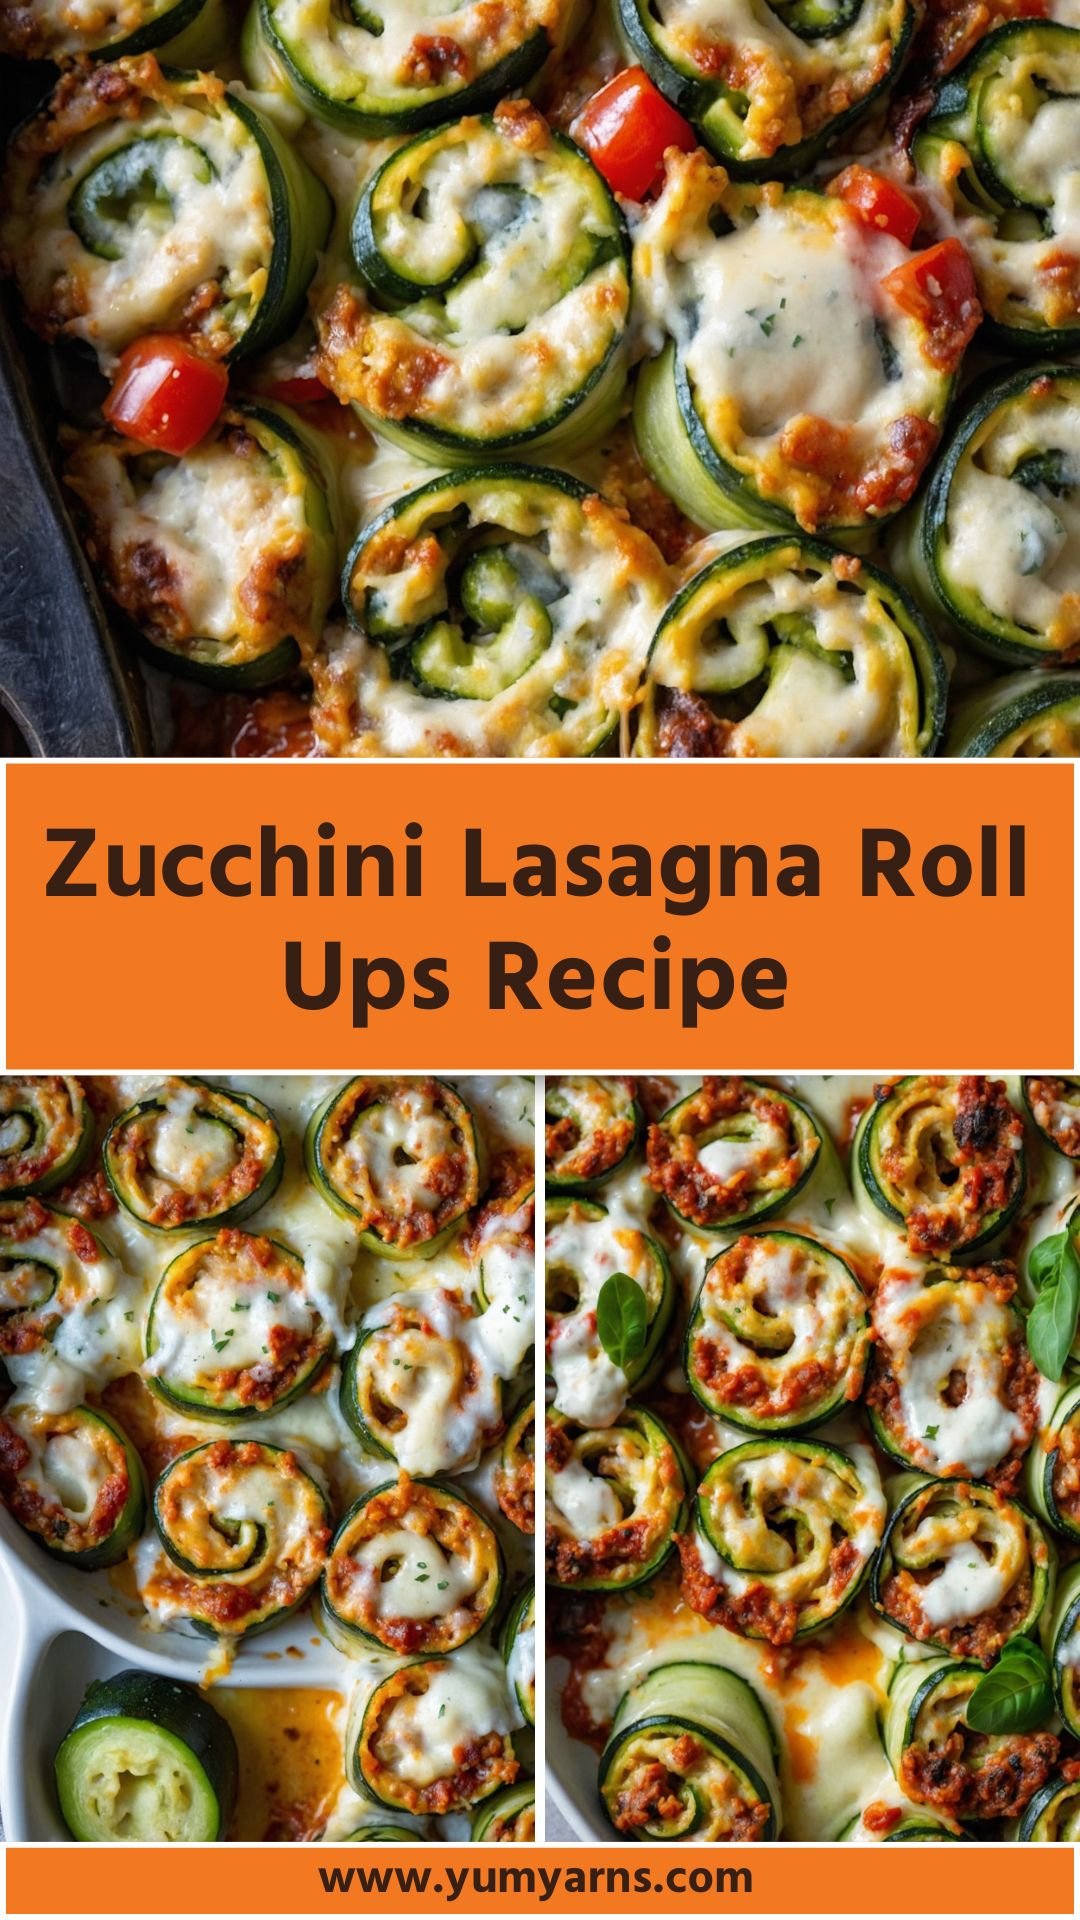
- Zucchini Lasagna Roll Ups
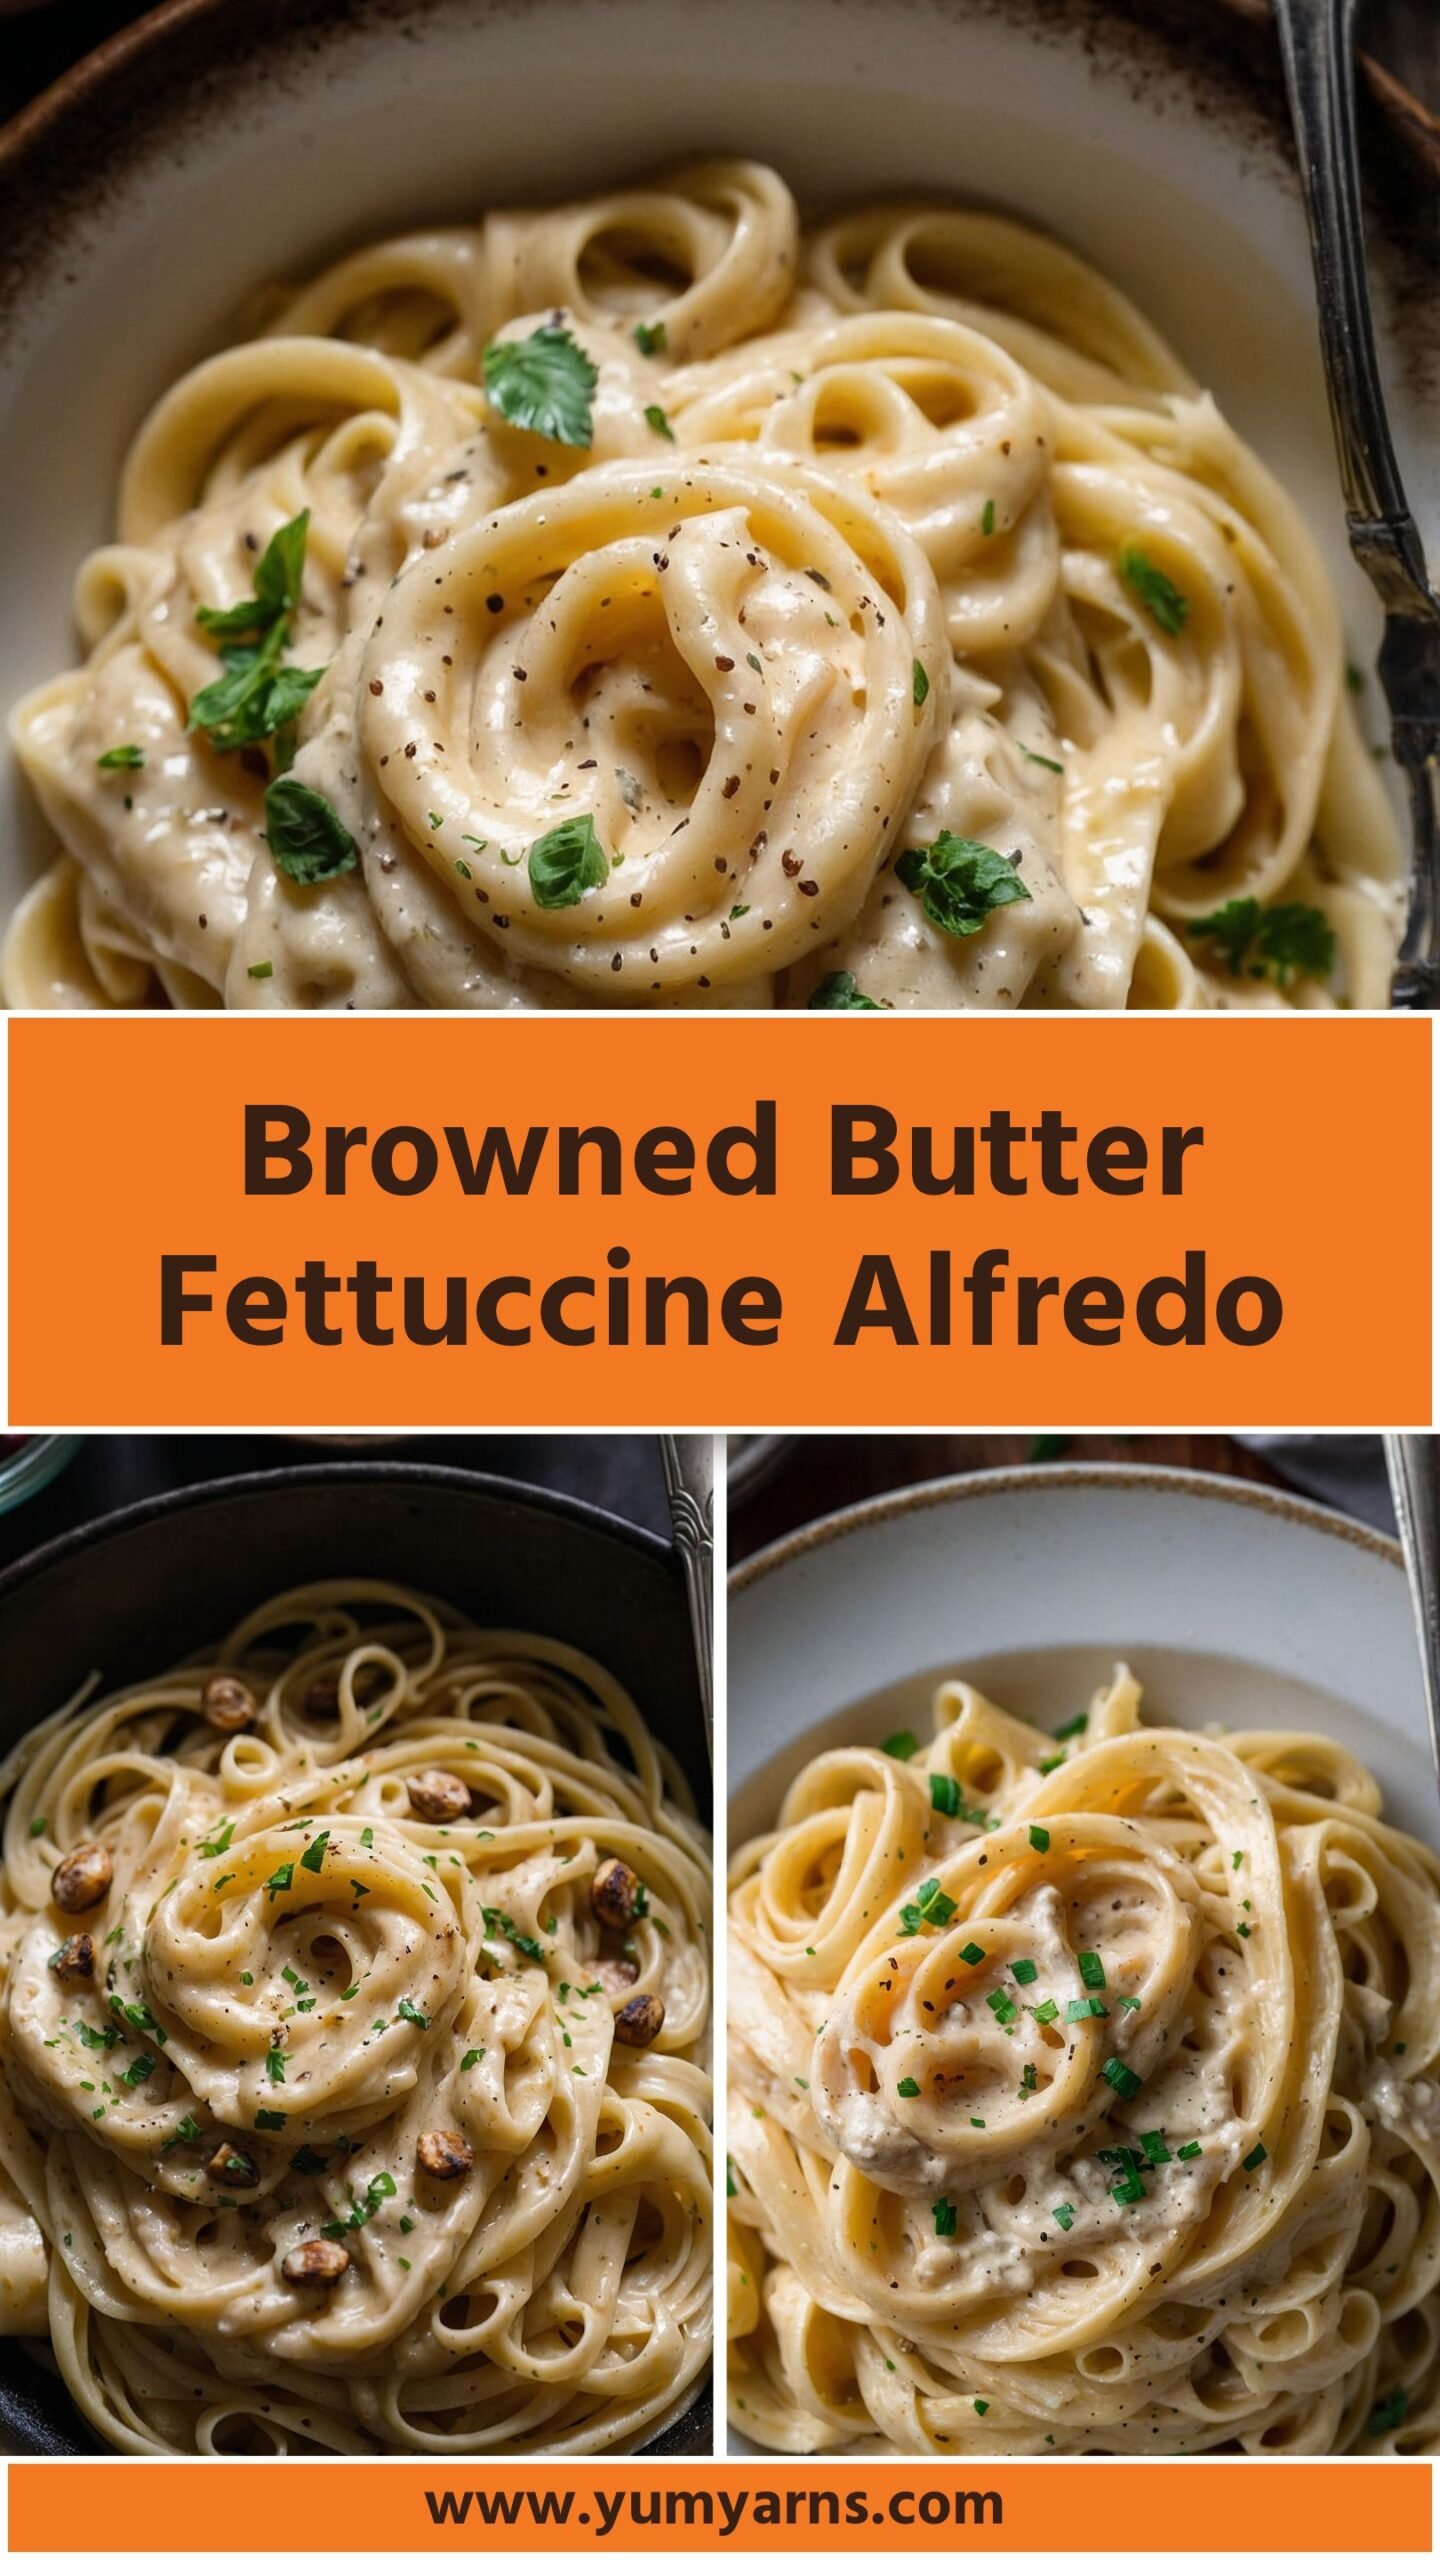
- How to make Browned Butter Fettuccine Alfredo
The Ingredients
Here’s what you’ll need to create this mouthwatering dish:
- 2 links of spicy Italian sausage, casings removed: This gives the dish its rich flavor.
- ½ cup freshly grated Parmesan cheese: Adds creaminess and depth.
- 1 teaspoon lemon zest: A bright note that balances the richness.
- 3 tablespoons extra virgin olive oil: Choose high-quality for the best flavor.
- 1½ tablespoons fresh thyme, finely chopped: A delightful herb that complements the dish beautifully.
- ½ pound bucatini pasta: Its hollow center captures flavors well.
- 2 cloves garlic, minced: Essential for that savory base.
- Salt and freshly ground black pepper: To taste, of course.
- 2 zucchini, halved lengthwise and sliced into half-moons: Great for texture and nutrition.
- ¼ teaspoon crushed red pepper flakes (optional): For those who enjoy a little heat.
- 2½ cups low-sodium chicken broth: The liquid gold in this recipe!
- 1 medium yellow onion, finely chopped: Adds a sweet yet savory flavor.

How to Make One Pot Pasta Recipe with Zucchini and Sausage?
Making one pot pasta doesn’t have to be a hassle. The beauty of this recipe is its simplicity. You’ll combine ingredients, let them mingle, and before you know it, you’re serving a sumptuous meal. Ready to roll up your sleeves? Let’s dive into the step-by-step process!
Step 1: Sauté the Sausage
First, heat the olive oil in a large pot over medium heat. Once hot, add the spicy Italian sausage. Use a spatula to break it apart as it cooks, letting it brown for about 5 minutes. The sizzling sound is the first hint of the flavor explosion to come!
Step 2: Add Aromatics
When the sausage is beautifully browned, toss in the chopped onion and minced garlic. Sauté for another 3-4 minutes. The onion should become translucent, and you’ll catch the delightful scents filling your kitchen. At this point, you can add the crushed red pepper flakes if you want a bit of a kick.
Step 3: Incorporate the Zucchini
Next, add the sliced zucchini to the pot. Stir everything together and let it cook for another 5 minutes until the zucchini begins to soften but still holds its shape. You want that lovely texture!
Step 4: Add the Pasta and Broth
Now, it’s time to add the bucatini pasta to the mixture. Pour in the low-sodium chicken broth. Make sure the pasta is submerged. Bring the mixture to a gentle boil, then reduce the heat and cover. Let it simmer for about 10-12 minutes. Keep an eye on it, stirring occasionally to ensure nothing sticks to the bottom.
Step 5: Stir in the Cheese and Finish
After simmering, remove the pot from the heat. Stir in the freshly grated Parmesan cheese and lemon zest. The cheese will melt beautifully, creating a creamy sauce that coats each piece of pasta and zucchini. Taste for seasoning, adding salt and pepper as necessary.
Step 6: Serve and Enjoy!
Your one pot pasta with zucchini and sausage is ready to serve. Ladle the pasta into bowls and sprinkle a little extra Parmesan on top, if desired. Grab your loved ones and dig in!
Notes
Here are some helpful tips to enhance your cooking experience:
- Experiment with Spices: Feel free to add Italian herbs like oregano or basil for an extra kick.
- Use Fresh Ingredients: Fresh zucchini and good-quality cheese make a noticeable difference.
- Pasta Timing: Be mindful not to overcook the pasta; it should be al dente.
- Customizable: Add other veggies like spinach or bell peppers for more color and nutrition.
- Herb Variation: Swap out thyme for rosemary or parsley depending on your taste preference.
Storage Tips
After enjoying your meal, you may find some leftovers. Store them in an airtight container in the fridge. Consume them within 3 days for the best quality. Reheat in a saucepan with a splash of water to help revive the pasta’s original texture.
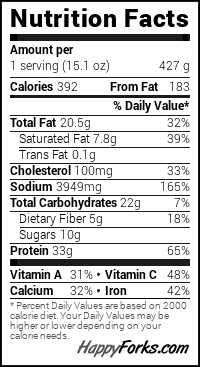
Nutrition Information
A serving of this one pot pasta with zucchini and sausage contains:
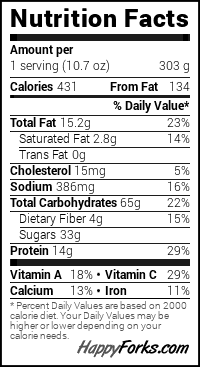
(Note: This is an estimate and may vary based on specific brands and amounts used.)
Serving Suggestions
Looking to enhance your dining experience? Here are five delightful serving suggestions:
- Add Fresh Herbs: Chopped basil or parsley makes a vibrant garnish. This will brighten up the dish visually and flavor-wise.
- Pair with a Side Salad: A simple mixed greens salad dressed in balsamic vinaigrette balances the meal. The acidity cuts through the richness of the pasta, refreshing the palate.
- Serve with Crusty Bread: Crusty Italian bread is perfect for mopping up leftover sauce. There’s nothing quite like a good bread to soak up those delicious flavors!
- Top with a Fried Egg: For brunch lovers, adding a fried egg on top can elevate this to a whole new level. It’s a delightful surprise that adds creaminess.
- Sprinkle with Pine Nuts: Toasted pine nuts offer a delightful crunch and nutty flavor. They integrate beautifully with the dish’s richness.

What Other Substitutes Can I Use in One Pot Pasta Recipe with Zucchini and Sausage?
Here are five substitutes that you can consider when preparing this recipe:
- Ground Turkey or Chicken for Sausage: If you want a leaner option, ground turkey or chicken works well. Just be sure to season well, as they tend to be milder than sausage.
- Spiralized Vegetables: Zucchini can be swapped for other spiralized vegetables like carrots or sweet potatoes. They add both nutrition and a fun twist!
- Vegetable Broth: For a vegetarian version, replace chicken broth with vegetable broth. This keeps the dish rich in flavor without any meats.
- Different Pasta Types: Pasta isn’t limited to bucatini—try farfalle or penne instead! Be mindful of cooking times as they may vary.
- Nutritional Yeast: For a cheese substitute, nutritional yeast can provide a cheesy, nutty flavor. It’s a great option for those who are dairy-free.
One Pot Pasta with Zucchini and Sausage Recipe
Equipment
- Dutch Oven
Ingredients
- 2 links of spicy Italian sausage casings removed: This gives the dish its rich flavor.
- ½ cup freshly grated Parmesan cheese: Adds creaminess and depth.
- 1 teaspoon lemon zest: A bright note that balances the richness.
- 3 tablespoons extra virgin olive oil: Choose high-quality for the best flavor.
- 1½ tablespoons fresh thyme finely chopped: A delightful herb that complements the dish beautifully.
- ½ pound bucatini pasta: Its hollow center captures flavors well.
- 2 cloves garlic minced: Essential for that savory base.
- Salt and freshly ground black pepper: To taste of course.
- 2 zucchini halved lengthwise and sliced into half-moons: Great for texture and nutrition.
- ¼ teaspoon crushed red pepper flakes optional: For those who enjoy a little heat.
- 2½ cups low-sodium chicken broth: The liquid gold in this recipe!
- 1 medium yellow onion finely chopped: Adds a sweet yet savory flavor.
Instructions
Step 1: Sauté the Sausage
- First, heat the olive oil in a large pot over medium heat. Once hot, add the spicy Italian sausage. Use a spatula to break it apart as it cooks, letting it brown for about 5 minutes. The sizzling sound is the first hint of the flavor explosion to come!
Step 2: Add Aromatics
- When the sausage is beautifully browned, toss in the chopped onion and minced garlic. Sauté for another 3-4 minutes. The onion should become translucent, and you’ll catch the delightful scents filling your kitchen. At this point, you can add the crushed red pepper flakes if you want a bit of a kick.
Step 3: Incorporate the Zucchini
- Next, add the sliced zucchini to the pot. Stir everything together and let it cook for another 5 minutes until the zucchini begins to soften but still holds its shape. You want that lovely texture!
Step 4: Add the Pasta and Broth
- Now, it’s time to add the bucatini pasta to the mixture. Pour in the low-sodium chicken broth. Make sure the pasta is submerged. Bring the mixture to a gentle boil, then reduce the heat and cover. Let it simmer for about 10-12 minutes. Keep an eye on it, stirring occasionally to ensure nothing sticks to the bottom.
Step 5: Stir in the Cheese and Finish
- After simmering, remove the pot from the heat. Stir in the freshly grated Parmesan cheese and lemon zest. The cheese will melt beautifully, creating a creamy sauce that coats each piece of pasta and zucchini. Taste for seasoning, adding salt and pepper as necessary.
Step 6: Serve and Enjoy!
- Your one pot pasta with zucchini and sausage is ready to serve. Ladle the pasta into bowls and sprinkle a little extra Parmesan on top, if desired. Grab your loved ones and dig in!
Notes
- Experiment with Spices: Feel free to add Italian herbs like oregano or basil for an extra kick.
- Use Fresh Ingredients: Fresh zucchini and good-quality cheese make a noticeable difference.
- Pasta Timing: Be mindful not to overcook the pasta; it should be al dente.
- Customizable: Add other veggies like spinach or bell peppers for more color and nutrition.
- Herb Variation: Swap out thyme for rosemary or parsley depending on your taste preference.
Nutrition
Frequently Asked Questions
1. Can I make this recipe ahead of time?
Yes! You can prepare this dish in advance. Simply follow the steps, let it cool, and store it in the fridge. Reheat when you’re ready to serve. Just be aware that the pasta may absorb some broth upon sitting, so add a splash of water during reheating if needed.
2. Can I freeze One Pot Pasta with Zucchini and Sausage?
Freezing is possible, but the texture of the zucchini may change after thawing. If you plan to freeze leftovers, consider adding the zucchini when reheating instead of before freezing. Store in an airtight container for up to three months.
3. How can I make this dish vegetarian?
To make a vegetarian version, simply omit the sausage and use an assortment of vegetables, such as bell peppers and spinach, sautéing them until tender. You can also add plant-based protein like chickpeas for extra heartiness.
4. What can I serve this pasta with besides salad?
This dish pairs well with grilled meats like chicken or fish. It’s also delicious alongside roasted vegetables or garlic bread for a more filling meal.
5. Is there a gluten-free option for this recipe?
Absolutely! Substitute the bucatini pasta with a gluten-free pasta variety like brown rice or chickpea pasta. Cooking times may vary, so check the package instructions when prepared.
Conclusion
Cooking should be fun and fulfilling, and my One Pot Pasta with Zucchini and Sausage embraces just that. It brings together savory and fresh flavors, making it a perfect dish for summer gatherings or cozy family dinners. So, gather your ingredients, make some wonderful memories in the kitchen, and enjoy the delightful tastes of Italy right at home. Bon appétit!