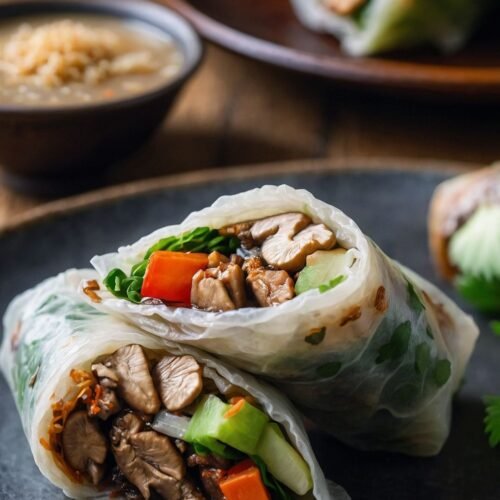
When I think of fajita shredded chicken, I can’t help but picture a fabulous Friday night feast. Picture a table laid out with warm corn tortillas, vibrant toppings, and plenty of laughter filling the air. Dinner is simple: you just take a tortilla, pile it high with shredded chicken, sautéed peppers, and any fixings you prefer—maybe a sprinkle of cheddar cheese, fresh cilantro, or a dollop of guacamole. Now that’s a win-win! It’s one of those dishes that just feels like a gathering.

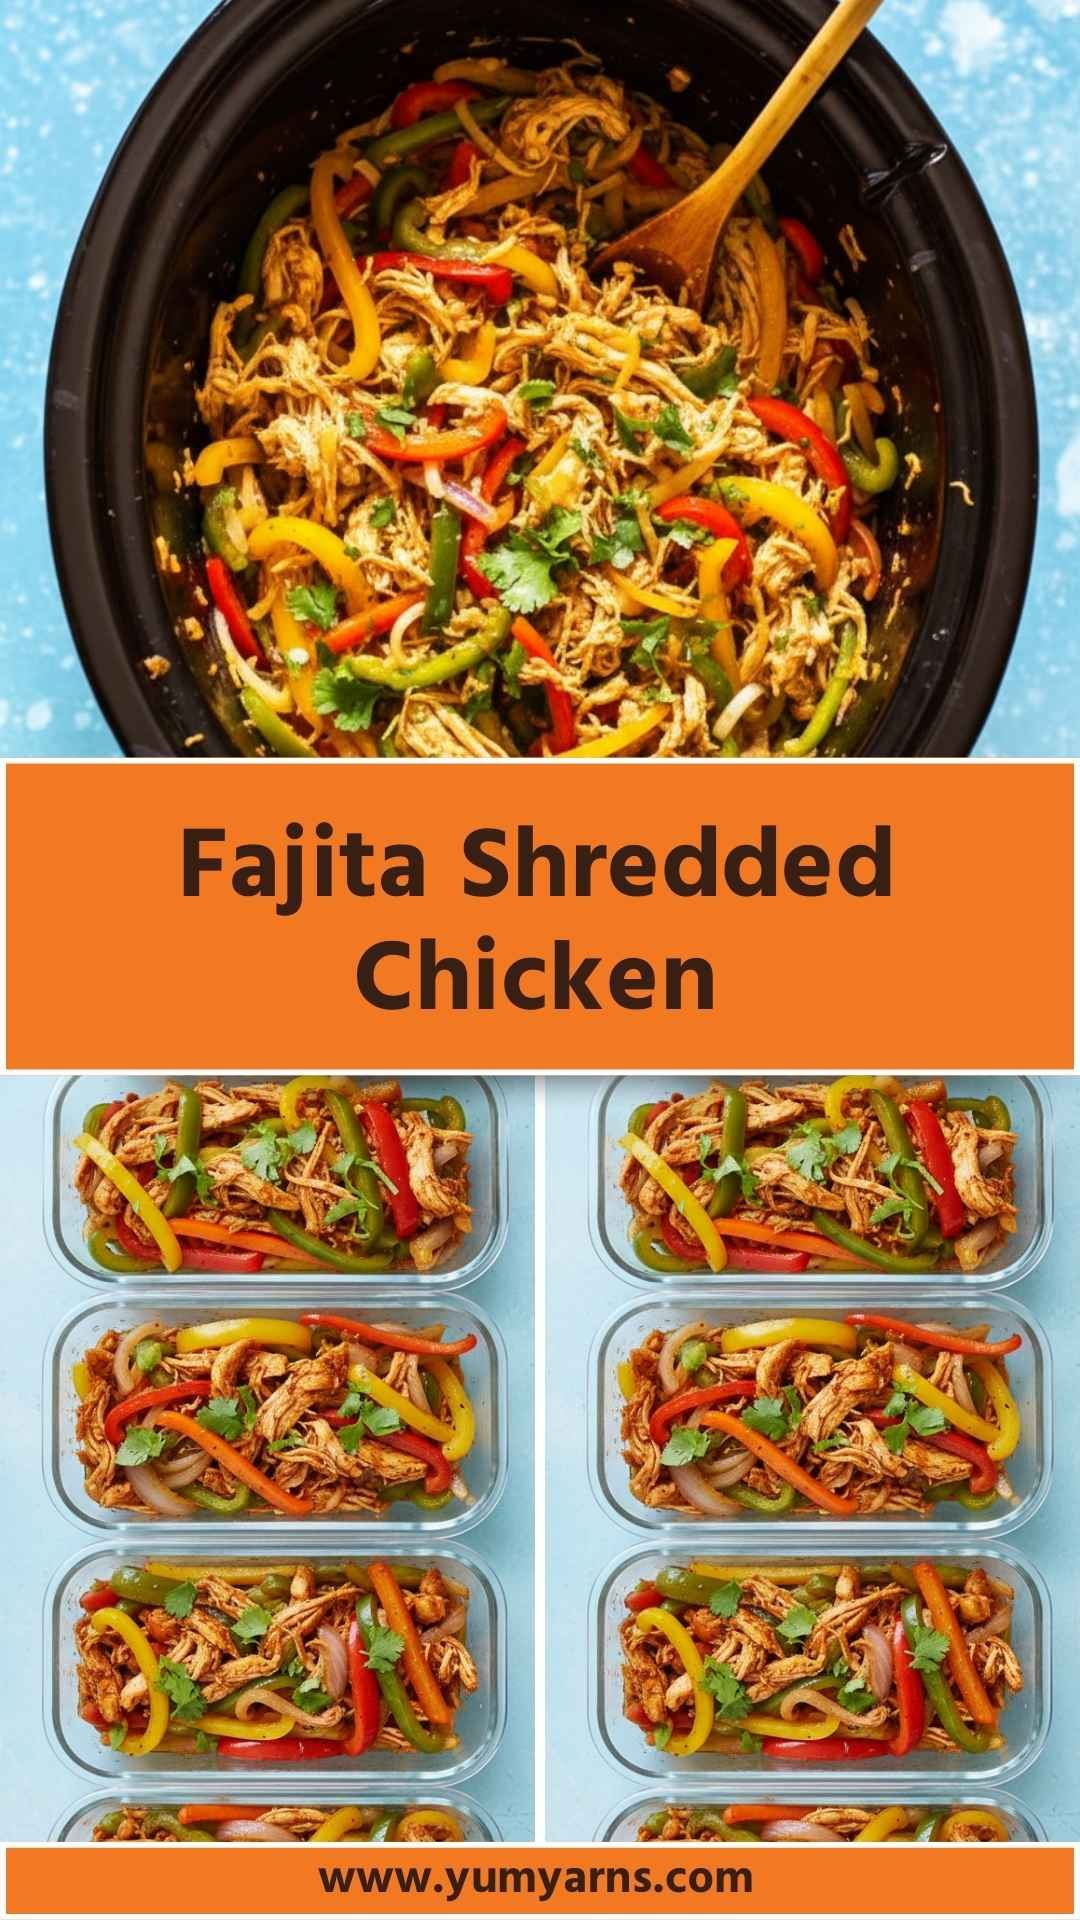
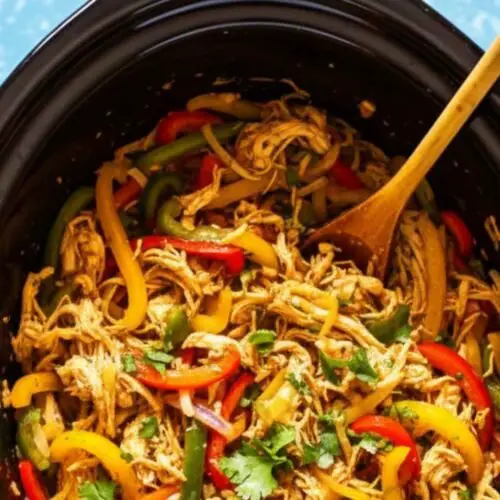
Fajita shredded chicken has carved a special place in my heart—and my kitchen. This dish is a simple blend of slow-cooked chicken, zesty spices, and a medley of bell peppers that comes together beautifully in a rush of flavors. With the glory of a slow cooker, this meal takes minimal effort while delivering maximum taste. Perfect for busy weeknights or large gatherings, fajita shredded chicken is versatile enough to adapt to your family’s tastes. Plus, leftovers are perfect for meal prep!
What is the Flavor Profile of This Dish?
The flavor profile of fajita shredded chicken is a delightful balance of savory and slightly spicy. The salsa brings a vibrant freshness that pairs beautifully with the earthiness of the cumin and chili powder. The sweet crunch of bell peppers adds a wonderful texture, while the garlic heightens the overall taste experience. Together, they create a rich, satisfying dish that’s sure to please everyone at the table.
What Makes This Recipe Different From Other Fajita Shredded Chicken?
What sets my fajita shredded chicken apart from others is simplicity and the use of fresh salsa right from the grocery store. I also introduce a surprising twist by adding fresh lime juice that brightens the whole dish. Additionally, instead of sticking to just one flavor profile, I like to mix in various bell peppers for added crunch and sweetness, making each bite a burst of tasty fun. This recipe is packed with veggies and made with healthier choices without compromising on flavor.
You will also like the following Lunch and Dinner recipes!
The Ingredients You’ll Need
Here’s what you’ll need to whip up a batch of sizzling fajita shredded chicken:
– 1 lb boneless, skinless chicken breasts
– 1 (500mL) container of fresh salsa (or jarred salsa)
– 2 cloves garlic, finely minced
– 1 tbsp chili powder
– 1 tsp cumin
– 1 tsp sea salt
– 1 large yellow onion, thinly sliced
– 1 red bell pepper, thinly sliced
– 1 green bell pepper, thinly sliced
– 1 yellow bell pepper, thinly sliced
– 1 lime, juiced
– Optional toppings:
– 1/2 cup shredded cheddar cheese
– 1 tbsp freshly chopped cilantro
– Corn tortillas for serving

How to Make Fajita Shredded Chicken?
Making fajita shredded chicken is straightforward and takes just a few steps. Just gather your ingredients and follow along. Let’s get started!
Step-by-Step Directions
Step 1: Prepare the Chicken and Spices
Begin by placing the boneless, skinless chicken breasts in your slow cooker. Next, add your fresh salsa, minced garlic, chili powder, cumin, and salt directly on top. Squeeze the lime juice over everything to add an extra layer of flavor.
Step 2: Set the Slow Cooker
Cover the slow cooker and set it on high for about 4 hours, or on low for 8 hours. This slow cooking process is essential as it allows the chicken to absorb those wonderful flavors.
Step 3: Shred the Chicken
About 30 minutes before the cooking time is up, carefully remove the chicken breasts from the slow cooker. Using two forks, shred the chicken into bite-sized pieces.
Step 4: Add the Vegetables
With the chicken out, switch the slow cooker setting to high. Now, toss in your sliced onions and bell peppers. It’s vital to ensure that they mingle with the delicious juices left in the slow cooker. Cook for the remaining 30 minutes.
Step 5: Combine and Serve
After the cooking time is complete, return the shredded chicken to the slow cooker with the peppers and onions. Stir the mixture well to combine everything. If you’re feeling fancy, top with grated cheddar cheese and sprinkle with fresh cilantro.
Step 6: Enjoy!
To serve, warm corn tortillas if desired. Pile your fajita shredded chicken high and add your favorite toppings. Dig in and savor the flavor!
Tips On Making Fajita Shredded Chicken
– Season the Chicken: If you have time, marinating your chicken in the spices a few hours beforehand can elevate the flavor significantly.
– Salsa Selection: For a milder dish, opt for a medium or mild salsa; for a spicy kick, go for hot salsa.
– Vegetable Variations: Swap in other colorful vegetables like zucchini or jalapeños for extra flavor.
– Serving Options: Besides tortillas, serve this chicken over rice, in lettuce wraps, or on nachos for some fun variations.
– Cook in Bulk: Double the recipe and freeze leftovers for busy weeknights. Just thaw and reheat for a quick meal!
Storage Tips
Store any leftovers in airtight containers. This vinaigrette dish usually keeps well in the fridge for about 3-4 days. If you want to store it longer, consider freezing the chicken and veggies in portions. To reheat, just defrost overnight in the fridge and then warm in a skillet or microwave.
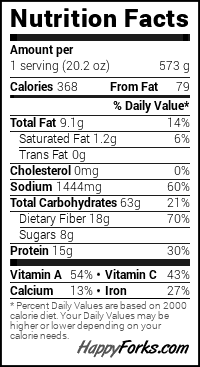
Nutrition Information
Each serving of fajita shredded chicken contains approximately 230 calories, making it a healthy option packed with protein. The mix of vegetables adds vitamins and minerals, ensuring that you’re getting both nourishment and enjoyment in every bite.

Serving Suggestions
– Fajitas: Serve the chicken with warmed corn tortillas for a classic experience.
– Taco Salad: Layer the shredded chicken over greens, tomatoes, and avocados for a fresh salad.
– Nachos: Top corn chips with chicken, cheese, and avocado for a festive snack.
– Stuffed Peppers: Use the chicken as a filling for bell peppers baked with cheese on top.
– Rice Bowls: Serve alongside quinoa or brown rice for a hearty main course.
Substitute Options for Ingredients
– Chicken: Use turkey or tofu for a different protein source.
– Fresh Salsa: Homemade salsa or tomato sauce can work in a pinch.
– Chili Powder: Paprika combined with a bit of cayenne can substitute for chili powder.
– Cheddar Cheese: Try crumbled feta or cotija for a unique twist.
– Bell Peppers: Any color peppers work, or even other vegetables like mushrooms or carrots.
Fajita Shredded Chicken
Equipment
- Slow cooker
- Cutting board
- Knife
- Fork
Ingredients
- – 1 lb boneless skinless chicken breasts
- – 1 500mL container of fresh salsa (or jarred salsa)
- – 2 cloves garlic finely minced
- – 1 tbsp chili powder
- – 1 tsp cumin
- – 1 tsp sea salt
- – 1 large yellow onion thinly sliced
- – 1 red bell pepper thinly sliced
- – 1 green bell pepper thinly sliced
- – 1 yellow bell pepper thinly sliced
- – 1 lime juiced
– Optional toppings:
- – 1/2 cup shredded cheddar cheese
- – 1 tbsp freshly chopped cilantro
- – Corn tortillas for serving
Instructions
Step 1: Prepare the Chicken and Spices
- Begin by placing the boneless, skinless chicken breasts in your slow cooker. Next, add your fresh salsa, minced garlic, chili powder, cumin, and salt directly on top. Squeeze the lime juice over everything to add an extra layer of flavor.
Step 2: Set the Slow Cooker
- Cover the slow cooker and set it on high for about 4 hours, or on low for 8 hours. This slow cooking process is essential as it allows the chicken to absorb those wonderful flavors.
Step 3: Shred the Chicken
- About 30 minutes before the cooking time is up, carefully remove the chicken breasts from the slow cooker. Using two forks, shred the chicken into bite-sized pieces.
Step 4: Add the Vegetables
- With the chicken out, switch the slow cooker setting to high. Now, toss in your sliced onions and bell peppers. It’s vital to ensure that they mingle with the delicious juices left in the slow cooker. Cook for the remaining 30 minutes.
Step 5: Combine and Serve
- After the cooking time is complete, return the shredded chicken to the slow cooker with the peppers and onions. Stir the mixture well to combine everything. If you’re feeling fancy, top with grated cheddar cheese and sprinkle with fresh cilantro.
Step 6: Enjoy!
- To serve, warm corn tortillas if desired. Pile your fajita shredded chicken high and add your favorite toppings. Dig in and savor the flavor!
Notes
Nutrition
FAQs
1. Can I use frozen chicken breasts?
– Yes, but be sure to thaw them before cooking. Frozen chicken will require more cooking time and may not shred as easily.
2. Can I make this dish in an Instant Pot instead?
– Absolutely! Cook on high pressure for 15-20 minutes, then shred the chicken and stir in the sautéed vegetables.
3. Is this recipe gluten-free?
– Yes, the ingredients used are naturally gluten-free. Just ensure that the corn tortillas you use are labeled gluten-free as well.
4. How can I make it spicier?
– Add diced jalapeños or a splash of hot sauce to the slow cooker for a spicy kick
5. Can it be made ahead of time?
– Certainly! Prepare the dish in advance and store it in the refrigerator. Reheating is simple and retains the flavors.
Conclusion
Fajita shredded chicken is more than just a meal; it’s an experience that brings people together. Packed with fresh flavors and vibrant colors, this dish allows for creativity in the kitchen. Whether you’re gathering friends for a festive night or looking for an easy weeknight dinner, this recipe has you covered. Trust me, you’ll be coming back to it time and again for its simplicity and taste. So gather your ingredients, and let’s make some unforgettable dinner memories! Enjoy!