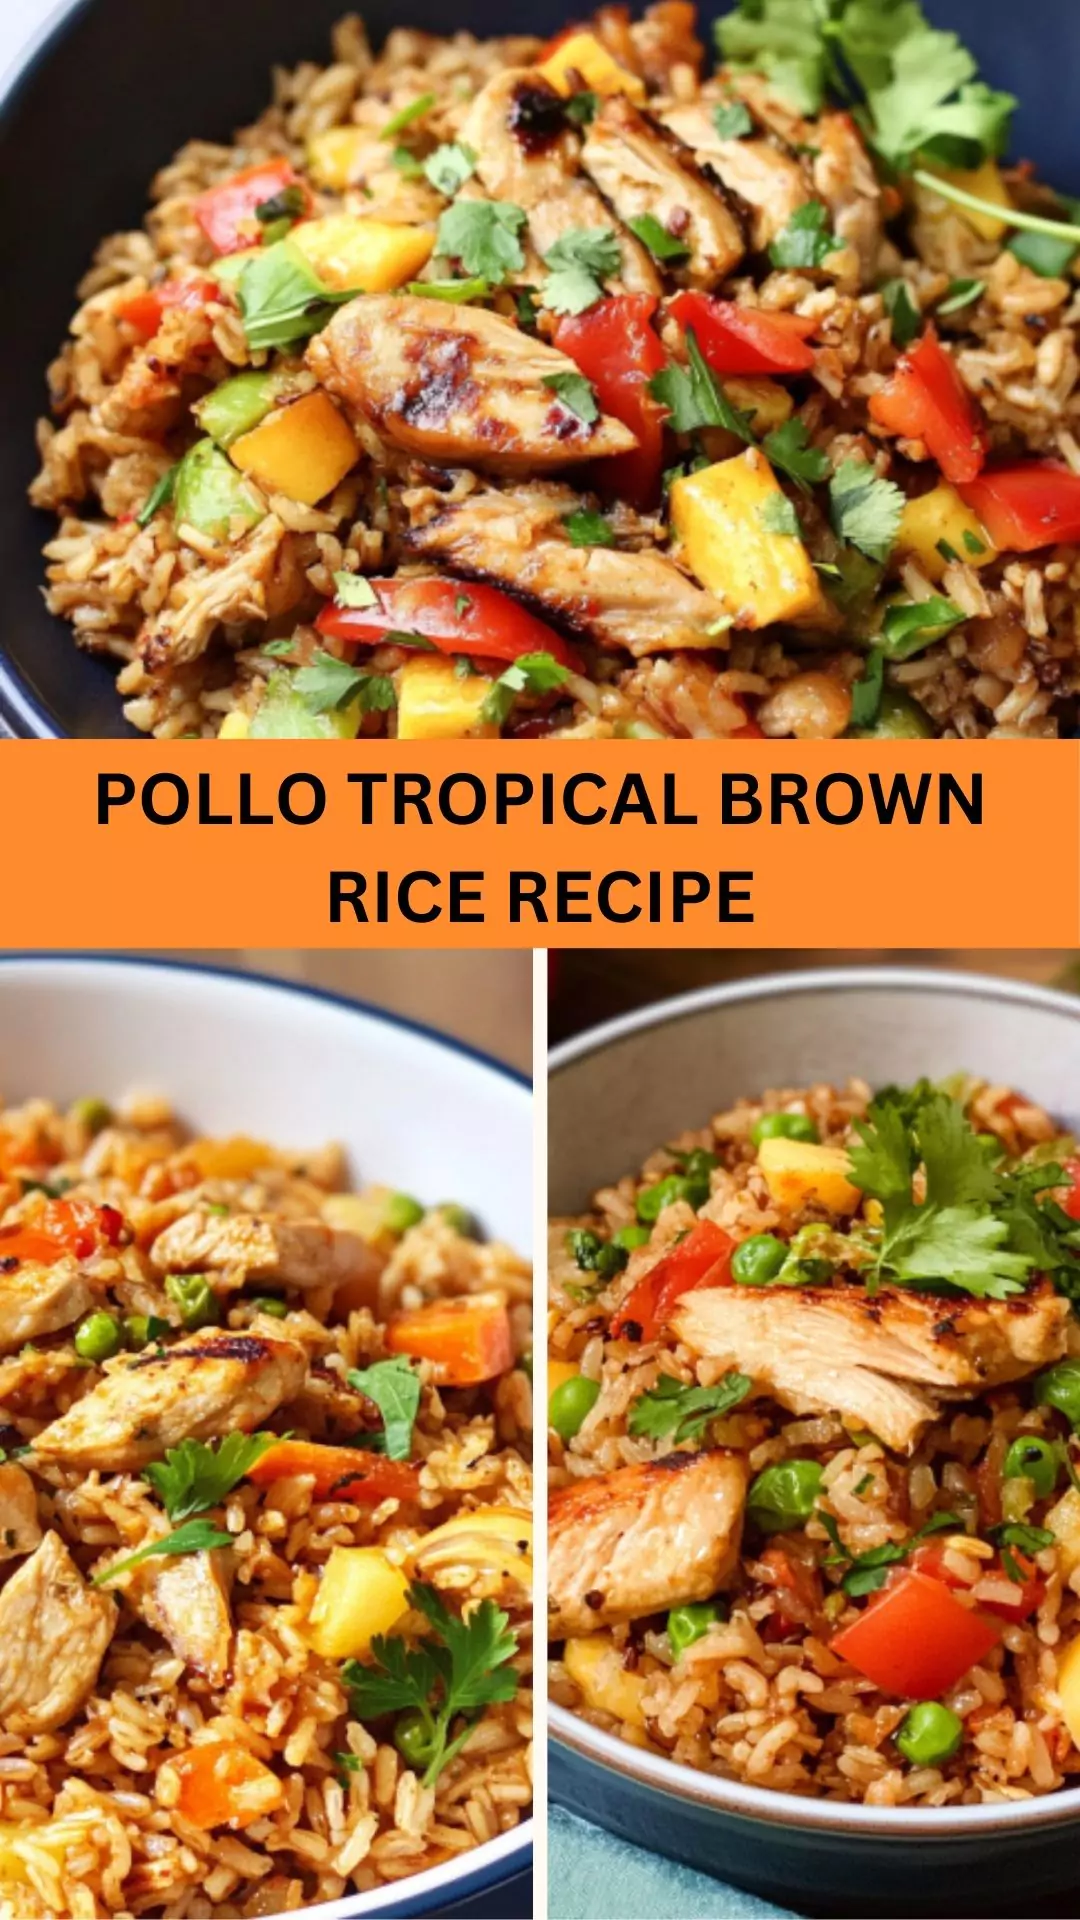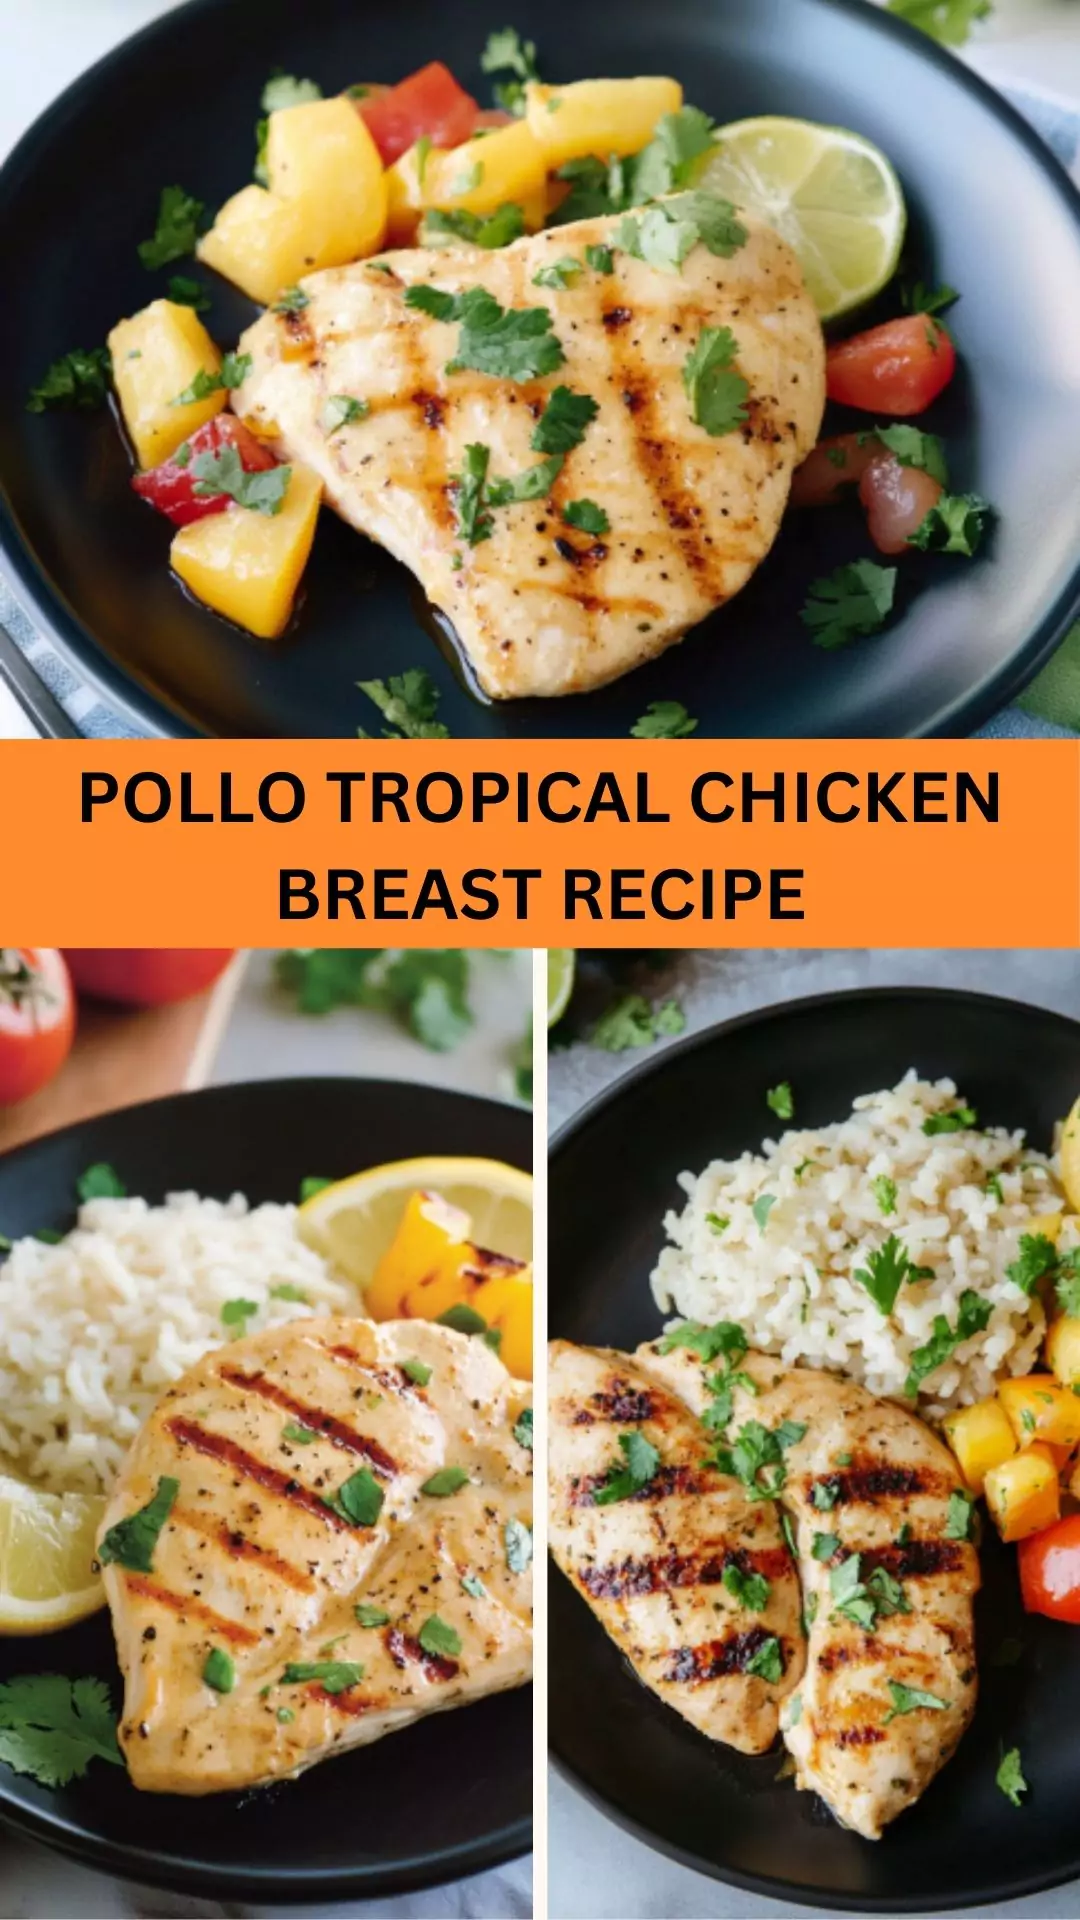
When it comes to enjoying Pollo Tropical Chicken Breast, the options for pairing can elevate your meal to new heights. Picture this: a vibrant mango salsa, bursting with sweetness and acidity. The tang of fresh lime juice cuts through the richness of the chicken.
How about coconut rice? The creamy texture complements the chicken perfectly. For those who enjoy a crunch, try a refreshing coleslaw, seasoned with zesty dressing to balance the flavors. And let’s not forget about grilled vegetables—the smokiness enhances the chicken’s tropical essence. Simply put, these combinations can turn a simple dinner into a delightful feast.

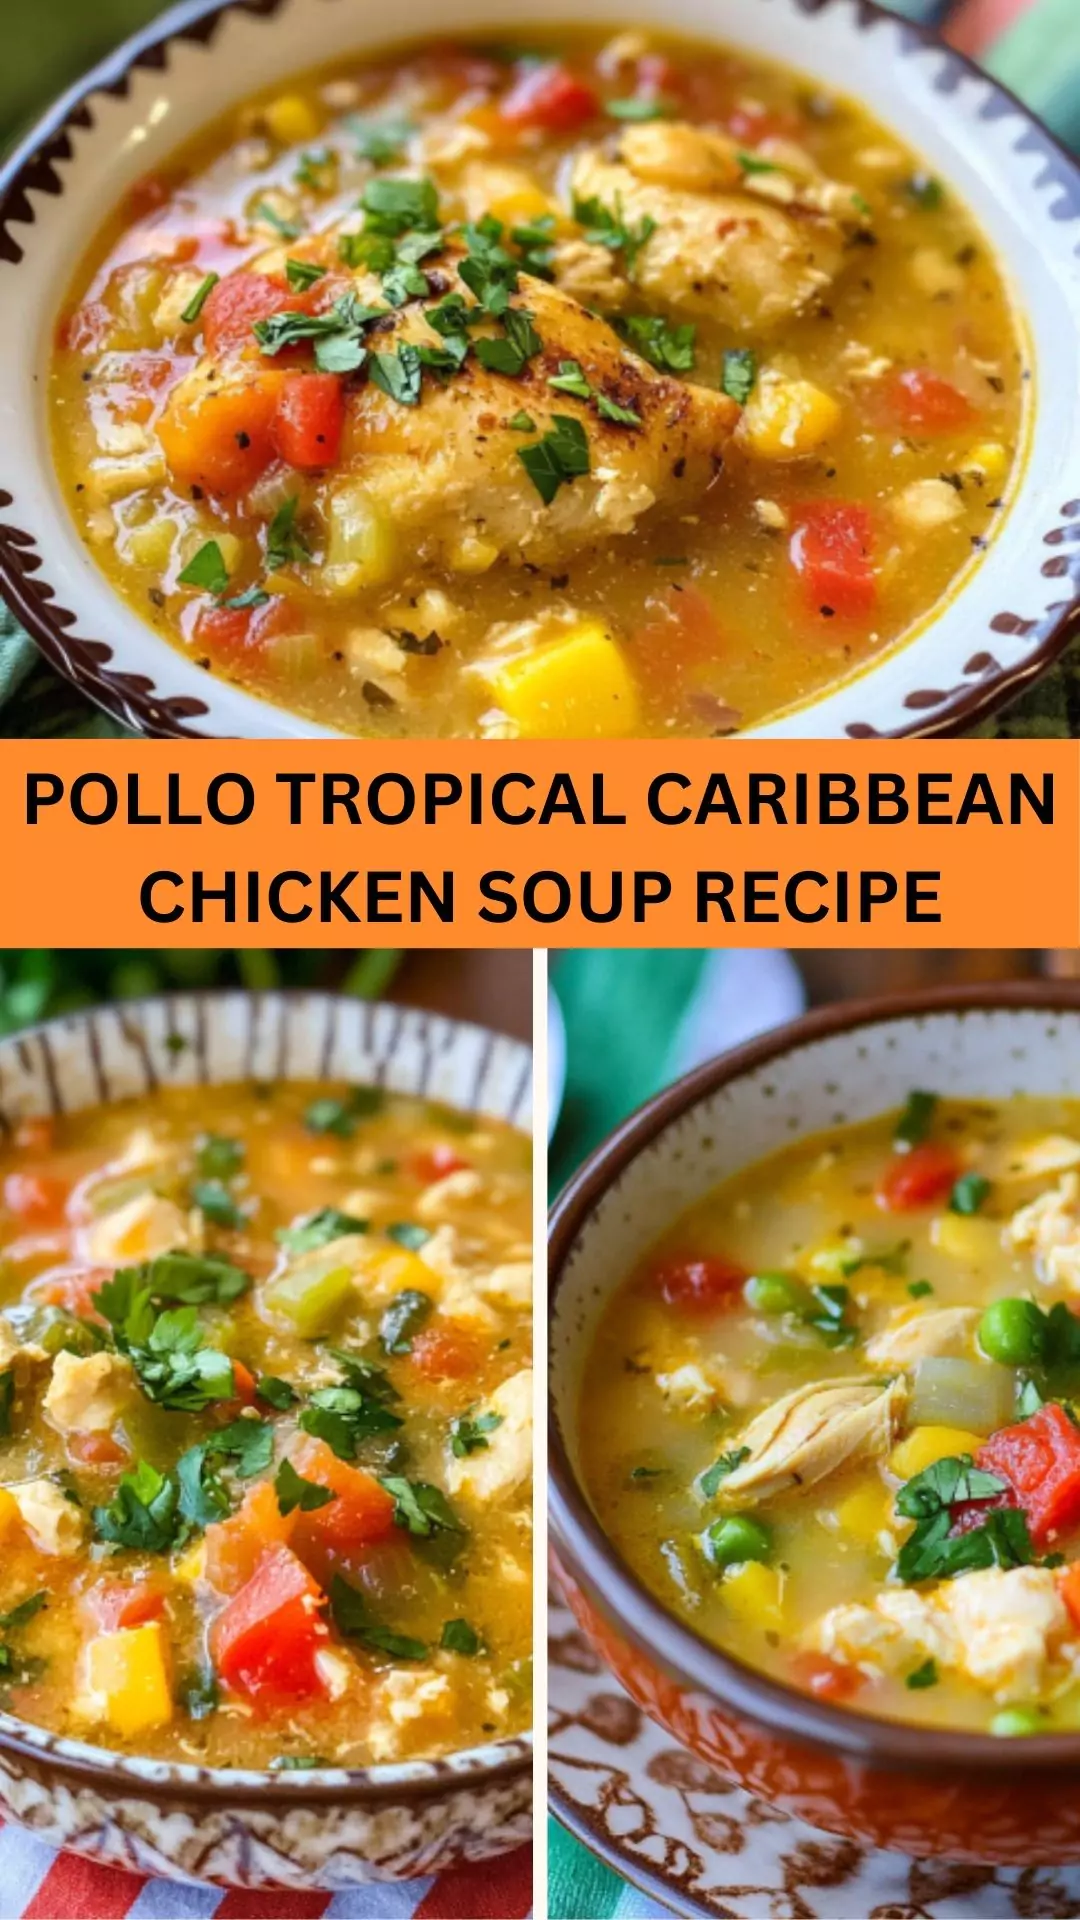
If you’ve stumbled upon this blog, you’re likely in search of something flavorful, nutritious, and, dare I say, a little tropical? Let me take you on a culinary journey as we delve into the delightful world of Pollo Tropical Chicken Breast.
This dish is not just another chicken recipe; it’s a treasure trove of flavors, nutrition, and versatility. Whether you’re preparing for a summer BBQ or looking to spice up a weeknight dinner, this chicken recipe will undoubtedly bring a taste of the tropics to your table.
As a registered dietitian and food blogger, I’ve spent countless hours honing my skills and exploring flavors. I believe that healthy eating doesn’t have to be boring. This chicken dish is a perfect example of that principle. With its vibrant ingredients and mouth-watering taste, it’s about to become one of your go-to meals.
You will also like the following Appetizer recipes!
What is Pollo Tropical Chicken Breast?
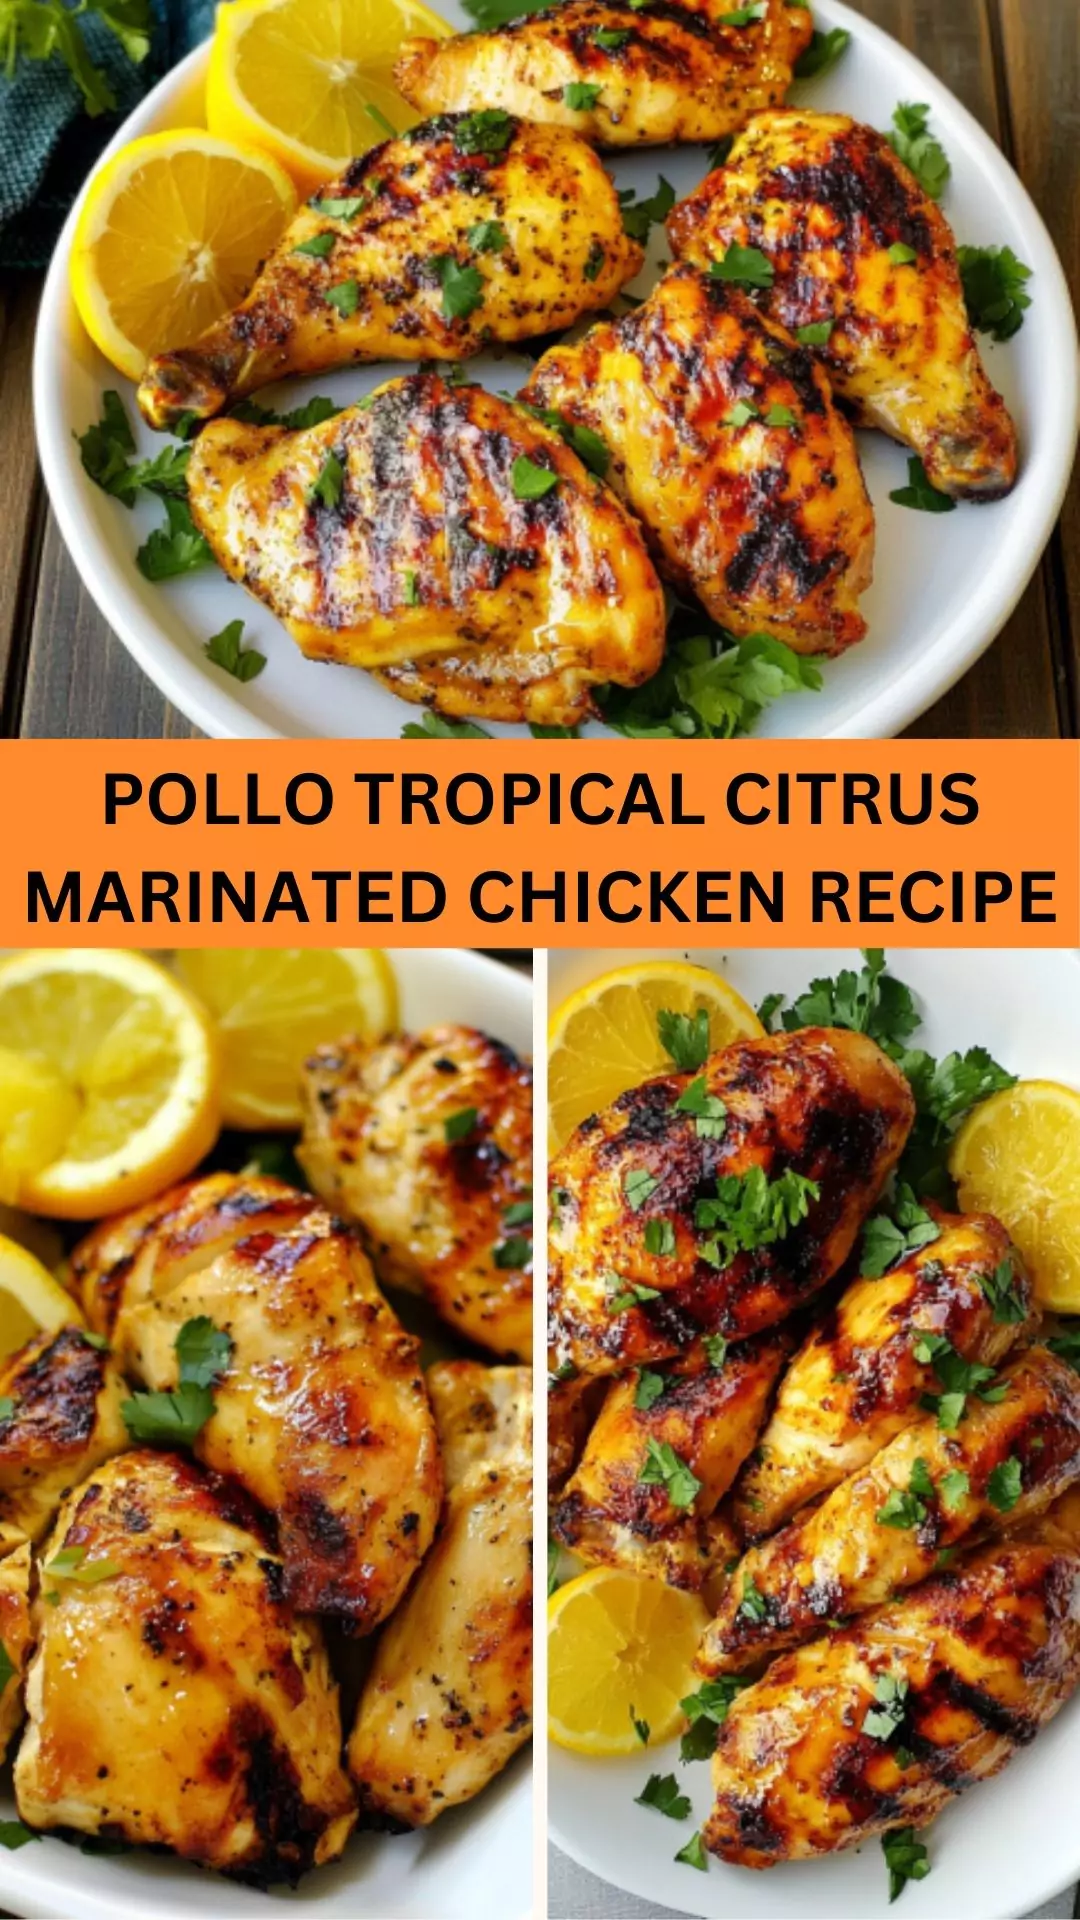
At its core, Pollo Tropical Chicken Breast refers to grilled chicken marinated in a citrusy blend of spices and juices. The marinade typically consists of orange juice, pineapple juice, and a variety of spices, including garlic and cumin. This combination creates a tender, juicy chicken that tastes as if it just came from a tropical paradise.
I first encountered this dish at a local restaurant known for its Caribbean-inspired menu. The chicken was so succulent that I had to recreate it at home. Since then, I’ve put my own spin on it while keeping the essence intact. The bright flavors and the juicy texture make it a standout dish, whether served as the main course or sliced on top of a salad.
What Makes This Recipe Different from Other Pollo Tropical Chicken Breasts?
You might be wondering, what makes my recipe stand out from all those variations out there? Well, this dish highlights fresh, high-quality ingredients, ensuring maximum flavor and nutrition in every bite. It breaks away from generic marinades by using freshly squeezed juices and wholesome spices.
Many recipes rely on bottled sauces and seasonings, which can leave a repetitive taste. Instead, I opted for an approach that embraces natural sweetness and acidity from fruits. The combination of orange and pineapple juices not only tenderizes the chicken but also imbues it with a refreshing zest.
Additionally, my method involves grilling the chicken, which adds an irresistible smoky flavor. The grill marks are not just for show; they take the flavor notch up a few levels. If you’re ready for a dish packed with vibrancy and crave-worthy appeal, this is it!
How Does It Taste Like?
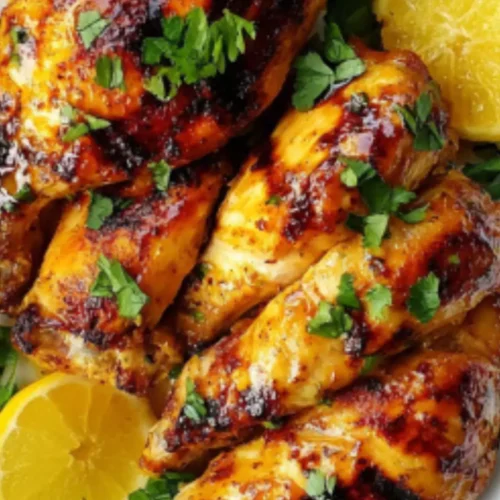
Imagine taking a bite of juicy chicken, perfectly grilled to a golden brown. The first thing you’ll notice is the sweet and tangy explosion from the marinade. The orange and pineapple juices play together in a delightful dance of flavor. Then you’ll encounter a savory blend of spices that coat the chicken and enhance every morsel.
It’s not just sweet. There’s a subtle kick from the garlic and a warm undertone from cumin and smoked paprika. The seasoned chicken pairs beautifully with a hint of freshly chopped cilantro, adding an herbaceous note. Want to know the best part? It’s not overwhelming. Each flavor complements the others, creating a harmonious experience for your taste buds.
Ingredients You’ll Need to Make This Dish
To craft Pollo Tropical Chicken Breast, gather the following:
- 1 cup freshly squeezed orange juice
- 1 cup tropical pineapple juice
- 1 tablespoon honey
- 2 pounds skinless, boneless chicken breasts
- ⅓ cup zesty lemon juice
- 1 tablespoon garlic powder or 2 cloves fresh garlic, crushed into a paste
- 1 teaspoon ground cumin
- ½ teaspoon sea salt
- ½ teaspoon freshly cracked black pepper
- 1 teaspoon dried oregano
- 1 teaspoon smoked paprika
- 1 tablespoon chopped fresh cilantro
These ingredients are simple but effective, making it easy to create an impressive dish.

Step-by-Step Instructions
Let’s jump into the steps to prepare this delightful dish.
Step 1: Prepare the Marinade
In a bowl, combine the freshly squeezed orange juice, pineapple juice, honey, lemon juice, garlic, cumin, sea salt, black pepper, oregano, and smoked paprika. Whisk until well blended. The tropical aroma fills the air as the ingredients meld together.
Step 2: Marinate the Chicken
Place the chicken breasts in a resealable plastic bag or a shallow dish. Pour the marinade over the chicken, ensuring it’s well coated. Seal the bag or cover the dish and refrigerate for at least 2 hours, or ideally overnight. This allows the flavors to penetrate the chicken deeply.
Step 3: Preheat the Grill
Get your grill ready! Preheat it to medium-high heat. If you’re using a charcoal grill, allow the coals to burn until they’re covered with ash. This ensures a nice, even cooking surface.
Step 4: Grill the Chicken
Remove the chicken from the marinade, shaking off excess liquid. Place the chicken on the grill and cook for about 6-7 minutes on each side. The chicken should have nice grill marks and reach a minimum internal temperature of 165°F (75°C).
Step 5: Rest Before Serving
Once cooked, remove the chicken from the grill and let it rest for about 5 minutes. This resting period allows the juices to redistribute, ensuring a moist and tender bite.
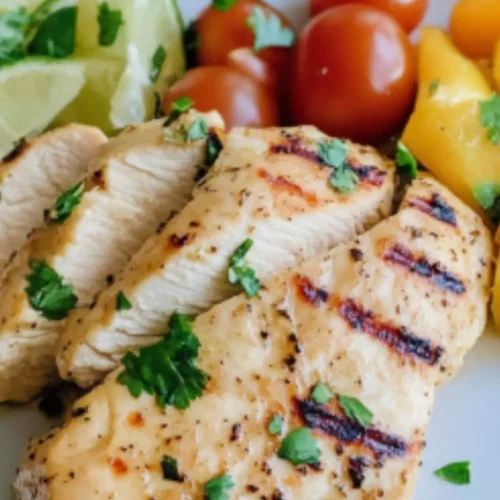
Step 6: Garnish and Serve
Slice the chicken, garnish it with fresh chopped cilantro, and serve it with your favorite sides. Whether you choose rice, salad, or grilled veggies, this chicken will be the star of your meal.
Tips & Tricks on Making Pollo Tropical Chicken Breast
Here are five savvy tips to elevate your Pollo Tropical Chicken Breast experience:
- Use Fresh Juice: While bottled juices might be convenient, nothing matches the flavor of freshly squeezed citrus. You’ll taste the difference.
- Marinate Longer for Best Flavor: If time allows, marinate the chicken overnight. This maximizes the infusion of flavors.
- Check the Internal Temperature: Use a meat thermometer to ensure perfect doneness. This guarantees safety while keeping the chicken juicy.
- Let It Rest: Don’t skip the resting time post-grill. This little pause makes all the difference in texture.
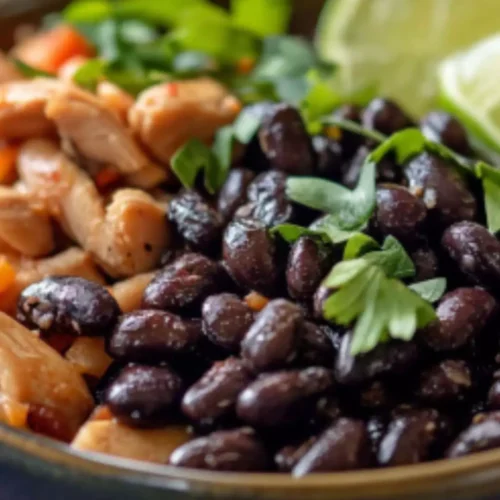
- Experiment with Sides: Pair the chicken with different sides to keep it interesting. Try black beans, tropical fruit salad, or even a light quinoa salad.

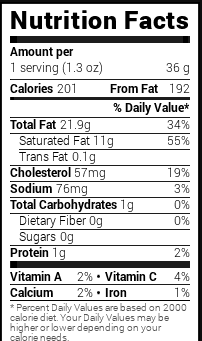
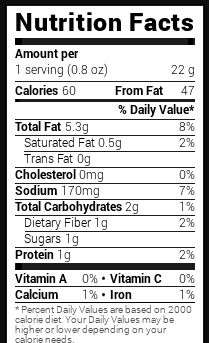
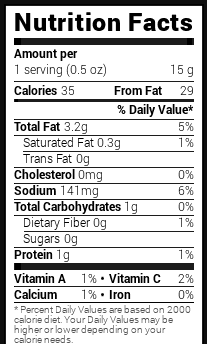
Nutrition Information
pollo tropical chicken breast recipe nutrition facts

How Do I Store This Dish?
Storage is simple! If you have leftovers, store them in an airtight container in the refrigerator. The chicken will last for about 3-4 days. When reheating, do so gently in a skillet or the microwave.
For longer storage, you can freeze cooked chicken. Place it in a freezer-safe bag, and it will retain quality for about 2-3 months. Just remember to thaw it in the refrigerator before reheating.
What Other Substitutes Can You Use in Pollo Tropical Chicken Breast?
If you want to switch things up, here are some alternatives:
- Turkey Breast: Swap chicken for turkey for a leaner protein option. Remember, turkey sometimes requires slightly longer cooking times due to its density.
- Tofu: For a vegetarian take, replace chicken with firm tofu. Be sure to press the tofu to remove excess moisture before marinating.
- Pork Tenderloin: This cut works beautifully with the marinade. Slice into medallions and grill until tender.
- Leg Quarters: If you prefer dark meat, try using leg quarters. They have a richer flavor that pairs wonderfully with the marinade.
- Seitan: For a vegan option, consider seitan. It absorbs flavors well and provides a hearty texture.
Pollo Tropical Chicken Breast Recipe
Equipment
- Bowl
Ingredients
- 1 cup freshly squeezed orange juice
- 1 cup tropical pineapple juice
- 1 tablespoon honey
- 2 pounds skinless boneless chicken breasts
- ⅓ cup zesty lemon juice
- 1 tablespoon garlic powder or 2 cloves fresh garlic crushed into a paste
- 1 teaspoon ground cumin
- ½ teaspoon sea salt
- ½ teaspoon freshly cracked black pepper
- 1 teaspoon dried oregano
- 1 teaspoon smoked paprika
- 1 tablespoon chopped fresh cilantro
Instructions
- Let’s jump into the steps to prepare this delightful dish.
Step 1: Prepare the Marinade
- In a bowl, combine the freshly squeezed orange juice, pineapple juice, honey, lemon juice, garlic, cumin, sea salt, black pepper, oregano, and smoked paprika. Whisk until well blended. The tropical aroma fills the air as the ingredients meld together.
Step 2: Marinate the Chicken
- Place the chicken breasts in a resealable plastic bag or a shallow dish. Pour the marinade over the chicken, ensuring it’s well coated. Seal the bag or cover the dish and refrigerate for at least 2 hours, or ideally overnight. This allows the flavors to penetrate the chicken deeply.
Step 3: Preheat the Grill
- Get your grill ready! Preheat it to medium-high heat. If you’re using a charcoal grill, allow the coals to burn until they’re covered with ash. This ensures a nice, even cooking surface.
Step 4: Grill the Chicken
- Remove the chicken from the marinade, shaking off excess liquid. Place the chicken on the grill and cook for about 6-7 minutes on each side. The chicken should have nice grill marks and reach a minimum internal temperature of 165°F (75°C).
Step 5: Rest Before Serving
- Once cooked, remove the chicken from the grill and let it rest for about 5 minutes. This resting period allows the juices to redistribute, ensuring a moist and tender bite.
Step 6: Garnish and Serve
- Slice the chicken, garnish it with fresh chopped cilantro, and serve it with your favorite sides. Whether you choose rice, salad, or grilled veggies, this chicken will be the star of your meal.
Notes
- Use Fresh Juice: While bottled juices might be convenient, nothing matches the flavor of freshly squeezed citrus. You’ll taste the difference.
- Marinate Longer for Best Flavor: If time allows, marinate the chicken overnight. This maximizes the infusion of flavors.
- Check the Internal Temperature: Use a meat thermometer to ensure perfect doneness. This guarantees safety while keeping the chicken juicy.
- Let It Rest: Don’t skip the resting time post-grill. This little pause makes all the difference in texture.
- Experiment with Sides: Pair the chicken with different sides to keep it interesting. Try black beans, tropical fruit salad, or even a light quinoa salad.
Nutrition
Frequently Asked Questions
1. Can I grill this chicken in the oven?
Absolutely! If grilling isn’t an option, you can bake the marinated chicken in the oven. Preheat the oven to 375°F (190°C) and bake for about 25-30 minutes, flipping halfway through.
2. How can I tell if my chicken is cooked through?
Using a meat thermometer is the best way to ensure doneness. The internal temperature should reach 165°F (75°C) for safe consumption.
3. Can I use frozen chicken?
If you’re in a pinch, frozen chicken can work. However, be sure to thaw it completely before marinating to ensure even flavor absorption.
4. What if I don’t have fresh citrus?
Using bottled juices is acceptable, but fresh always provides the best flavor. Just make sure they’re 100% juice without added sugars.
5. Can I prepare this meal ahead of time?
Definitely! You can marinate the chicken the night before. Cook it in advance and store it. Just reheat before serving for an easy meal.
Conclusion
Pollo Tropical Chicken Breast brings a fresh, tropical flair to your dining table. It’s not just a meal; it’s a celebration of flavors that tells a story of vibrant ingredients and culinary inspiration. Whether you’re firing up the grill, gathering friends, or enjoying a peaceful dinner, this chicken dish is your ticket to a flavorful experience.
With its ease and versatility, it’s no wonder that this recipe has earned a special place in my heart. I encourage you to give it a try, play with the flavors, and make it your own. Share a meal with loved ones, and you’ll discover that good food creates lasting memories. Happy cooking!