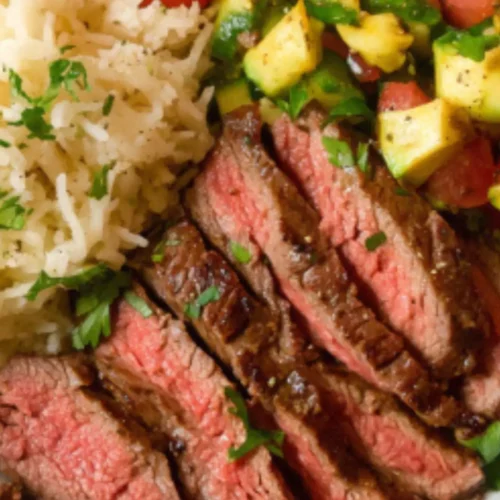
When enjoying Pollo Tropical Calypso Beef, consider pairing it with refreshing sides and beverages that highlight its tropical flavors. Coconut rice, with its sweet and creamy texture, beautifully absorbs the savory zest of the beef, providing a perfect balance.
A fresh mango salsa, made with sweet mango, lime juice, jalapeños, and cilantro, adds brightness and crunch, lifting the dish to new heights. Grilled vegetables like bell peppers, zucchini, and asparagus offer a natural sweetness that complements the seasoned beef.
For a refreshing beverage, a tropical smoothie made with blended pineapples, bananas, and coconut milk cools the palate while enhancing the meal. Lastly, crunchy plantain chips provide a mild sweetness and salty crunch, making them the ideal snack to round out your meal.

Have you ever bitten into a dish that took you straight to a sun-soaked beach, with the warmth of the sun embracing your skin?
That’s what I think of when I whip up my version of Pollo Tropical Calypso Beef. The vibrant flavors transport me to the tropics, and I want to share this journey with you.
As a food enthusiast and registered dietitian, I’ve taken my expertise and added a personal twist to a classic. I recall the first time I tasted tropical beef, how the subtle hint of lime and the warmth of spices danced on my palate.
I couldn’t resist experimenting to recreate that experience in my kitchen, and guess what? The outcome was a recipe that is easy, healthy, and deliciously inviting. Let’s embark on this culinary adventure together!
You will also like the following Delicious recipes!
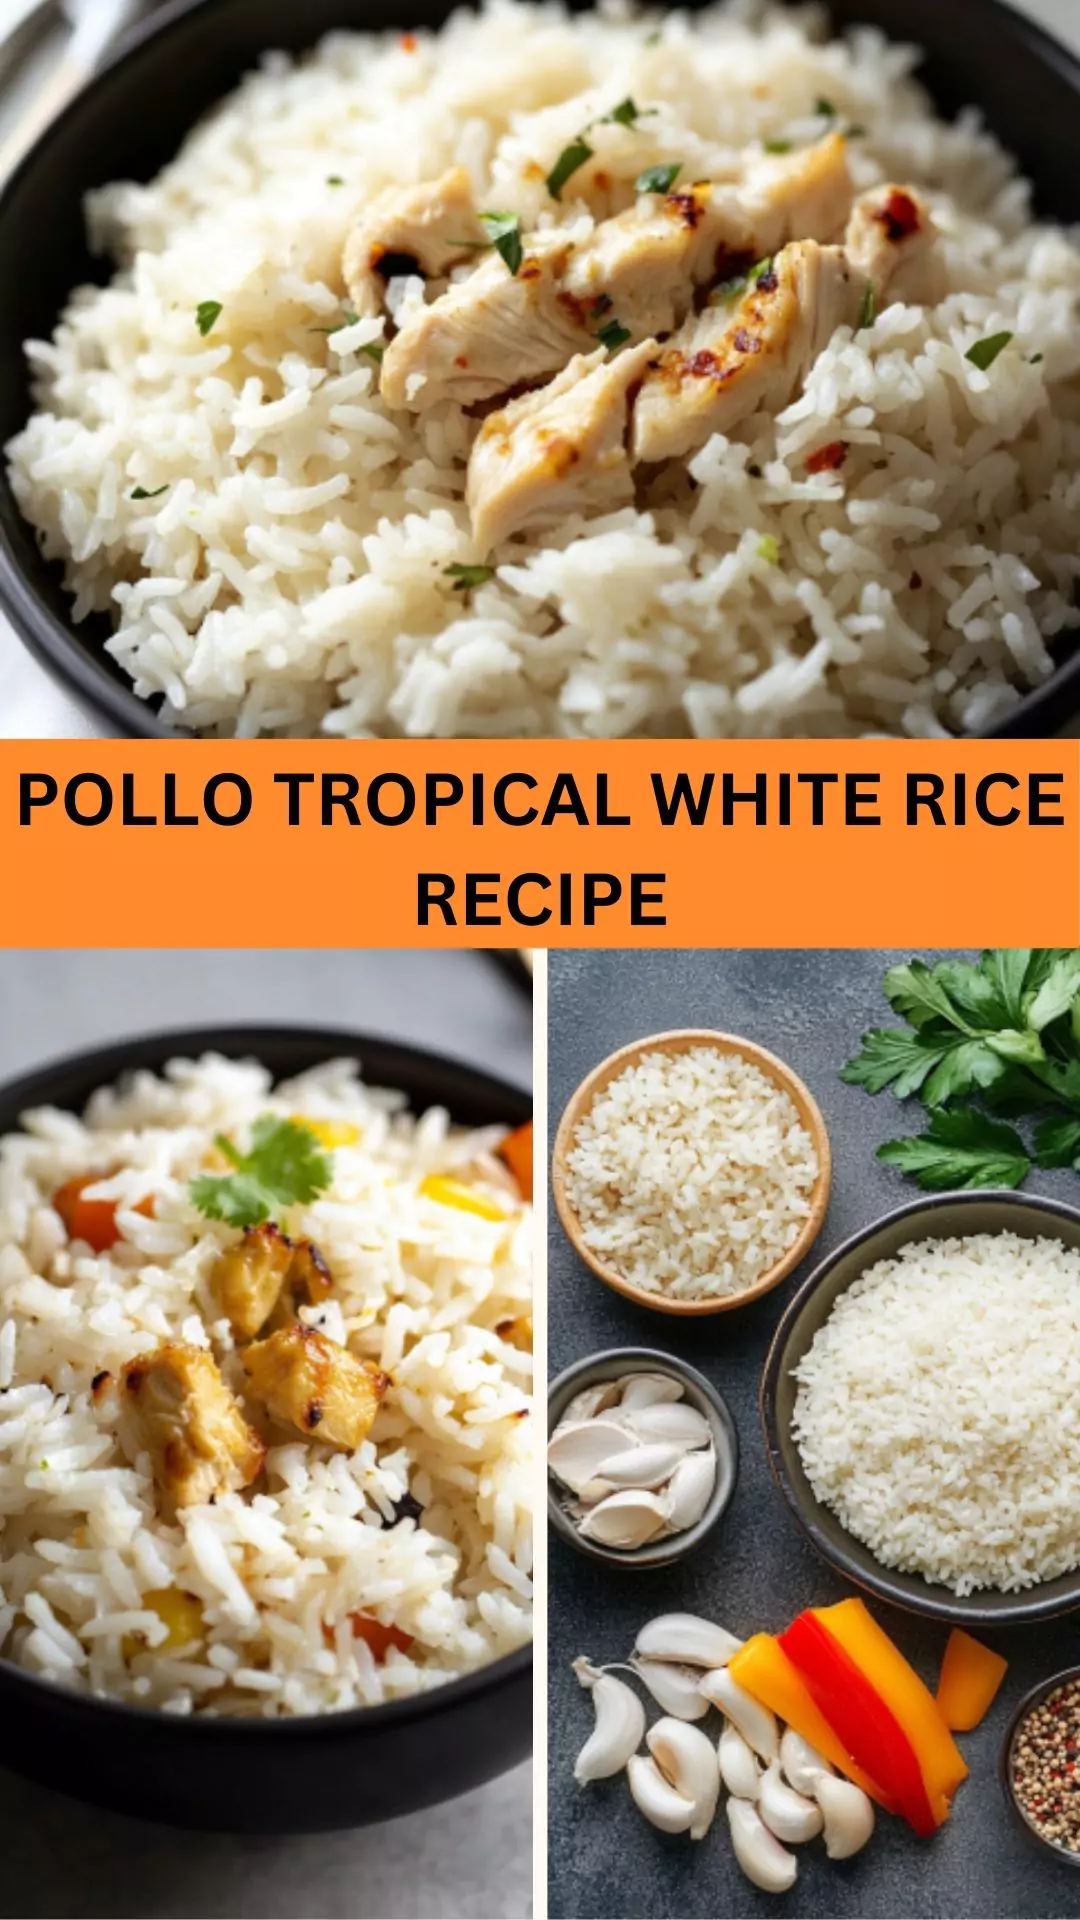
- Best Pollo Tropical White Rice Recipe
- How to make Pollo Tropical Grilled Wings
- Easy Pollo Tropical Mashed Potatoes Recipe
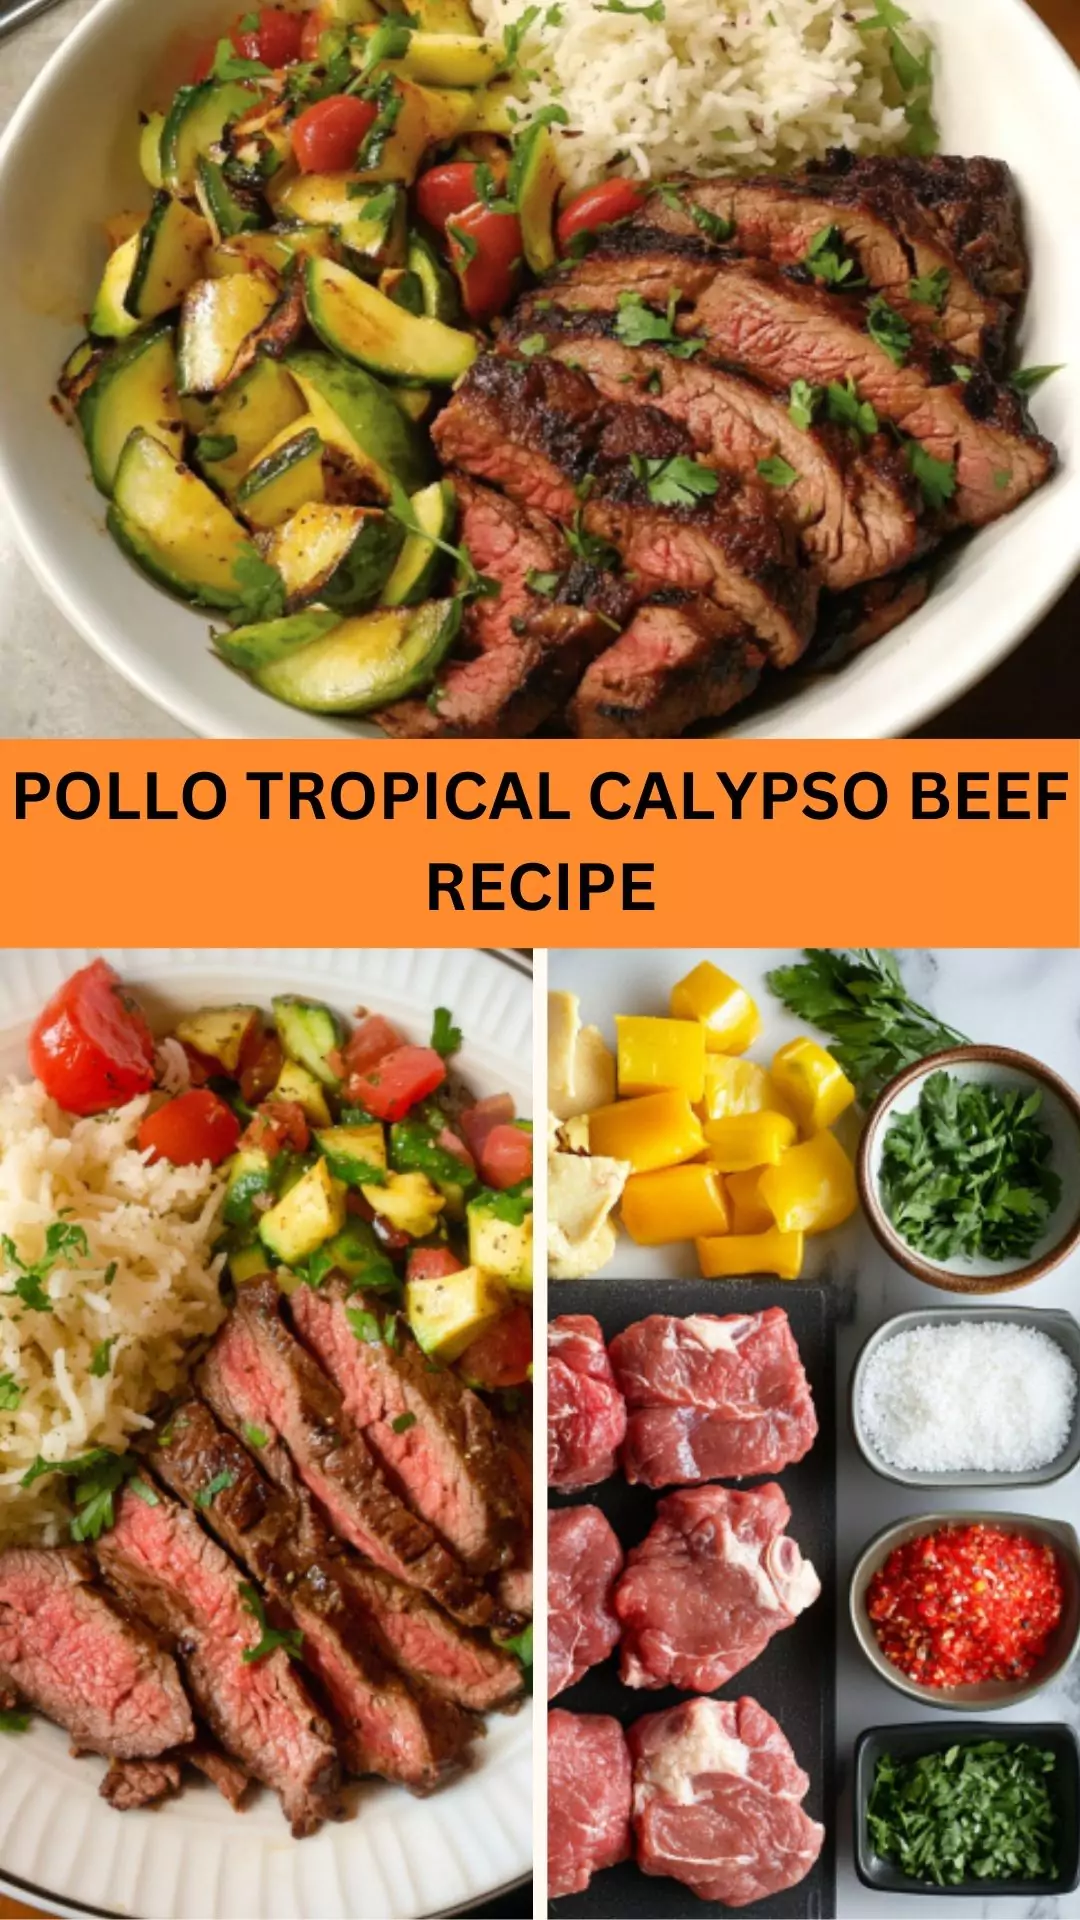
What is Pollo Tropical Calypso Beef?
Pollo Tropical Calypso Beef is a flavorful dish featuring beef marinated in a tropical sauce, often characterized by citrus notes and bold spices. The name combines elements of Caribbean culinary influences.
This dish highlights how well fruity flavors and savory meats work together. Chucking the notion that beef is heavy, the marinade helps to create a tender, juicy flavor-packed dish that feels light and wholesome.
Why This Recipe Works?
1. Unique Flavor Profile
The combination of citrus juices, dark rum, and spices creates a vibrant marinade. Orange and lime juices add a zesty kick that cuts through the richness of the beef, enhancing every bite.
2. Quick and Easy Preparation
With straightforward steps, you can quickly have this dish marinating while you prepare sides. It’s a perfect fit for busy weekdays or spontaneous dinner guests.
3. Healthy Ingredients
Using fresh ingredients allows you to control the quality. The beef tenderloin offers good protein, while the marinade is rich in zesty goodness without being overly reliant on heavy sauces.
4. Versatile Dish
While this recipe shines with beef, you can easily swap proteins or adjust spices to tailor it to your palate. Chicken or even plant-based proteins can stand in for the beef, allowing everyone to join the feast.
Ingredients You’ll Need to Make This Dish
Here’s a simple list of ingredients to gather:
- 1 1/2 lbs beef tenderloin
- 1/2 cup freshly squeezed orange juice
- 2 tablespoons freshly squeezed lime juice (can use bottled if necessary)
- 2 tablespoons aged dark rum
- 2 1/2 tablespoons tomato-based sauce
- 1 tablespoon soy sauce
- 3/4 cup homemade or store-bought chicken stock
- 1 teaspoon ground ginger (fresh or powdered)
- 1/4 teaspoon ground allspice
- 1/4 teaspoon dried thyme leaves
- 1/4 teaspoon cayenne pepper
- 1/2 teaspoon minced garlic
- 2 tablespoons dark brown sugar
- 1/2 teaspoon smoked paprika

How to Make Pollo Tropical Calypso Beef
Step 1: Prepare the Marinade
In a mixing bowl, combine orange juice, lime juice, dark rum, tomato-based sauce, and soy sauce. Stir these ingredients well. The marinade forms the core of your dish’s flavor.
Step 2: Add the Spices
In the same bowl, add the chicken stock, ground ginger, allspice, thyme, cayenne pepper, minced garlic, dark brown sugar, and smoked paprika. Whisk everything together until you have a smooth sauce that invites anticipation.
Step 3: Marinate the Beef
Place the beef tenderloin in a sealable plastic bag (or a shallow dish) and pour the marinade over it. Seal the bag, squishing out as much air as possible. Let it sit in the fridge to soak up the flavors for at least 2 hours, but ideally overnight for the best results.
Step 4: Cooking the Beef
Preheat your grill or skillet over medium-high heat. Remove the beef from the marinade, letting the excess drip off. Sear the beef on all sides for about 10-12 minutes or until it reaches your desired doneness. You can also use a meat thermometer for precision—aiming for 130°F for medium-rare.
Step 5: Rest and Slice
Once cooked, remove the beef from heat, covering it loosely with foil. Let it rest for about 10 minutes, which allows the juices to redistribute. Slice thinly against the grain for tenderness.
Step 6: Serve
Present the sliced beef with your chosen sides. Drizzle some extra marinade over the top or serve it as a dipping sauce.
Tips & Tricks
- Use Fresh Ingredients: Freshly squeezed juices and fresh herbs make a noticeable difference in flavor.
- Let it Marinate Longer: Allow the beef to sit in the marinade overnight for deeper flavor penetration.
- Monitor the Heat: Avoid high temperatures; searing too quickly may lead to burnt outsides with raw insides.
- Slice Against the Grain: This technique ensures each bite is tender and enjoyable.
- Experiment: Don’t hesitate to swap ingredients according to your taste preferences or pantry availability.

How Do You Store The Leftovers?
To store leftover Pollo Tropical Calypso Beef, cool completely and transfer it to an airtight container. Refrigerate and consume within three to four days. Reheat in a skillet on low heat to preserve juiciness or enjoy it cold in a salad.
What Sides Would Complement Pollo Tropical Calypso Beef?
1. Coconut Rice
Coconut rice is easily made using basmati or jasmine rice cooked in coconut milk. This adds a creaminess that pairs beautifully with savory beef.
2. Grilled Corn Salad
Charred corn mixed with jalapeños, red onions, and a splash of lime creates a colorful salad. This dish contributes a smoky sweetness that enhances the tropical vibes.
3. Avocado and Tomato Salad
Diced avocados paired with ripe tomatoes, dressed with olive oil and lime juice, brings brightness to your plate. The creaminess of the avocado balances spicy flavors perfectly.
What Alternatives Can You Use for the Ingredients if They Are Not Present in Your Kitchen?
1. Beef Alternatives
Swap out beef tenderloin for chicken breast or thighs for a lighter meal. If you’re exploring plant-based options, try jackfruit or tofu marinated in the same zesty sauce.
2. Citrus Juice
If you lack fresh orange or lime juice, bottled juices work in a pinch. Grapefruit can also add a tangy twist.
3. Soy Sauce Substitute
Use tamari or coconut aminos for a soy-free version, maintaining that umami savoriness.
4. Dark Rum Alternatives
Replace dark rum with apple cider vinegar or omit it entirely for a non-alcoholic dish. Your marinade will still shine beautifully.
Pollo Tropical Calypso Beef Recipe
Equipment
- Mixing bowl
Ingredients
- 1 1/2 lbs beef tenderloin
- 1/2 cup freshly squeezed orange juice
- 2 tablespoons freshly squeezed lime juice can use bottled if necessary
- 2 tablespoons aged dark rum
- 2 1/2 tablespoons tomato-based sauce
- 1 tablespoon soy sauce
- 3/4 cup homemade or store-bought chicken stock
- 1 teaspoon ground ginger fresh or powdered
- 1/4 teaspoon ground allspice
- 1/4 teaspoon dried thyme leaves
- 1/4 teaspoon cayenne pepper
- 1/2 teaspoon minced garlic
- 2 tablespoons dark brown sugar
- 1/2 teaspoon smoked paprika
Instructions
Step 1: Prepare the Marinade
- In a mixing bowl, combine orange juice, lime juice, dark rum, tomato-based sauce, and soy sauce. Stir these ingredients well. The marinade forms the core of your dish’s flavor.
Step 2: Add the Spices
- In the same bowl, add the chicken stock, ground ginger, allspice, thyme, cayenne pepper, minced garlic, dark brown sugar, and smoked paprika. Whisk everything together until you have a smooth sauce that invites anticipation.
Step 3: Marinate the Beef
- Place the beef tenderloin in a sealable plastic bag (or a shallow dish) and pour the marinade over it. Seal the bag, squishing out as much air as possible. Let it sit in the fridge to soak up the flavors for at least 2 hours, but ideally overnight for the best results.
Step 4: Cooking the Beef
- Preheat your grill or skillet over medium-high heat. Remove the beef from the marinade, letting the excess drip off. Sear the beef on all sides for about 10-12 minutes or until it reaches your desired doneness. You can also use a meat thermometer for precision—aiming for 130°F for medium-rare.
Step 5: Rest and Slice
- Once cooked, remove the beef from heat, covering it loosely with foil. Let it rest for about 10 minutes, which allows the juices to redistribute. Slice thinly against the grain for tenderness.
Step 6: Serve
- Present the sliced beef with your chosen sides. Drizzle some extra marinade over the top or serve it as a dipping sauce.
Notes
- Use Fresh Ingredients: Freshly squeezed juices and fresh herbs make a noticeable difference in flavor.
- Let it Marinate Longer: Allow the beef to sit in the marinade overnight for deeper flavor penetration.
- Monitor the Heat: Avoid high temperatures; searing too quickly may lead to burnt outsides with raw insides.
- Slice Against the Grain: This technique ensures each bite is tender and enjoyable.
- Experiment: Don’t hesitate to swap ingredients according to your taste preferences or pantry availability.
Frequently Asked Questions
1. Can I make this dish ahead of time?
Absolutely! You can marinate the beef the night before or prepare the entire dish up to the cooking step and just reheat it when ready to serve.
2. Can I freeze the marinated beef?
Yes, indeed. Place the marinated beef in an airtight bag and freeze it for up to three months. Thaw it in the refrigerator before cooking.
3. How do you know when the beef is perfectly cooked?
Using a meat thermometer is key. Aim for 130°F for medium-rare and 145°F for medium. Visual cues like color and firmness also help gauge doneness.
4. What’s the best way to use leftovers?
Shred the leftover beef and toss it in salads or on tacos for a quick meal. It also works well in wraps or served on rice bowls.
5. Can I adjust the spice levels?
Definitely! If you prefer a milder flavor, reduce or omit cayenne pepper and allspice. Alternatively, add chili powder or smoked paprika for a different heat profile.
6. Is this recipe suitable for meal prepping?
Yes! The flavors improve as they sit, making this an excellent option for meal prep. Divide into portions to store for easy access during busy weeks.
Conclusion
Cooking Pollo Tropical Calypso Beef is more than just preparing a meal; it’s an experience that draws you into a world of flavors. The freshness of citrus, tenderness of beef, and optional sides come together to create an inviting atmosphere at your dining table.
With easy preparation and room for creativity, this dish not only satisfies but also empowers you to bring tropical flavors to your kitchen. Give it a try, share with friends, and savor each bite together—because good food deserves great company.
Enjoy your culinary quest!