If you’re anything like me, the thought of comfort food can instantly bring a smile to your face. Some dishes just have a way of reminding you of simpler times. Jollibee fried rice is one of those dishes. With its rich flavor and satisfying texture, it’s perfect as a main course or a side.
And believe me, it pairs beautifully with a variety of dishes. Think crispy fried chicken, savory grilled meats, or even a fresh, zesty salad. Oh, who could forget the thrill of a little spicy, sweet ketchup on the side?
Let me take you on a journey.

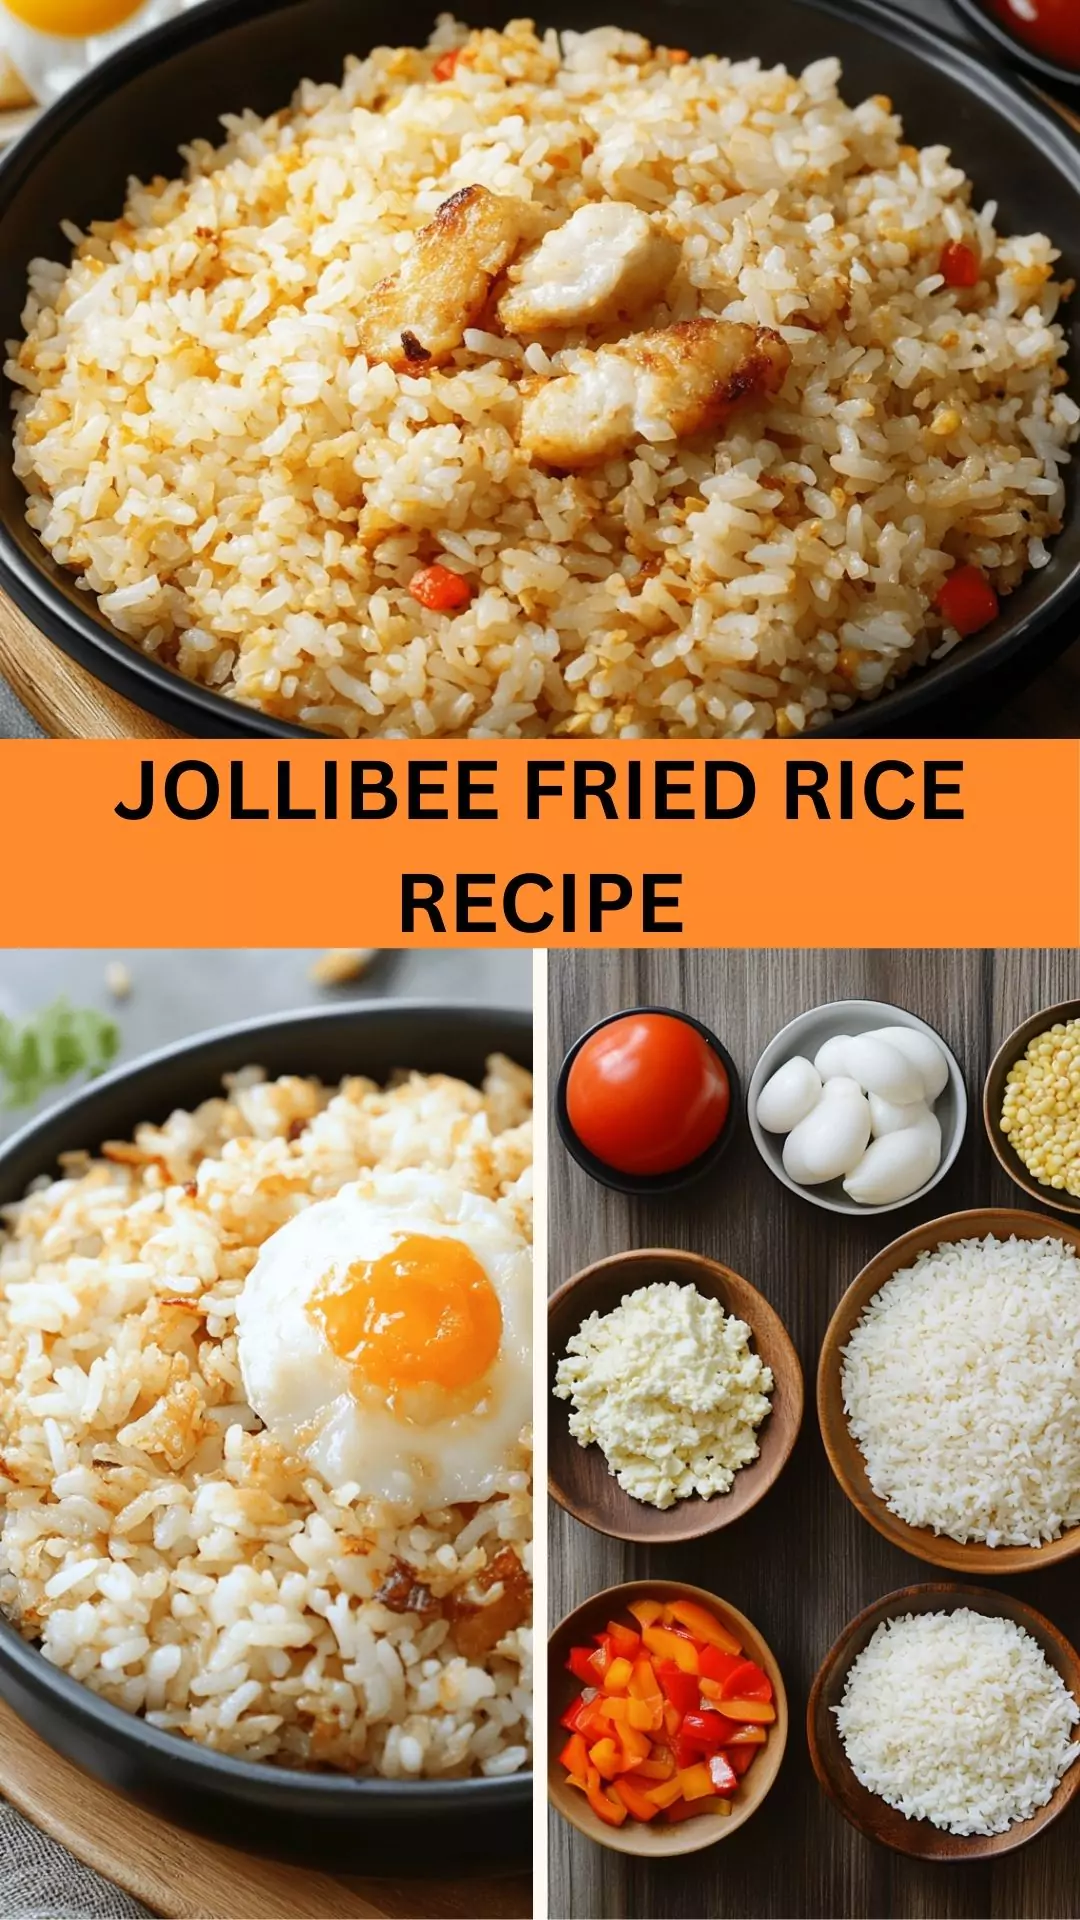
What is Jollibee Fried Rice?
Jollibee fried rice isn’t your typical fried rice. It features well-seasoned, fluffy grains that absorb delicious flavors, making it a standout dish often enjoyed in the Philippines. The appeal of Jollibee’s fried rice lies in its ability to elevate any meal.
It’s not just rice; it’s a canvas for flavors that drive happiness and satisfaction. After countless weekends spent indulging in this dish, I’ve discovered the perfect recipe to recreate this culinary masterpiece at home.
You will also like the following Dinner recipes!
- Best Jollibee Beef Tapa Recipe
- How to make Jollibee Beef Garlic Mushroom
- Easy Jollibee Spaghetti Recipe
What Does It Taste Like?
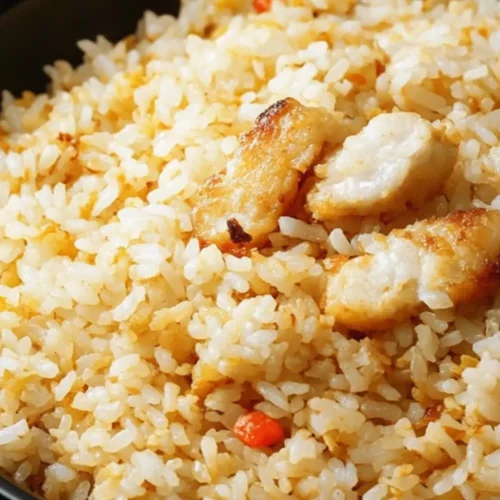
Now, let’s talk about flavor. The first bite of Jollibee fried rice is a delightful experience. You get a burst of garlic, a hint of sesame, and the freshness of green onions. It evokes nostalgia, taking you back to moments shared with loved ones over a hearty meal.
Imagine the crispiness of fried garlic bits, the soft but slightly chewy rice, and a lingering umami character dancing in your mouth. What a satisfying combination!
Why This Recipe Works
- Perfectly Cooked Rice: Using day-old jasmine or basmati rice is crucial. Freshly cooked rice tends to be mushy. Day-old rice dries out a bit, allowing each grain to fry beautifully without clumping.
- Garlic Magic: The recipe calls for 8–10 cloves of garlic. This might sound excessive, but garlic is the star of the show. It infuses the rice with a robust and fragrant flavor.
- Balanced Seasoning: With a mix of salt, pepper, and toasted sesame oil, the seasoning strikes the right chord. Each ingredient plays its part without overpowering the others, creating an unbeatable taste.
- Customization Potential: This recipe serves as a base, allowing you to add your favorite ingredients. Whether it’s veggies, proteins, or spices, you can modify it to cater to your preferences.
Ingredients for Jollibee Fried Rice
- 2 cups day-old, cooked jasmine or basmati rice, cooled
- 8–10 cloves of garlic, finely minced or grated
- 2 tablespoons light, neutral-flavored oil
- 1/2 teaspoon fine sea salt, or adjust to taste
- 1/4 teaspoon freshly ground black pepper
- 1/2 teaspoon toasted sesame oil
- 2 tablespoons chopped green onions

Step by Step Instructions
Step 1: Prepare the Rice
Start with your day-old jasmine or basmati rice. If you don’t have it yet, make some in advance and let it cool down completely. Spreading it on a plate and refrigerating it helps dry it out a bit.
Step 2: Mince the Garlic
Take a good amount of garlic—8 to 10 cloves! Mince them finely. The key is to unleash that garlic goodness. If you’re a garlic enthusiast like me, feel free to add a little extra.
Step 3: Preheat the Pan
Grab a large skillet or wok. Heat the oil over medium-high heat. I recommend a neutral oil for frying, like canola or vegetable oil. This sets the stage for frying, ensuring nothing burns or sticks.
Step 4: Add Garlic
Add your garlic to the heated oil. Stir frequently to avoid burning. You want it to become golden brown, releasing its amazing aroma into the air. It’s hard not to drool at this point!
Step 5: Fry the Rice
Once the garlic has browned nicely, it’s showtime for the rice. Add it to the skillet. Break apart any clumps and mix thoroughly, ensuring it gets coated in the garlicky goodness.
Step 6: Season It Up
Sprinkle in the salt, pepper, and toasted sesame oil. Keep stirring to evenly distribute the seasoning. This part is crucial because it allows every grain to soak in those delightful flavors.
Step 7: Finishing Touches
Finally, toss in the chopped green onions. Give it a final stir before taking it off the heat. Serve it hot alongside your favorite dishes. Trust me, you’ll want to share this triumph with tablemates!
Notes
- Use day-old rice for the best texture.
- Regularly stir the garlic to prevent burning. A burnt taste isn’t what you want.
- Feel free to add cooked proteins like chicken or shrimp for a fuller dish.
- If you prefer some veggies, peas and carrots work wonderfully.
- Adjust the seasoning according to your taste; sometimes, a little extra salt can brighten the dish.

How to Store the Leftovers?
Store leftover Jollibee fried rice in an airtight container in the fridge. It can stay fresh for up to three days. Reheat either in the microwave or on the stove over medium heat. Just add a splash of water to keep the rice from drying out.
Sides for Jollibee Fried Rice
Sure, Jollibee fried rice is fantastic on its own, but it shines even brighter when paired with sides:
- Crispy Jollibee Chicken: Juicy, crunchy, and more than satisfying. The perfect adventure in every bite!
- Lumpia: Filipino spring rolls often filled with veggies or meat. The crunch complements the soft rice beautifully.
- Grilled Pork BBQ Skewers: A smoky, charred flavor adds depth. The sweetness of the marinade bonds perfectly with the rice.
- Sweet and Sour Sauce: Use it as a dipping sauce. The sweet tanginess contrasts the savory fried rice brilliantly.
Alternative Choices for Ingredients
Your kitchen might not have everything at hand; no problem! Here are a few alternatives:
- Rice: Swap jasmine or basmati rice for long-grain rice or even brown rice. Each offers a unique texture and taste.
- Garlic: Don’t have garlic? Garlic powder can work in a pinch. Use about a teaspoon for every clove.
- Oil: If you prefer to avoid neutral oils, opt for olive oil or coconut oil for an interesting flavor twist.
- Green Onions: Chives or shallots can substitute green onions if they’re out of stock.
Jollibee Fried Rice Recipe
Equipment
- Large skillet or wok
Ingredients
- 2 cups day-old cooked jasmine or basmati rice, cooled
- 2 tablespoons light neutral-flavored oil
- 8–10 cloves of garlic, finely minced or grated
- 1/2 teaspoon fine sea salt or adjust to taste
- 1/4 teaspoon freshly ground black pepper
- 1/2 teaspoon toasted sesame oil
- 2 tablespoons chopped green onions
Instructions
Step 1: Prepare the Rice
- Start with your day-old jasmine or basmati rice. If you don’t have it yet, make some in advance and let it cool down completely. Spreading it on a plate and refrigerating it helps dry it out a bit.
Step 2: Mince the Garlic
- Take a good amount of garlic—8 to 10 cloves! Mince them finely. The key is to unleash that garlic goodness. If you’re a garlic enthusiast like me, feel free to add a little extra.
Step 3: Preheat the Pan
- Grab a large skillet or wok. Heat the oil over medium-high heat. I recommend a neutral oil for frying, like canola or vegetable oil. This sets the stage for frying, ensuring nothing burns or sticks.
Step 4: Add Garlic
- Add your garlic to the heated oil. Stir frequently to avoid burning. You want it to become golden brown, releasing its amazing aroma into the air. It’s hard not to drool at this point!
Step 5: Fry the Rice
- Once the garlic has browned nicely, it’s showtime for the rice. Add it to the skillet. Break apart any clumps and mix thoroughly, ensuring it gets coated in the garlicky goodness.
Step 6: Season It Up
- Sprinkle in the salt, pepper, and toasted sesame oil. Keep stirring to evenly distribute the seasoning. This part is crucial because it allows every grain to soak in those delightful flavors.
Step 7: Finishing Touches
- Finally, toss in the chopped green onions. Give it a final stir before taking it off the heat. Serve it hot alongside your favorite dishes. Trust me, you’ll want to share this triumph with tablemates!
Notes
- Use day-old rice for the best texture.
- Regularly stir the garlic to prevent burning. A burnt taste isn’t what you want.
- Feel free to add cooked proteins like chicken or shrimp for a fuller dish.
- If you prefer some veggies, peas and carrots work wonderfully.
- Adjust the seasoning according to your taste; sometimes, a little extra salt can brighten the dish.
Nutrition
Frequently Asked Questions
1. Can I make Jollibee fried rice vegetarian?
Absolutely! This recipe is already vegetarian-friendly. Simply skip any additional proteins or replace them with tofu or extra veggies.
2. Can I freeze Jollibee fried rice?
Yes, you can freeze leftovers. Place them in an airtight container and they’ll last for up to a month. Just reheat from frozen, adding a bit of water for moisture.
3. Can I add scrambled eggs to my fried rice?
Certainly! Adding scrambled eggs can boost flavor and protein. Scramble the eggs separately and fold them into the rice during the final stir.
4. Is Jollibee fried rice gluten-free?
This dish can be made gluten-free by ensuring your soy sauce or any condiments you add are gluten-free. The base ingredients are naturally gluten-free, but it’s good to double-check.
Conclusion
Now you know not just how to recreate Jollibee fried rice but also why it holds such a special place in the realm of comfort food. The rich flavors and simple preparation make it a splendid dish for any occasion, whether a casual weeknight dinner or a festive gathering.
Take this recipe and run with it. Experiment with flavors. Have fun alongside the family or friends you’d like to share it with.
Trust me, this homemade Jollibee fried rice is bound to be a hit! It’s all about the joy of cooking, the laughter around the table, and the delightful memories forged over meals. Enjoy every bite!