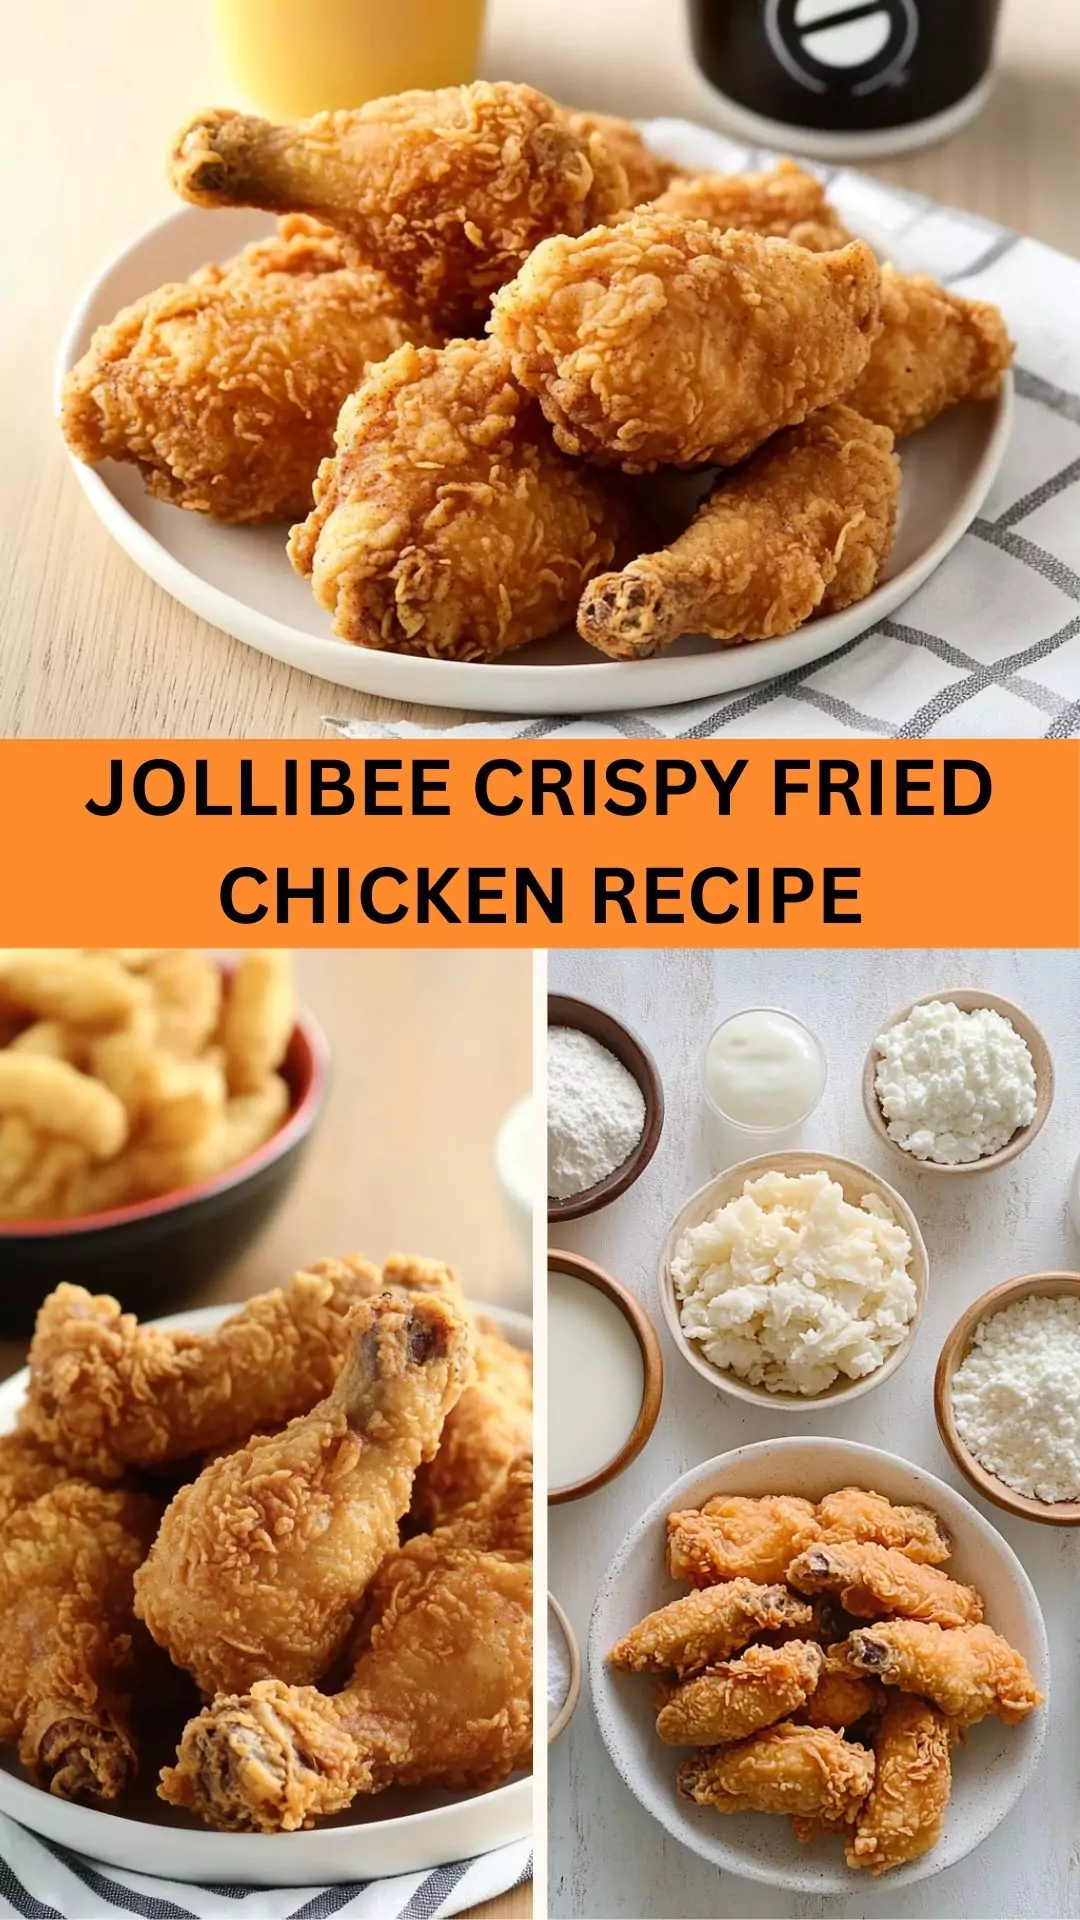
Whether you are having a cozy meal at home or throwing a party, Jollibee’s crispy fried chicken deserves to shine. Pair it with fluffy white rice, a simple side salad, or soft, buttery pandesal rolls for a balanced meal. You could even throw in some Jolly Spaghetti, the uniquely sweet and savory
Filipino pasta dish that complements chicken wonderfully. Of course, if you’re feeling adventurous, dive into a side of mac and cheese for that creamy contrast. And don’t forget a refreshing drink – a cold glass of lemonade or even a milky bubble tea can elevate your dining experience.
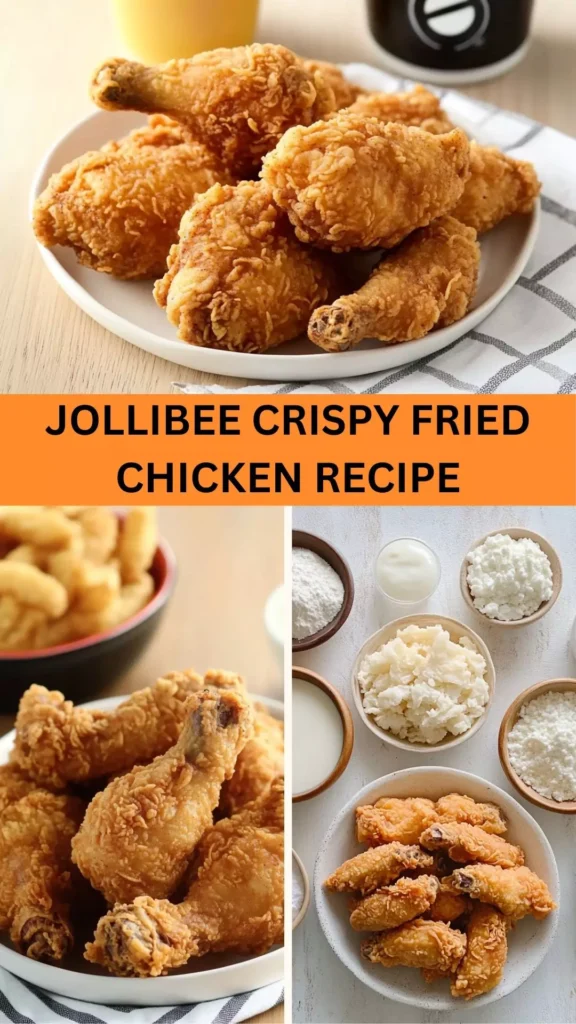
As I sat down with my first piece of Jollibee’s crispy fried chicken, I knew I was about to take an adventure. Growing up, fried chicken was a staple in my household. There’s something about the crunch of the skin and the tender meat that gets everyone buzzing.
But, Jollibee’s chicken hits differently. Its distinct flavor, combined with a crunchy exterior, transports you beyond the ordinary. This is a story about that experience, the techniques behind the crispy goodness, and how you can recreate that magic in your kitchen.
You will also like the following Dinner recipes!
- Best Jollibee Chicken Sandwich Recipe
- How to make Jollibee Spaghetti
- Easy Pollo Tropical Yellow Rice Recipe
What is Jollibee Crispy Fried Chicken?
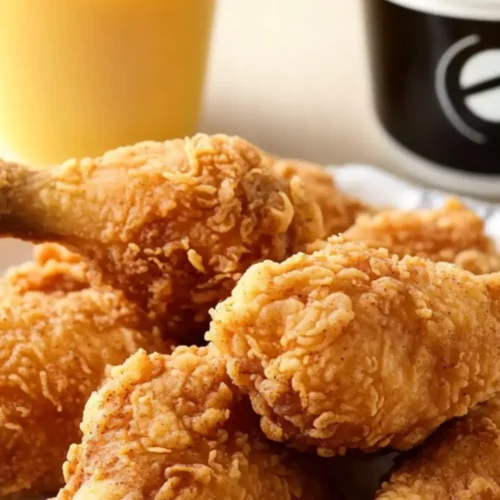
Jollibee crispy fried chicken, also called ‘Chickenjoy,’ is a beloved dish from the Filipino fast-food chain Jollibee. This chicken features a deep golden-brown color, a crunchy coating, and juicy meat, that instantly captivates your taste buds.
The recipe is a well-kept secret, but the essence combines marination in a flavorful brine and a perfectly balanced coating mix. The result? Absolute deliciousness. It’s the kind of food that brings friends and family together, making ordinary days feel like a celebration.
How Does It Taste Like?
Imagine taking a bite into Jollibee’s crispy fried chicken. You first encounter the crunch of the exterior, followed by the savory notes from garlic and paprika, complemented by the juiciness of the chicken.
The seasoning appears mild yet flavorful, enhancing every mouthful. The combination of spices gives it a unique twist that distinguishes it from traditional fried chicken. Plus, the contrast between the crispy coating and tender, succulent meat is undeniably addictive.
Why You’ll Love This?
Jollibee crispy fried chicken isn’t just food; it’s an experience. You’ll love it for several reasons:
- Flavor Explosion: The delightful spices will tickle your taste buds.
- Comfort Food: There’s something inherently comforting about fried chicken that brings you back to family gatherings.
- Versatility: It pairs wonderfully with many sides and sauces, making it adaptable for different meals.
- Reproducible Magic: With the right technique and ingredients, you can bring this beloved dish right into your home.
Ingredients
For the Brine
- 2 cups warm water
- 6 cloves garlic, finely minced
- 2 tablespoons sea salt
- 1 teaspoon black peppercorns, lightly crushed
- 1 teaspoon MSG (optional)
For the Chicken
- 12 pieces of chicken drumsticks (legs)
- 1 ½ cups whole milk
- 1 large egg, lightly beaten
For the Coating Mix
- 1 ½ cups all-purpose flour
- 1 ½ cups cornstarch
- 1 ½ teaspoons fine salt
- 3 tablespoons garlic powder
- 2 tablespoons onion powder
- 1 teaspoon five-spice powder
- 1 teaspoon smoked paprika
- 1 teaspoon MSG (optional)
For Frying
- Shortening or vegetable oil, for deep frying
For the Gravy
- 1 ½ cups chicken drippings (from roasted or fried chicken)
- 2 cups rich chicken stock
- 3 tablespoons leftover coating mix
- ¼ cup whole milk
- 2 tablespoons heavy cream
- ½ teaspoon Worcestershire sauce
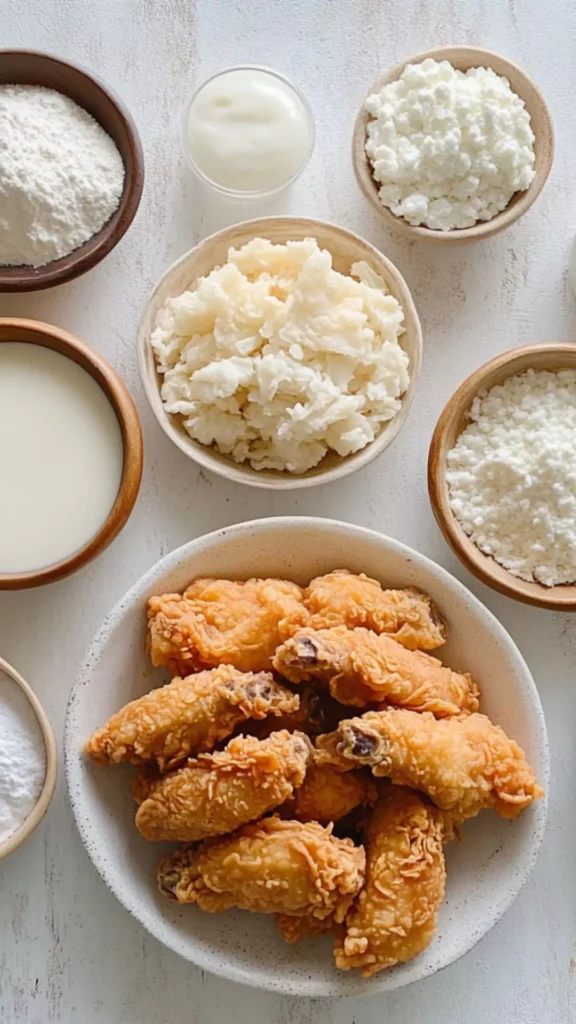
Step-by-Step Directions
Step 1: Prepare the Brine
Start by mixing warm water, minced garlic, salt, and peppercorns in a bowl. Stir until dissolved. This flavor-packed brine will infuse your chicken with an incredible taste.
Step 2: Brine the Chicken
Submerge chicken drumsticks in the brine, ensuring they’re fully covered. Cover the bowl and refrigerate for at least 2 hours; overnight is even better. This process guarantees juicy, flavorful chicken.
Step 3: Prepare the Coating
Combine the flour, cornstarch, salt, garlic powder, onion powder, five-spice powder, smoked paprika, and MSG in a large bowl. This mixture becomes the crunchy layer that gives your chicken that irresistible texture.
Step 4: Bread the Chicken
Once the chicken has soaked up all that flavor, remove it from the brine. Pat dry and dip it into the milk and egg mixture, coating it evenly. Then, dredge it in the coating mix, pressing it firmly to ensure adherence. Repeat for all drumsticks.
Step 5: Heat the Oil
In a deep frying pan, heat the oil or shortening over medium-high heat. Ideally, the temperature should reach 350°F (175°C). You can use a thermometer or sprinkle a bit of the coating mix into the oil; if it sizzles, you’re good to go!
Step 6: Fry the Chicken
Fry the chicken in batches, taking care not to overcrowd the pan. Cook each piece for about 10-12 minutes, turning occasionally until it’s golden brown and cooked through. You’ll know it’s ready when the internal temperature hits 165°F (74°C).
Step 7: Rest and Serve
Once fried to perfection, remove the chicken and place it on a wire rack or paper towels to drain excess oil. Let it rest for a few minutes to preserve its juiciness, then serve and enjoy!
Tips On Making Jollibee Crispy Fried Chicken
- Brine Overnight: For maximum flavor, let the chicken sit in the brine overnight.
- Don’t Rush the Coating: Make sure each drumstick is well-coated for the best crunch.
- Use a Thermometer: Keeping an eye on the frying temperature will ensure evenly cooked chicken.
- Drain Properly: Allow the chicken to sit on a wire rack after frying to maintain its crispy texture.
- Experiment with Seasoning: Feel free to adjust the spices in your coating mix to suit your taste.
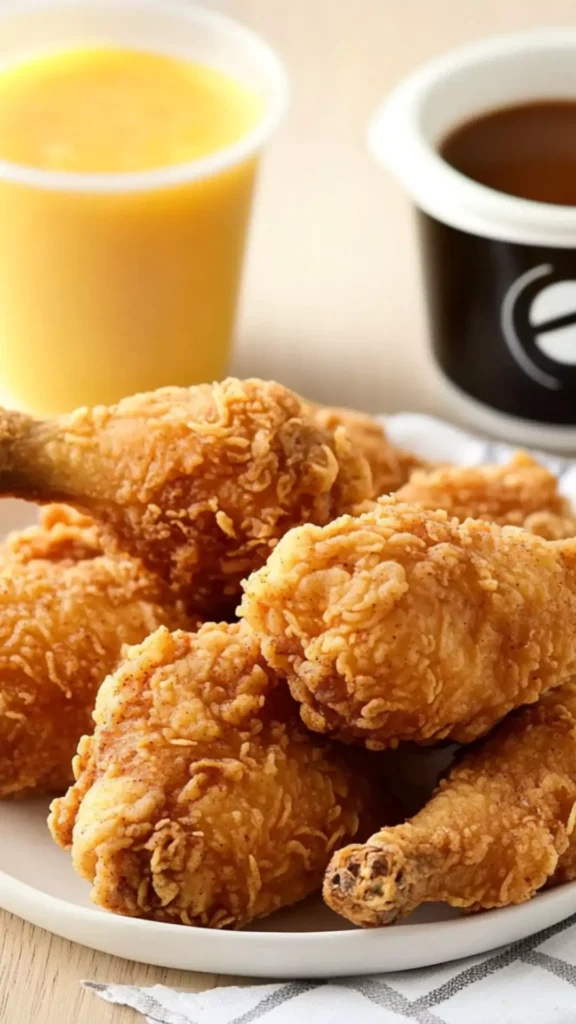
How Do You Store This Jollibee Crispy Fried Chicken?
You can store leftover crispy chicken in the refrigerator. Place it in an airtight container and consume it within 3 to 4 days. For longer storage, freeze the chicken in a freezer-friendly bag.
Take care to squeeze out as much air as possible before sealing. When ready to eat, reheat in the oven for crispy results, avoiding the microwave when possible to maintain texture.
What Other Substitutes Can You Use in Jollibee Crispy Fried Chicken?
If you want to switch things up, here are some alternatives you might consider:
- Air-fryer: Use an air fryer for a healthier option with a similar crunchy result.
- Vegan Chicken: Substitute chicken with plant-based chicken alternatives. It works surprisingly well.
- Alternative Milk: Swap the whole milk for almond or oat milk. They provide a nice flavor.
- Gluten-Free Flour: Use a gluten-free flour blend instead of all-purpose flour for allergy-friendly frying.
- Buttermilk: You can use buttermilk in place of regular milk for a richer taste and even more tenderness.
Jollibee Crispy Fried Chicken Recipe
Equipment
- Deep frying pan
Ingredients
Brine
- 2 cups warm water
- 6 cloves garlic finely minced
- 2 tablespoons sea salt
- 1 teaspoon black peppercorns lightly crushed (for added aroma)
- 1 teaspoon MSG optional
Chicken
- 12 pieces chicken drumsticks legs
- 1 ½ cups whole milk
- 1 large egg lightly beaten
Coating Mix
- 1 ½ cups all-purpose flour
- 1 ½ cups cornstarch
- 1 ½ teaspoons fine salt
- 3 tablespoons garlic powder
- 2 tablespoons onion powder
- 1 teaspoon five-spice powder
- 1 teaspoon smoked paprika for a smoky touch
- 1 teaspoon MSG optional
For Frying
- Shortening or vegetable oil for deep frying
Gravy
- 1 ½ cups chicken drippings from roasted or fried chicken
- 2 cups rich chicken stock
- 3 tablespoons leftover Coating Mix
- ¼ cup whole milk
- 2 tablespoons heavy cream
- ½ teaspoon Worcestershire sauce for extra umami flavor
Instructions
Step 1: Prepare the Brine
- Start by mixing warm water, minced garlic, salt, and peppercorns in a bowl. Stir until dissolved. This flavor-packed brine will infuse your chicken with an incredible taste.
Step 2: Brine the Chicken
- Submerge chicken drumsticks in the brine, ensuring they’re fully covered. Cover the bowl and refrigerate for at least 2 hours; overnight is even better. This process guarantees juicy, flavorful chicken.
Step 3: Prepare the Coating
- Combine the flour, cornstarch, salt, garlic powder, onion powder, five-spice powder, smoked paprika, and MSG in a large bowl. This mixture becomes the crunchy layer that gives your chicken that irresistible texture.
Step 4: Bread the Chicken
- Once the chicken has soaked up all that flavor, remove it from the brine. Pat dry and dip it into the milk and egg mixture, coating it evenly. Then, dredge it in the coating mix, pressing it firmly to ensure adherence. Repeat for all drumsticks.
Step 5: Heat the Oil
- In a deep frying pan, heat the oil or shortening over medium-high heat. Ideally, the temperature should reach 350°F (175°C). You can use a thermometer or sprinkle a bit of the coating mix into the oil; if it sizzles, you’re good to go!
Step 6: Fry the Chicken
- Fry the chicken in batches, taking care not to overcrowd the pan. Cook each piece for about 10-12 minutes, turning occasionally until it’s golden brown and cooked through. You’ll know it’s ready when the internal temperature hits 165°F (74°C).
Step 7: Rest and Serve
- Once fried to perfection, remove the chicken and place it on a wire rack or paper towels to drain excess oil. Let it rest for a few minutes to preserve its juiciness, then serve and enjoy!
Notes
- Brine Overnight: For maximum flavor, let the chicken sit in the brine overnight.
- Don’t Rush the Coating: Make sure each drumstick is well-coated for the best crunch.
- Use a Thermometer: Keeping an eye on the frying temperature will ensure evenly cooked chicken.
- Drain Properly: Allow the chicken to sit on a wire rack after frying to maintain its crispy texture.
- Experiment with Seasoning: Feel free to adjust the spices in your coating mix to suit your taste.
Nutrition
Frequently Asked Questions
1. Can I use chicken breasts instead of drumsticks?
Absolutely! Just keep in mind that chicken breasts will cook faster than drumsticks. Adjust your frying time to avoid overcooking them, ensuring they remain moist and tender.
2. What’s the best oil for frying chicken?
Peanut oil, vegetable oil, or canola oil are great options for frying. They have high smoke points and will yield a nice crispy finish.
3. Can I double the recipe?
Yes, you can easily scale the recipe. Just be sure not to overcrowd the frying pan, as this will lower the oil temperature and compromise the crunchiness.
4. Can I add spices to the brine?
Certainly! Consider adding herbs like rosemary or thyme, or spices like cayenne pepper for a bit of heat. This gives a unique profile to the chicken.
5. What if I can’t find cornstarch?
You can replace cornstarch with potato starch, rice flour, or even ground oats as a thickening agent for your coating. Each will offer a different texture but should still provide crunch.
6. Is it possible to bake Jollibee chicken instead of frying?
Yes! For a healthier approach, you can bake it in the oven at 400°F (200°C) for about 30-40 minutes, turning halfway. This won’t give the exact same fry but can yield satisfying results.
Conclusion
Jollibee crispy fried chicken is not just a dish; it’s a culinary journey that many enjoy. Making it at home can be a fun bonding experience, packing flavor and satisfaction into every bite. Whether you’re throwing a get-together or just treating yourself, Jollibee’s chicken will surely hit the mark.
Embrace the process, enjoy cooking, and don’t forget to share with family and friends. After all, good food is best enjoyed in good company. So, why wait? Roll up your sleeves and start frying!

