I remember the first time I tried chilaquiles. It was at a friendly little cafe in Mexico City. The air was fragrant with spices, and I was eager to try a traditional breakfast. The vibrant colors and rich flavors punched through every bite, awakening my palate in ways I had never experienced before.
Fast forward to today, and I’ve simplified that delicious dish into an easy, home-cooked version that will become a breakfast staple in your household. In this post, I’ll share my take on easy chilaquiles and guide you step by step to recreate this taste of Mexico at home.

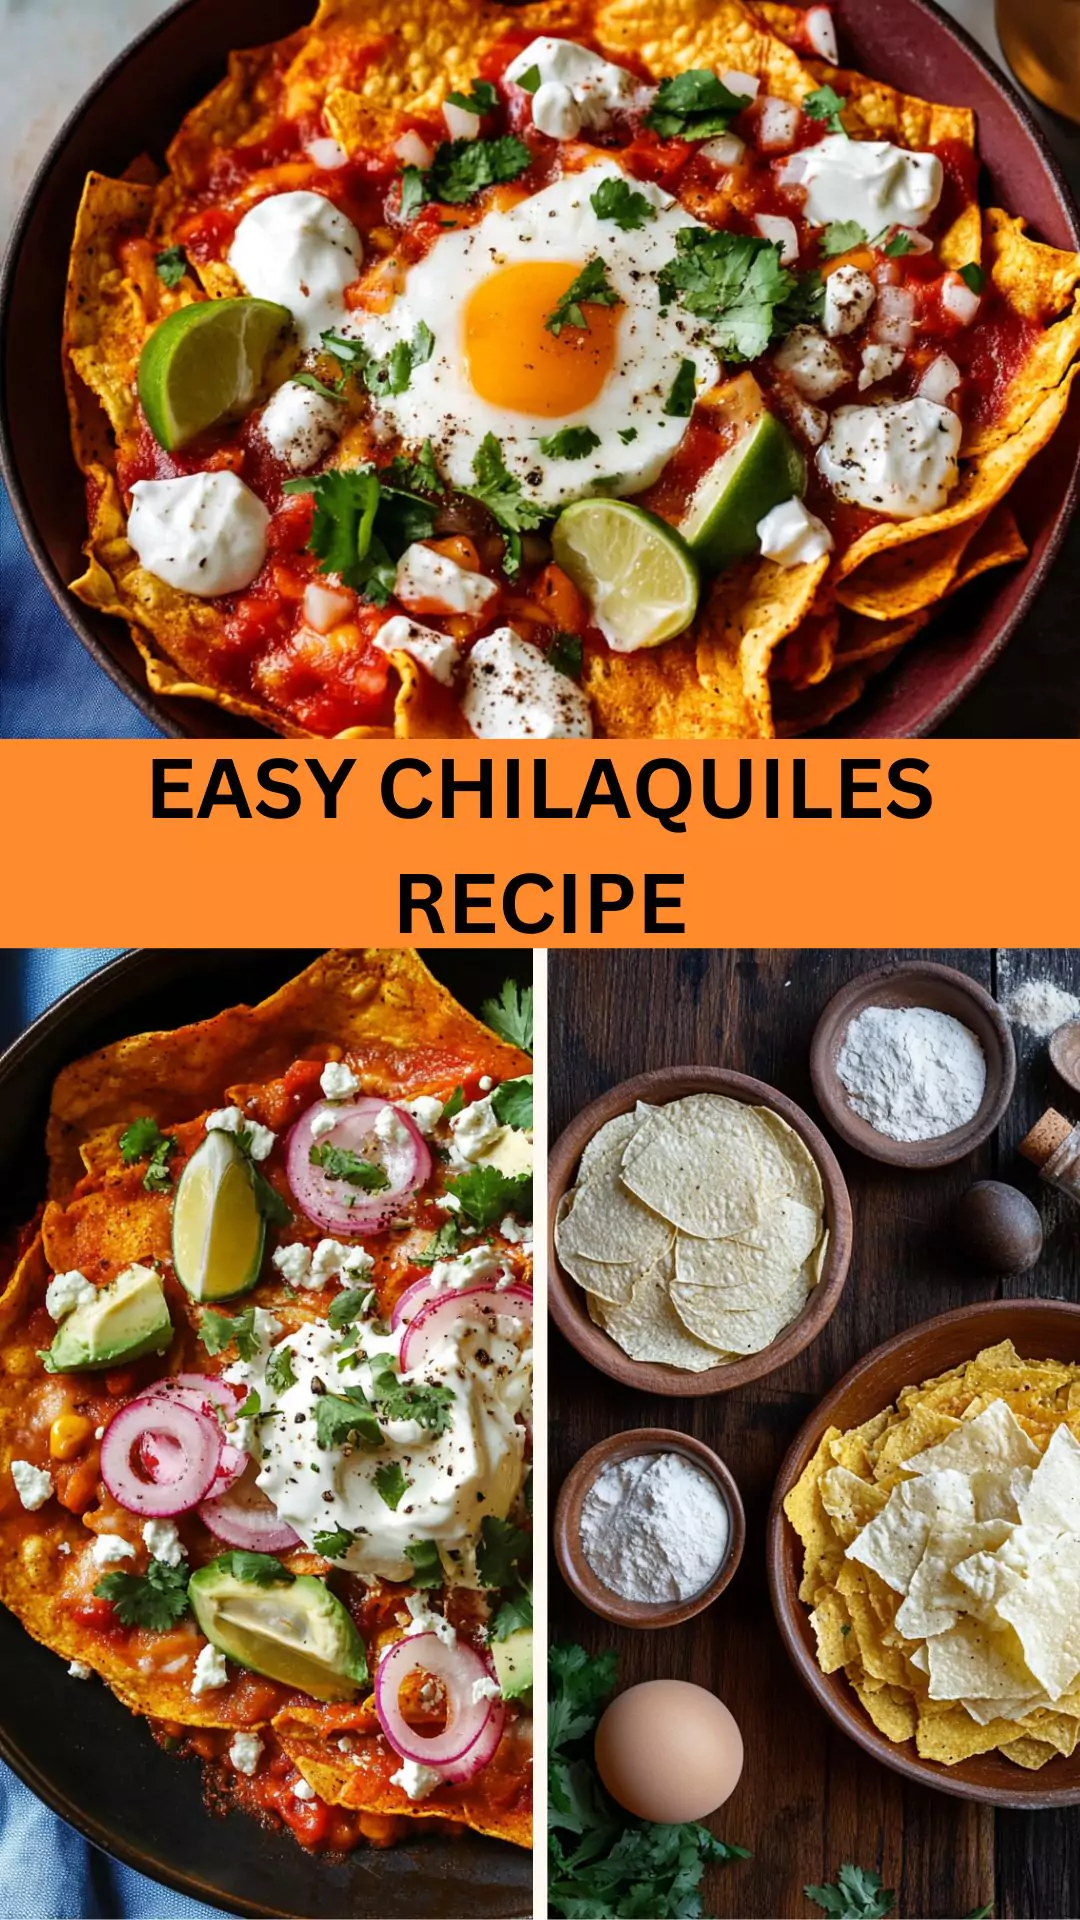
What are Easy Chilaquiles?
Chilaquiles is a classic Mexican dish typically served for breakfast or brunch. It features tortilla chips lightly doused in tomato sauce or salsa, topped with tasty add-ons like eggs, cheese, and fresh herbs. Think of it as the ultimate comfort food, marrying crispy textures with luscious toppings.
Now, the beauty of this dish is its flexibility; you can customize the toppings to your liking. In my version, I’ll walk you through using ingredients that pack a punch without consuming a lot of time in the kitchen.
You will also like the following Dinner recipes!
- Best Jollibee Hamburger Recipe
- How to make Jollibee Crispy Fried Chicken
- Easy Jollibee Burger Steak Ala Recipe
Why You’ll Love This Easy Chilaquiles
There are several reasons why easy chilaquiles will soon become your favorite dish.
First, it’s a one-pan wonder. I love recipes where I can limit the number of dishes I need to wash afterward. Secondly, this dish can be tackled in under 30 minutes. For those busy mornings, that’s a lifesaver!
And lastly, it caters to various dietary preferences. Want it vegetarian? You got it. Looking for something gluten-free? No problem! This dish truly embraces versatility.
The Ingredients
Here’s a quick glance at what you’ll need:
For Fried Eggs
- 2 tablespoons of extra virgin olive oil: For a rich flavor and a base for frying.
- 4 large eggs: These will crown your chilaquiles, giving them that satisfying touch.
- Salt and freshly ground black pepper, to taste: Simple seasonings that enhance the flavor.
For Chilaquiles
- 8 ounces of tortilla chips, preferably baked: Crunch is the name of the game.
For the Red Sauce
- 3 tablespoons of neutral oil: This will be your cooking fat for blending flavors.
- ½ sweet onion, finely diced: Adds sweetness and depth to your sauce.
- 2 cloves of garlic, minced: Nothing beats the aroma of fresh garlic sizzling away.
- 2 cups of crushed tomatoes: The heart of the sauce.
- 6 chipotle peppers in adobo sauce: They give the chilaquiles that smoky heat.
- ⅔ cup of unsalted chicken broth (or vegetable broth for a lighter version): To create a balanced sauce.
For Garnishes
- ½ cup of crumbled queso fresco: For a creamy, tangy finish.
- 2 radishes, thinly sliced: A fresh, crunchy contrast.
- ½ bunch of fresh cilantro leaves, roughly chopped: Adds freshness.
- Hot sauce (optional, for extra spice): Because who doesn’t enjoy a little kick?
- 1 tablespoon of lime juice (optional, for a fresh tang): Enhances all the flavors beautifully.

Step by Step Instructions
Now that you have your ingredients gathered, let’s dive into the cooking process.
Step 1: Prepare the Sauce
Start by heating the neutral oil in a large skillet over medium heat. Once it’s shimmering, toss in the diced onion. Sauté for about 3-4 minutes, or until soft and translucent. Then, add the minced garlic and stir for 1 more minute. The aroma will fill your kitchen, promising deliciousness.
Next, pour in the crushed tomatoes, along with the chipotle peppers. These fiery little buds will warm things up! Stir everything together and let it simmer for about 10 minutes. If it starts to get too thick, don’t hesitate to add a splash of chicken broth.
Step 2: Mix in the Tortilla Chips
Once the sauce has thickened and infused with those warm, inviting flavors, it’s time to add the tortilla chips. Gently fold them into the sauce, ensuring every chip gets coated. Let this mixture absorb the flavors for about 3-4 minutes. You want them to soften slightly without turning to mush. I usually taste at this stage—because who can resist a little quality control?
Step 3: Fry the Eggs
While the chips are getting cozy in the sauce, it’s time to fry your eggs. In a separate pan, heat the extra virgin olive oil over medium heat. Crack the eggs in gently, and season them with salt and pepper. Cook until whites are set and the yolks are still runny, about 2-3 minutes. If you prefer your yolks cooked through, give them an extra minute.
Step 4: Assemble the Chilaquiles
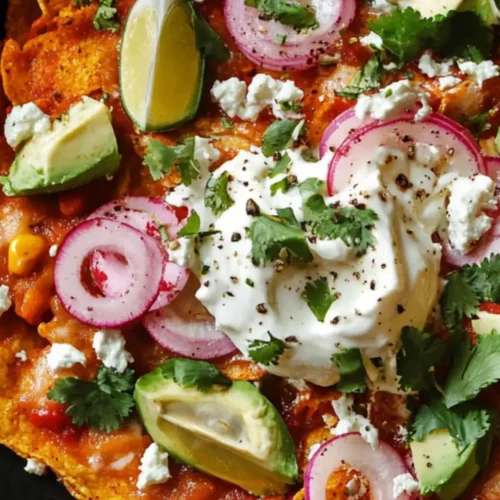
Now comes the fun part! Take a generous scoop of the chilaquiles mixture and place it on a plate. Top it with the freshly fried eggs. Add crumbled queso fresco, radishes, and cilantro, ensuring a vibrant presentation. If you like a bit of heat, now’s the time to drizzle some hot sauce over the top. To cap things off, squeeze a bit of lime juice for a zesty finish.
Step 5: Serve and Enjoy!
Grab a fork and dig in! The balance of flavors and textures—crunchy chips, rich sauce, creamy cheese, and perfectly fried eggs—is simply irresistible.
Tips & Tricks
Here are a few secrets I’ve gathered in my chilaquiles-making journey:
- Use baked tortilla chips: They are healthier and just as tasty as fried. Plus, they won’t get soggy as quickly.
- Adjust spice levels: Not a fan of heat? Reduce the number of chipotle peppers or skip the hot sauce.
- Get creative with garnishes: Try avocado slices or a dollop of sour cream.
- Meal prep friendly: Make the sauce in advance and store it in the fridge. Just combine it with chips and eggs when ready to serve.
- Experiment with leftovers: Chilaquiles are just as good with leftover meats or beans tossed in!

Can I Store Easy Chilaquiles?
Indeed, you can store your chilaquiles! While it’s best enjoyed fresh, leftover chilaquiles can be stored in an airtight container in the refrigerator for up to three days.
Reheat them on the stovetop for the best texture. Just add a splash of water or broth to keep things from drying out!
What Can I Serve with Easy Chilaquiles?
Chilaquiles shine as a standalone meal, but you can always enhance your breakfast spread with these options:
- Fresh Fruit: A side of tropical fruit salad adds brightness to your meal.
- Refried Beans: A scoop of refried beans rounds out the meal, packed with protein.
- Sliced Avocado: Creamy avocado pairs perfectly, bringing a rich texture.
- Salad: A light green salad with a citrus vinaigrette can be refreshing alongside.
- Coffee or Fresh Juice: Complete your breakfast with a hot beverage or a refreshing drink.
Variations
Let’s get creative! Here are some variations you can try to make chilaquiles even more fun:
- Green Chilaquiles: Swap the red sauce for a green tomatillo salsa. This adds a different flavor profile that is equally delightful.
- Mushroom and Spinach Chilaquiles: Sauté sliced mushrooms and fresh spinach before adding them to the sauce for an earthy twist.
- Breakfast Burrito Chilaquiles: Wrap the chilaquiles mixture in a tortilla with scrambled eggs to make a savory burrito.
- Carnitas Chilaquiles: Toss in some leftover carnitas for extra richness. The flavors meld beautifully with the sauce.
- Vegan Chilaquiles: Use tofu and nutritional yeast instead of eggs and cheese for a hearty vegan delight.
Easy Chilaquiles Recipe
Equipment
- large skillet
Ingredients
Fried Eggs:
- 2 tablespoons extra virgin olive oil
- 4 large eggs
- Salt and freshly ground black pepper to taste
Chilaquiles:
- 8 ounces tortilla chips preferably baked
Red Sauce:
- 3 tablespoons neutral oil
- ½ sweet onion finely diced
- 2 cloves garlic minced
- 2 cups crushed tomatoes
- 6 chipotle peppers in adobo sauce
- ⅔ cup unsalted chicken broth or vegetable broth for a lighter version
Garnishes:
- ½ cup crumbled queso fresco
- 2 radishes thinly sliced
- ½ bunch fresh cilantro leaves roughly chopped
- Hot sauce optional, for extra spice
- 1 tablespoon lime juice optional, for a fresh tang
Instructions
- Now that you have your ingredients gathered, let’s dive into the cooking process.
Step 1: Prepare the Sauce
- Start by heating the neutral oil in a large skillet over medium heat. Once it’s shimmering, toss in the diced onion. Sauté for about 3-4 minutes, or until soft and translucent. Then, add the minced garlic and stir for 1 more minute. The aroma will fill your kitchen, promising deliciousness.
- Next, pour in the crushed tomatoes, along with the chipotle peppers. These fiery little buds will warm things up! Stir everything together and let it simmer for about 10 minutes. If it starts to get too thick, don’t hesitate to add a splash of chicken broth.
Step 2: Mix in the Tortilla Chips
- Once the sauce has thickened and infused with those warm, inviting flavors, it’s time to add the tortilla chips. Gently fold them into the sauce, ensuring every chip gets coated. Let this mixture absorb the flavors for about 3-4 minutes. You want them to soften slightly without turning to mush. I usually taste at this stage—because who can resist a little quality control?
Step 3: Fry the Eggs
- While the chips are getting cozy in the sauce, it’s time to fry your eggs. In a separate pan, heat the extra virgin olive oil over medium heat. Crack the eggs in gently, and season them with salt and pepper. Cook until whites are set and the yolks are still runny, about 2-3 minutes. If you prefer your yolks cooked through, give them an extra minute.
Step 4: Assemble the Chilaquiles
- Now comes the fun part! Take a generous scoop of the chilaquiles mixture and place it on a plate. Top it with the freshly fried eggs. Add crumbled queso fresco, radishes, and cilantro, ensuring a vibrant presentation. If you like a bit of heat, now’s the time to drizzle some hot sauce over the top. To cap things off, squeeze a bit of lime juice for a zesty finish.
Step 5: Serve and Enjoy!
- Grab a fork and dig in! The balance of flavors and textures—crunchy chips, rich sauce, creamy cheese, and perfectly fried eggs—is simply irresistible.
Notes
- Use baked tortilla chips: They are healthier and just as tasty as fried. Plus, they won’t get soggy as quickly.
- Adjust spice levels: Not a fan of heat? Reduce the number of chipotle peppers or skip the hot sauce.
- Get creative with garnishes: Try avocado slices or a dollop of sour cream.
- Meal prep friendly: Make the sauce in advance and store it in the fridge. Just combine it with chips and eggs when ready to serve.
- Experiment with leftovers: Chilaquiles are just as good with leftover meats or beans tossed in!
Nutrition
Frequently Asked Questions
1. Can I use store-bought salsa instead of making the sauce?
Absolutely! Sometimes we need shortcuts. Just choose a salsa you love. However, I recommend cooking it down a bit to enhance the flavors.
2. Can chilaquiles be made ahead of time?
Yes, you can. I suggest preparing the sauce and storing it separately. When ready to serve, combine with chips and warm before adding your toppings.
3. Is there a way to make chilaquiles gluten-free?
Definitely! Just swap out standard tortilla chips for gluten-free ones. Corn tortillas can also be cut and baked at home for a fresh touch.
4. Can I use fresh tomatoes instead of crushed tomatoes?
Sure, if you prefer fresh. Just peel, chop, and cook them down until they soften and create a sauce-like consistency.
5. How do I know if my eggs are cooked perfectly?
The whites should be fully set and opaque, and the yolk should still jiggle slightly when you tap it. Cook longer if desired.
Conclusion
There you have it! Easy chilaquiles are not just a dish; they’re an experience to savor. With layers of flavor, thoughtful garnishes, and endless variations, this dish has an exciting future in your kitchen.
Each bite invites a new interpretation—whether you’re sharing with family, entertaining friends, or simply treating yourself.
I hope you enjoy whipping up this easy recipe as much as I do. So grab your ingredients, roll up your sleeves, and have some culinary fun in the kitchen. Trust me; your taste buds will thank you!